Introduction
Partial teardown of Lenovo IdeaPad 720S-13IKB.
Usefull for
- wifi/bluetooth
- fans
- battery
- speaker
- ssd
- fingerprint
-
-
Power off Device
-
Remove charger
-
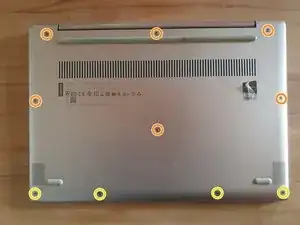
Remove 6 T5 Screws
-
Remove 4 T5 Screws (These Screws are at an angle)
-
Remove the back cover using opening Pics. Start at the back(where the screen is)
-
-
-
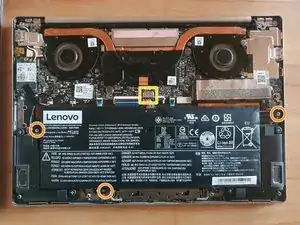
Remove screws using PH0
-
Remove screws using PH1 and take m.2 parts out
-
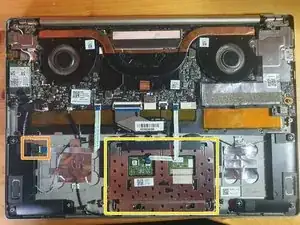
Dissconnect cables
-
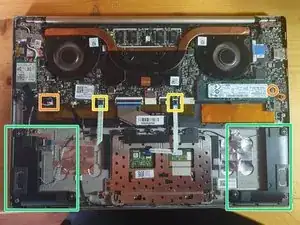
Disconnect Display Cable
-
Push Moterboard to the left and take it out.
-


2 comments
Do you have the tear down images of the LCD side?
unfortunately not, i didn't have to disassemble that far.
I can give you the tip, when removing the latch cover (the plastic at the bottom of screen where it is attached to the rest) start from the Front. There are 4 clips on the cover. under there are 2 screws, which might allow the back of the screen to open.
Hinomi -