Introduction

This guide is not a total teardown. Rather, it covers only the largest components of the device. See the video below for a visual representation.

Note: On this specific speaker, a new charge port was installed.

  1. V3KdD6tXuekOLNKL
    V3KdD6tXuekOLNKL
    wCVBbMBvYCZxYOM4
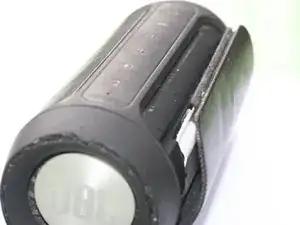
    • Use a plastic spudger/spatula, credit card or something similar to remove the protective mesh.

    • There is a little bit of glue holding the mesh in place. Even so, be careful to not use too much force when removing the mesh to avoid causing damage.

  2. ZwTNETUos2a1vRHE
    ZwTNETUos2a1vRHE
    KNCqdX15ICGkegja
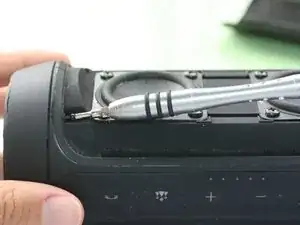
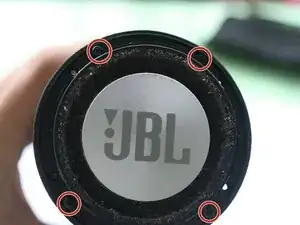
    • Remove the four screws holding the plastic moulding on the end of the speaker.

    • Next, remove the plastic to reveal four more screws requiring removal.

  3. gZFOMMWGkbrvVDGA
    gZFOMMWGkbrvVDGA
    VKUjviMFoZ1ZUDKc
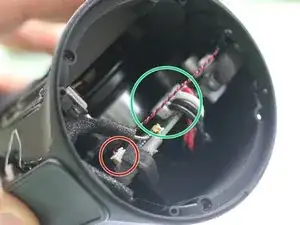
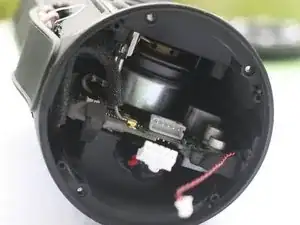
    • You now have access to the motherboard.

    • To make life easier, disconnect the microphone before disconnecting the battery.

  4. hCXSvKKZjHnWQevW
    hCXSvKKZjHnWQevW
    ZqIwmVvjG1bHteXw
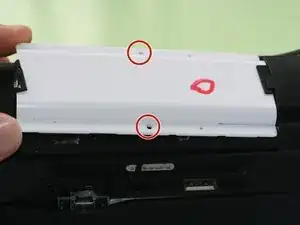
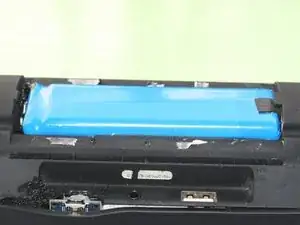
    • Remove the two screws securing the white battery cover. Once removed, you will have direct access to the battery.

    Nice tutorial on how to dismantle the device, but what if I want to separate out the power bank part of this device and dump the rest due to worn out speakers. Is it possible to do that? If not, will it still work as a power bank if I simply the wires to the speakers and remove them. I’d rather remove the amplifier as well so that unnecessary power consumption is reduced.

    David Moody -

Conclusion

To reassemble your device, follow these instructions in reverse order.

Alexandre Isaac

Member since: 07/04/13

2914 Reputation

13 comments

About to try this, will give feedback

Rick Purchase -

This is the charge2 + not the charge2

The Daniel -

there aren,t any screws in the cap

Norman Ingham -

I have the same problem. I think this is a TL model, but I have not been able to find any information on how to correctly remove the end caps. I don’t want to scratch or break anything trying to pop the end caps off.

Bobcov -
Thanks so much! I had a broken bit of plastic inside the tube after I left my speaker in my checked luggage and it got smashed around. I followed the instructions and managed to get it out, the speaker is purring again without the annoying ass rattle!! You're a legend my friend. TY

itgotfixed -

You are welcome !

Alexandre Isaac -

Hello, I have a problem

I lost the speaker screws

can you tell me what type of screws I have to buy?

thank you in advance

bilal mesrour -

Ce tuto ne concerne PAS le charge 2, mais bien le charge 2+

Le principe d’ouverture est bien différent !

jf.dedecker -

So easy steps to follow. Thank you so much. The guide is really helpful.

It came handy when my boss complained about a fault, so I tried figuring it out, then I googled steps to dismantle, and pop! The video showed up. Really helpful. Thanks

omo4rmzion -

This tutorial really helped :)

JITHIN ROY -

Bonjour à tous, je constate que sur ce tuto on a des personnes qui gèrent donc bcp d'amitié

et de remerciement à tous vous êtes tjrs en mode cool et ça fait vraiment merci et n'hésitez pas à me demander un service

je serai fier de vous rendre service et encore merci Thameur

Thameur TRABELSI -

comme vous l'avez sans doute compris "bcp plaisir"

Thameur TRABELSI -