Introduction
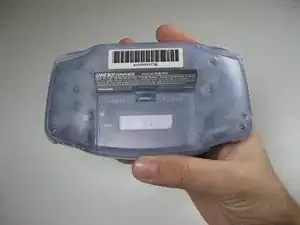
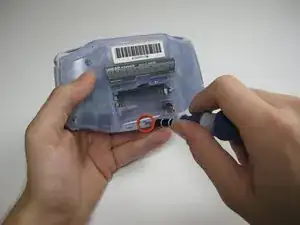
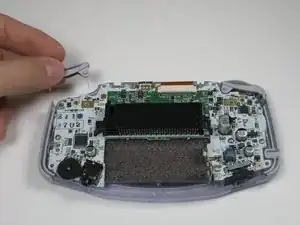
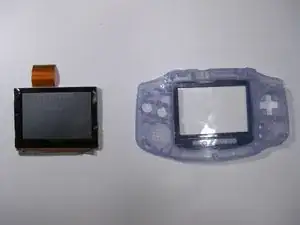
Use this guide to disassemble all or any of the parts of the Game Boy Advance.
Tools
-
-
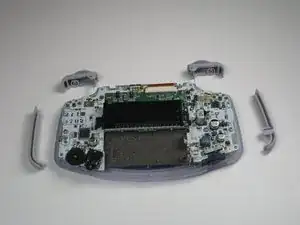
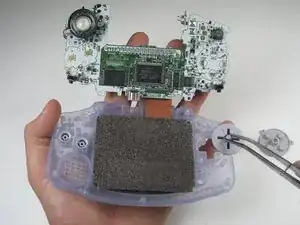
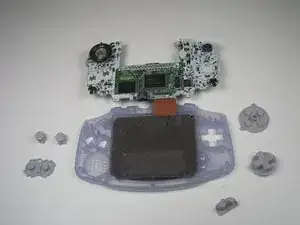
Remove left and right triggers by lifting and pulling them away from the system.
-
Do the same for side panels.
-
-
-
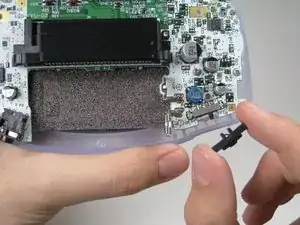
Remove the gray On/Off Switch by pulling up and away from the unit. Replace with another switch if necessary.
-
-
-
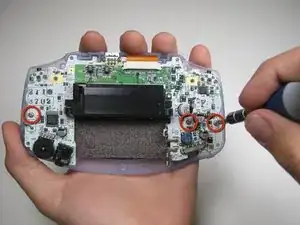
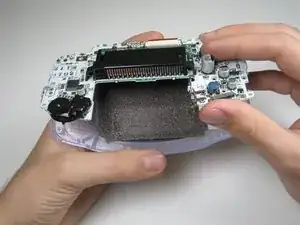
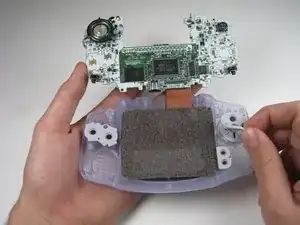
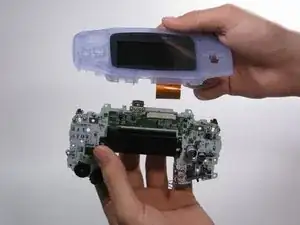
Pull circuit board away from the front panel by pulling up at the bottom of the circuit board, keeping the top ribbon still connected.
-
-
-
Use a spudger/tweezers/fingernail to unlatch the LCD ribbon port by pulling the grey tabs on the sides upwards (towards the top edge of the PCB).
-
Once the LCD ribbon port has been unlatched, the LCD ribbon should very easily slide out and can be removed with zero force using fingers or tweezers.
-
-
-
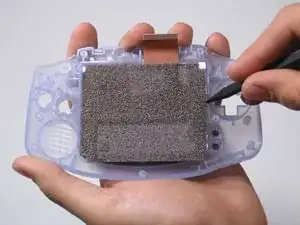
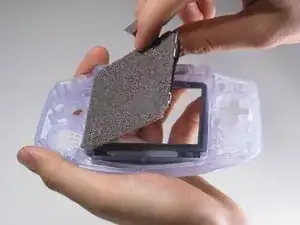
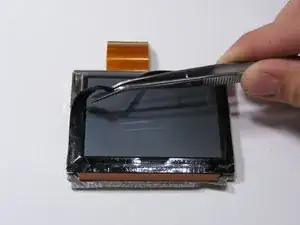
Use the spudger to lift the screen from the front panel. Place the spudger in the space directly left of the D-pad.
-
7 comments
used this to replace the case and buttons on my GBA worked like a charm thanks!
Josh -
I dont understand. The items in “Tools featured in this teardown" is different from the tools written on the article e.g. Y0 in “featured" but Y1 in the “article”.
Bruh thx for
