Introduction
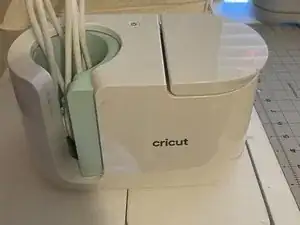
Need to take apart your mug press? Button got pressed too hard and now is askew in the machine? This is the guide for you.
-
-
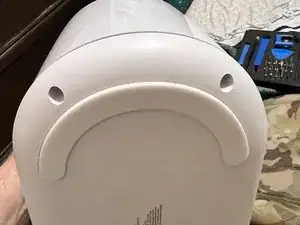
Remove two plastic screw covers from bottom using a pick tool.
-
remove two screws using driver.
-
-
-
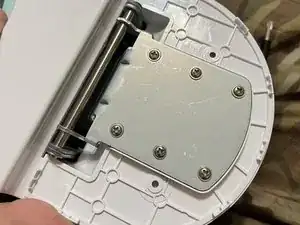
Remove the two rubber screw covers and stick them about one inch above the screws.
-
Remove two screws and place aside.
-
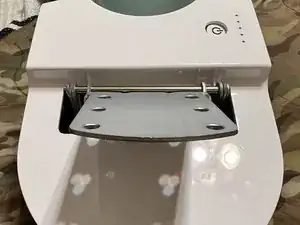
Press the lever flush and remove upper plastic.
-
-
-
Metal lever bracket needs to be in the up position.
-
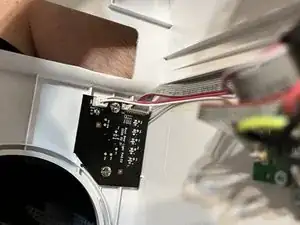
Gently remove the housing careful to not damage the attached power and usb cables
-
-
-
Switch is held in place with two screws.
-
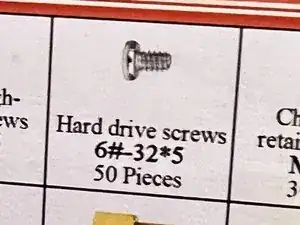
If the screws break lose you can replace them with HDD screws
-
Gently thread two HDD screws until tension holds the board in place and no further.
-
DO NOT OVER-TIGHTEN SCREWS.
-
Perform steps in reverse to reassemble being careful to place cables behind the heat shield.
-


4 comments
Is the screw a 32*5/8th. Everywhere I look I can’t find that size there is more to the sizing. Any help would greatly appreciated. Thanks so much for this post.
Amy Ward -
They are #6 HDD screws. You can find them on Amazon. Under Hard Drive screws.
Hola! Mi maquina titila el 3r led. He pasado muchas veces actualización y nada. Que podría ser? Podrías ayudarme?
Thank you so much for this, I was pretty annoyed to have a power button problem just a month out of warranty. A fairly simple fix when you know what to do, and it would have taken me forever to figure out without this guide. Why wouldn't Cricut tell me this? Oh right, because then they can't sell another one.