Introduction
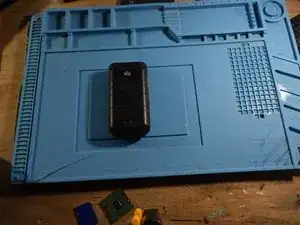
this 60$ phone has more repairability than meets the eye
Today we will be tearing it down to see how much we can repair it.
-
-
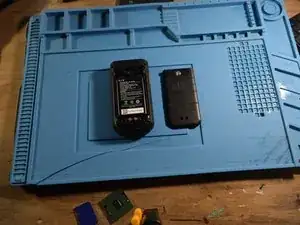
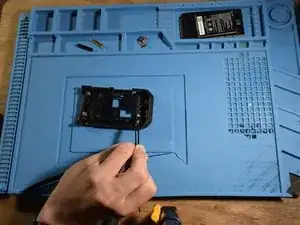
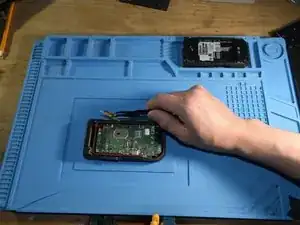
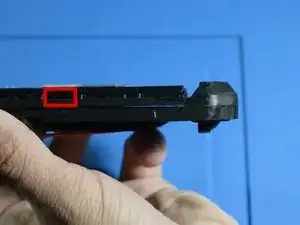
We first need to take off the back cover and remove the battery. I used a coin to remove the back. its important to keep this screw tight for waterproofing.
-
-
-
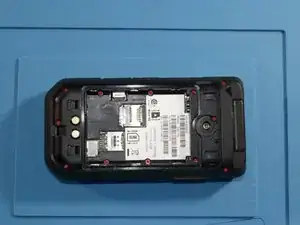
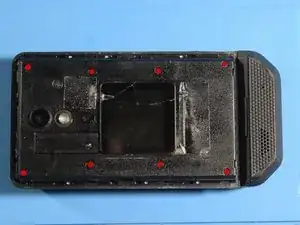
AFTER REMOVING THE SCREWS, THE PHONE WILL NO LONGER BE WATERPROOF. This is because there are tiny gaskets around the screws to ensure its ip68 rating.
-
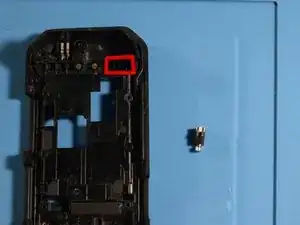
remove the 12 screws holding on the back. It should come off without any resistance because there is no clips
-
-
-
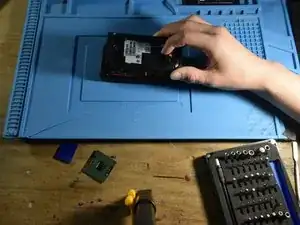
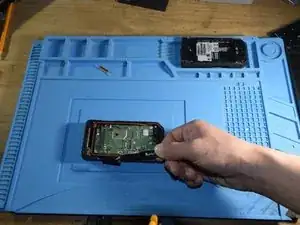
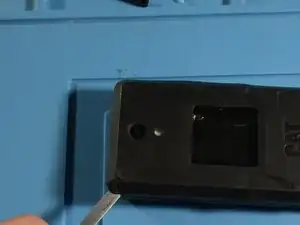
after we remove the back we have an optional part to take out. its the vibration motor. use tweezers or your fingers to remove it from the back
-
-
-
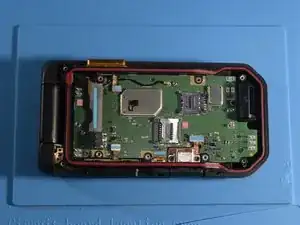
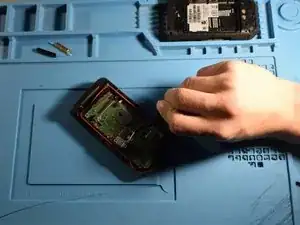
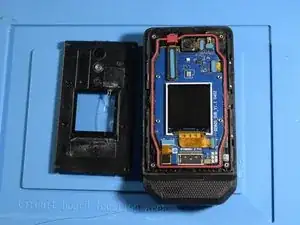
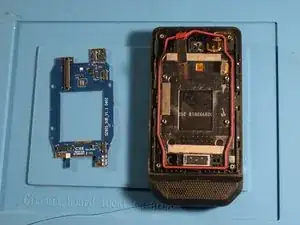
wow look at all those connectors. even the usbc is on its own easily replacable board!
-
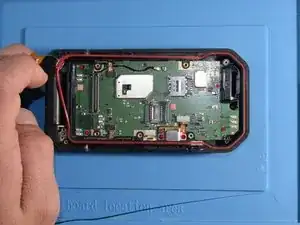
remove all the connectors marked in blue.
-
-
-
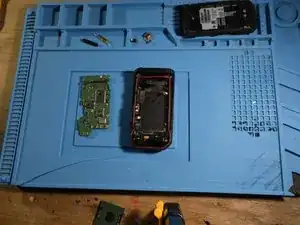
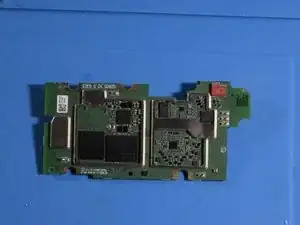
just gently lift it up and take it out. after removing the heat shields we get to see the soc and the storage, as well as what I think is the modem.
-
-
-
there is a rubber cover on top of the unit that protects it. removing this shows another set of screws and a hard plastic cover
-
-
-
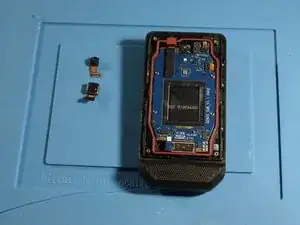
the front and back cameras come out pretty easy. be careful with the rear camera as there is some glue holding it down. using some ipa can help.
-
-
-
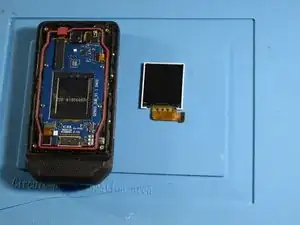
at first I didn't think that the screen could be taken out. this was incorrect. after using my 3d printer (you can use your own method) to heat up the screen. from there I used ifixit picks to carefully pry the screen off
-
-
-
although the s22 is designed competently, there appears to be little to no repair parts available. the only place I was able to find that sells repair parts is in India and does not ship outside India. here is the website
-


One comment
really apreciate the teardown, thanks william:)