Introduction
This is a full teardown of Gamestop's new CANDY CON wireless controller for the Nintendo Switch and PC. This controller operates as a bluetooth switch pro controller on the NS setting and a PC dongle wireless controller using the PC mode.
Key features include:
Customizable face plates
Customizable D-pad
Customizable Joysticks
Bluetooth 5.2
USB Dongle
USB C Charging
Analog triggers
Hall effect joysticks
Rechargeable 600mAh battery
2 Rear Programmable buttons
Macros and Turbo Mode
-
-
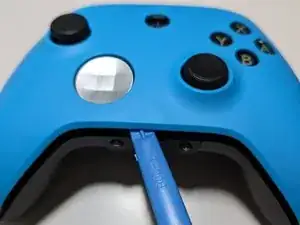
Locate the indentation on the bottom of the controller
-
Pull the faceplate off using a fingernail or spudger
-
-
-
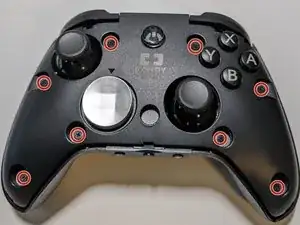
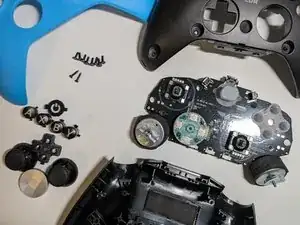
Remove 8 Phillips screws with a Philips #1 screwdriver
-
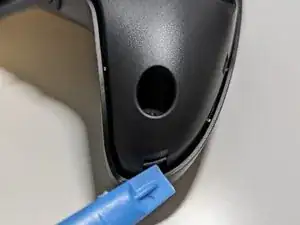
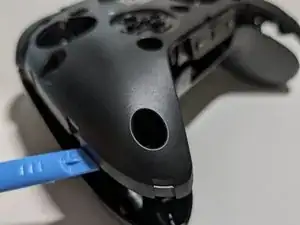
Pry open the two main pieces by pulling up on the edges of the controller
-
-
-
Separate the controller by flipping it on its face and then prying up near the bottom buttons
-
-
-
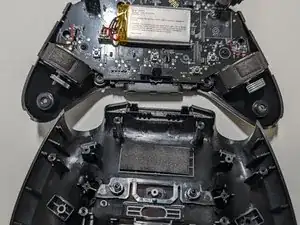
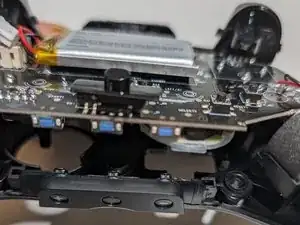
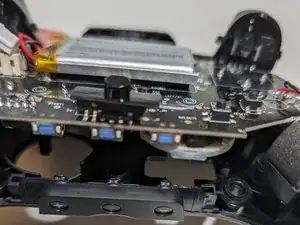
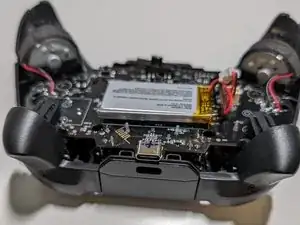
Carefully remove the mainboard and attached haptic motors by pulling it up from the bottom and then top
-
-
-
Follow the teardown guide in reverse to reassemble the controller
-
When reassembling the controller align the bottom buttons first and then work on the charging port side
-
Test all the buttons before or right after screwing in the mainboard
-
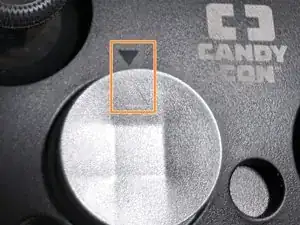
The D-pad has an arrow on the top that should point up (towards the arrow on the base controller)
-