Introduction
Tools
-
-
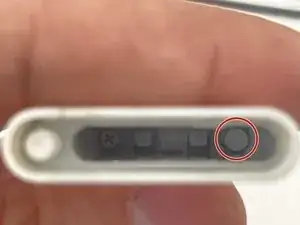
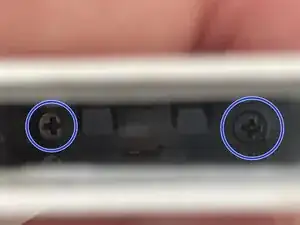
If you see now where the battery resides, you will see one screw.
-
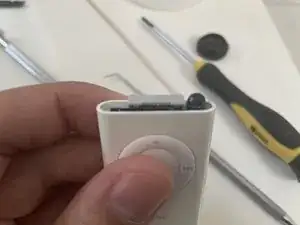
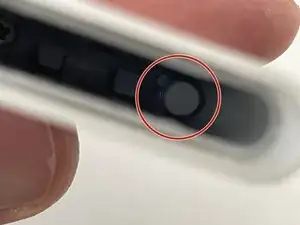
But there is another one hidden under the gray piece of plastic. So we need to remove it.
-
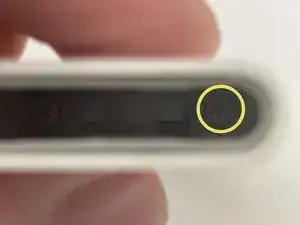
I used the tip of a dental pick.
-
Now you can see the second screw.
-
-
-
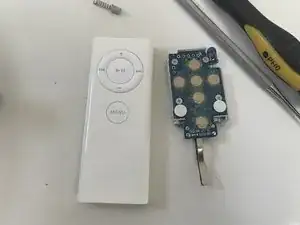
Undo the two screws and you can now liberate the internals in two pieces.
-
Without taking out completely one of the screws, push against it so the upper part slides out. You can now grab it with you hands and put it aside.
-
Now, pull the bottom part.
-
-
-
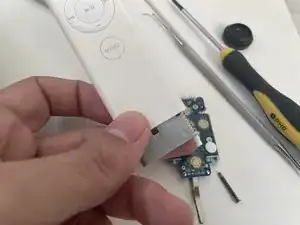
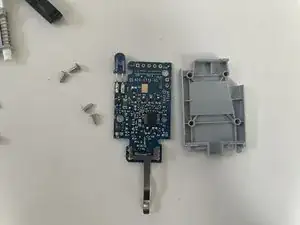
We have only one step to do to consider the teardown complete.
-
Undo the four screws holding the main board with a #00 phillips screwdriver.
-
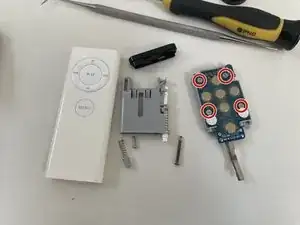
Now the teardown is completed.
-
-
-
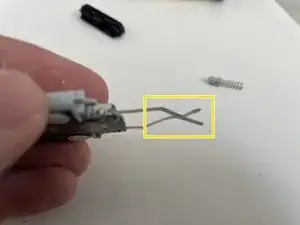
To reassembling it, we should take special care on the battery contacts are they should be springy and put under the gray bottom plastic.
-
Bend the contacts a little bit to make this shape.
-
Insert the top part, this step is easy.
-
Now insert the bottom part, but half way.
-
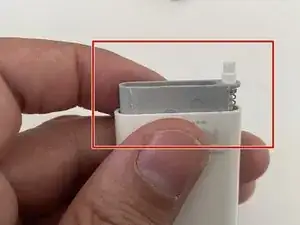
And, with the help of something slim, push the bottom completely making sure the battery contacts are behind the gray plastic.
-
In the picture I show you how NOT to let the contacts, it is outside the gray plastic.
-
-
-
Now, screw the two screws (the shorter one is the one that is going to be covered by the spring of the release mechanism).
-
Put the spring + the plastic pusher into place.
-
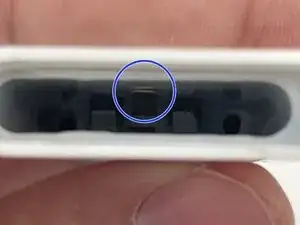
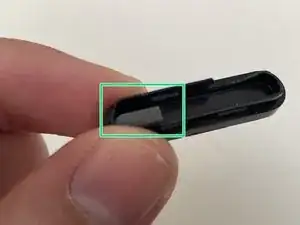
And put the black top cover in place, taking special care on align it so this part is in the IR led side.
-