Introduction
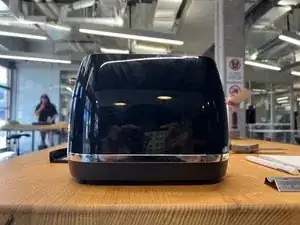
This is a teardown of a 2 Slice Anko Toaster for a univerity assignment. Looking at how the product was assembled, Costs, and analysing everything which could have been considered during its design and production.
The product was purchased at Kmart in Australia for a price of $20 AUD
Link to purchase the product is here: https://www.kmart.com.au/product/2-slice...
-
-
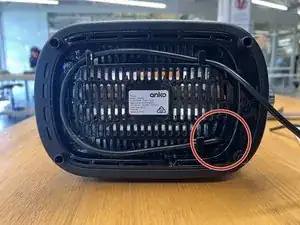
Unbox the Toaster or clean up after using in order to begin teardown. Put on Personal Protective Equipment (PPE) such as safety goggles and gloves. Firstly,before disassembling and starting with the teardown make sure the power plug is either unplugged or cut from its body.
-
In this teardown you will need some equipment as you go such as power drills, screwdrivers and a pair of stronghands.
-
-
-
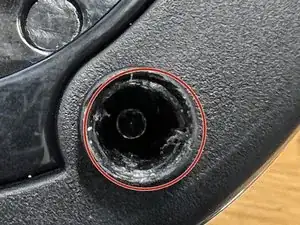
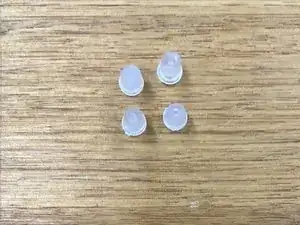
Once the power cord has been removed meaning the toaster is unable to function, move onto the next step. Begin by removing the four cushioned soft plastics out of the base (these were in place to stop the toaster from slipping), and unscrew all four torx head screws from the base. This step can be tricky and may reqire some power drilling.
-
This will allow you to then remove the base from the top revealing the insides of the toaster in order to continue with the teardown.
-
-
-
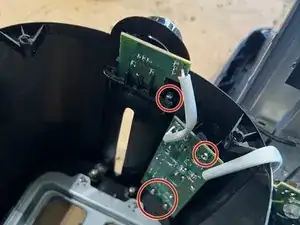
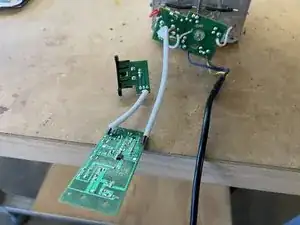
Now that most of the toaster's components are revealed we will start with removing the control panels. The control panels or PCB's are located in the upper shell of the toaster where you would usualy push your toast down. These PCB's are simply screwed in with screws. So unscew them and pull them out.
-
Now the top frame can be fully seperated from the bottom frame.
-
-
-
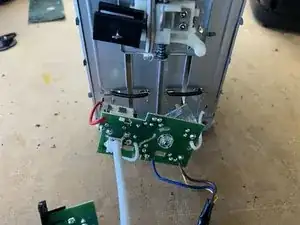
Once the Shell Assembly has been removed, move onto the toaster contoll mechanism on the right side. Most of the components are screwed in so unscrew any philips head screws you can see as they all need to be removed.
-
With all of this unscrewing piece by peice parts will come off of the body. Let it be know that many of these parts are made from cheap aluminum metal as it is known for its heat resistance, light weight and cost in manufactuing. What this also means is that parts are easily able to be bent and may need to be bent in removal from the toaster body.
-
-
-
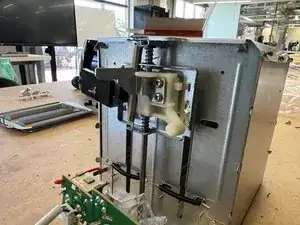
Once the loading and operational mechanism on the side has been removed with all the screws. Then cut any remaining wires that are attached to the body or other components. This will then give you full acess to the heating element which is essentaily all manufactured together using press fit components and slotting features.
-
-
-
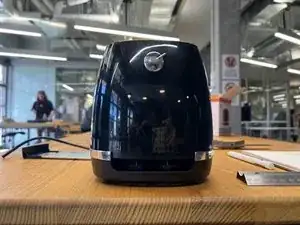
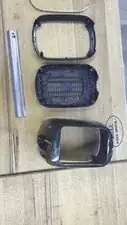
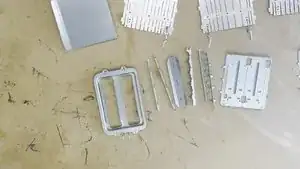
Here is an image of the outerframe of the toaster. Fairly simplistic as all it does is hide the ugly metal components on the inside of the toaster. All of the parts are injection moulded plastic meaning its lightweight while also durable to the effects of moring bread toasting routines.
-
-
-
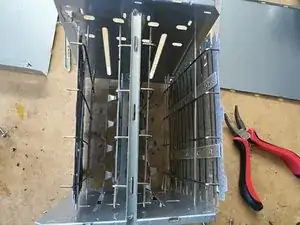
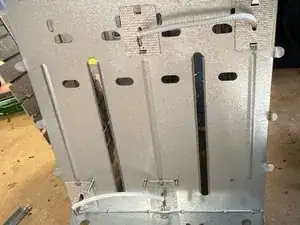
In this step you can see an image of the heating assembly subassembly. These components are all made of thin aluminium sheets for a plethora of reasons. Manufactured using techniques such as lazer cutting, stamping, bending and more.
-
-
-
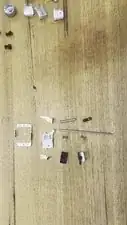
In this image you can see an exploded view of the subassembly of the rest of the parts within the toaster which fit into the category of mechanism or control. These are parts such as PCBs screws and also the variable toast browing controls.
-
Thank you for looking at the teardown of this 2 Slice anko toaster bought from Kmart. While it was interestign to look at how a toaster was consturcted and see how it works, it was dissapointing to see a couple things, however. Many components are loosely placed or press fit in place meaning when it comes to teardowns not many steps can be created.
-
This means it may be harder for someone to follow the teardown created. Also this meant it was harder to create expoled views of the parts as they just fell apart when disassabling.
-