Introduction
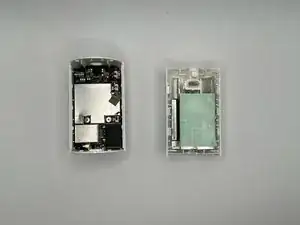
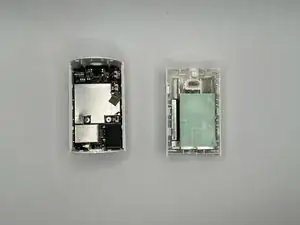
This guide provides a replacement walkthrough for the body of the ring Indoor Cam. This walkthrough is useful for opening the device for internal repairs or replacement of the camera base or body.
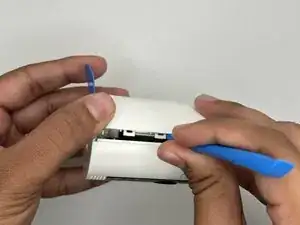
While prying the device, insert multiple iFixit opening picks into the creases to loosen the interlocking of the cam covers and prevent damaging your device.
Tools
-
-
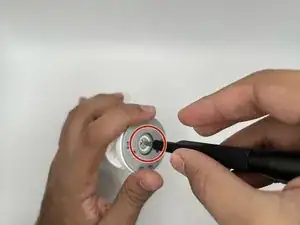
Place the cam with the base facing towards you.
-
Loosen the 21.6 mm silver screw using a Phillips #1 screwdriver.
-
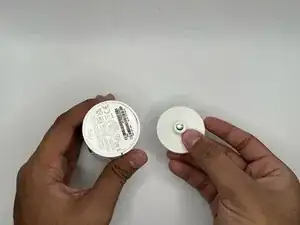
Remove the base from the rest of the camera.
-
-
-
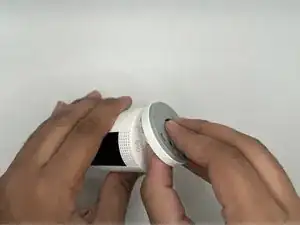
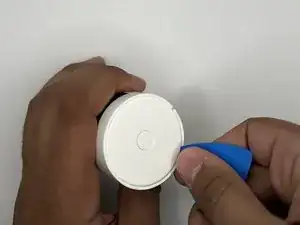
Place the cam with the top facing toward you.
-
Insert the iFixit opening pick into the crease at the top of the camera.
-
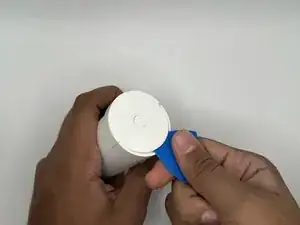
Slide the pick along the crease until you can separate the top cover of the camera from the backing.
-
Leave the pick in the crease.
-
-
-
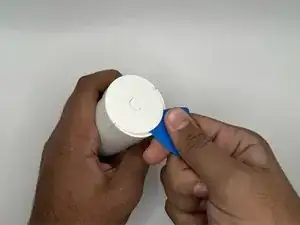
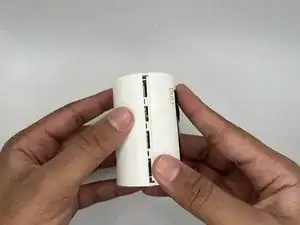
Place the camera on its side where the horizontal crease is facing you.
-
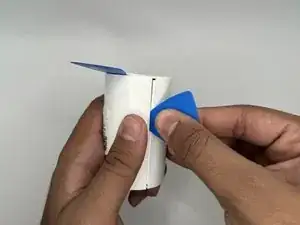
Insert another iFixit opening pick into the crease between the front and back portions of the camera.
-
-
-
Slide the pick along the vertical crease until you can remove the back cover of the cam, using the opening tool to pry the portions apart.
-
To reassemble your device, follow these instructions in reverse order.
