Introduction
The F35 is a DLP projector made by projectiondesign out of Norway. The GP3 series includes other projectors including the commercial/professional models F3, F30, F32, F35, FL32 and FL35 (LED light source), and is similar to the consumer/home theater models Action! model three, cineo3, and some Avielo models.
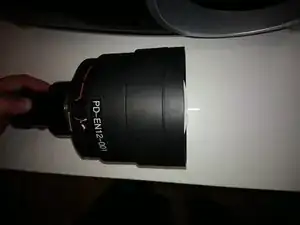
There are almost a dozen lenses made by PD that are compatible with the GP3 projectors. Some are zoom while others are prime/fixed throw ratio. All of them have a PCB and chip on them which lets the lens identify itself to the projector.
-
-
EN41 Standard Zoom Lens Throw Ratio 1.69:1-2.50:1
-
EN43 Wide Zoom Lens Throw Ratio 1.20:1-1.69:1
-
EN44 Short Tele Zoom Lens Throw Ratio 2.50:1-4.61:1
-
EN45 Ultra Wide Zoom Lens Throw Ratio 0.80:1-1.21:1
-
-
-
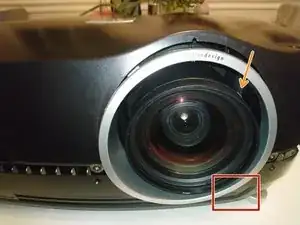
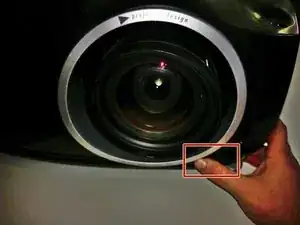
Begin by pressing and holding the lens-release button with your right hand (or have a helper do this).
-
Grasp the outside barrel of the lens with one or two hands, and start to rotate it counter-clockwise. Be prepared to support the weight of the lens as it is released from the locking mount.
-
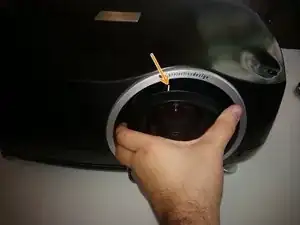
It will rotate about 45 degrees -- watch the mark on top of the pictured lens for the start and end points.
-
After rotation stops, slide the lens out of the projector.
-
-
-
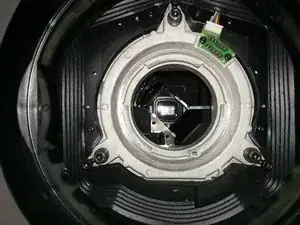
Before installing a lens, make sure there are no obstructions inside the projector (like the original plastic lens mount protector), and remove any back cover or rear cap on the lens itself.
-
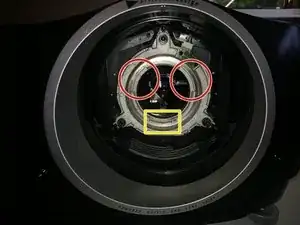
Look at the metal mounting flange inside the projector, and at the tabs on the lens itself. There should be three tabs/slots visible.
-
Two tabs/slots are about the same size -- they'll be on top when the lens slides in.
-
One slot/tab will be about 2/3 the length of the others. That one goes "down" as the lens is inserted.
-
Insert it such that the smallest tab of the lens mount "foot" faces down, make sure the lens is completely seated "in-plane', then gently rotate clockwise about 45 degrees -- you should hear and feel a definite tactile click when it locks into place.
-


That's it! Not much reason to remove a lens unless you're servicing the projector, or repurposing it. Be careful -- if it's heavy, it's probably expensive. And, cover up the projector's lens mount hole to keep dust and debris out.
