Introduction
Learn how to replace iPhone Xs and Xs Max screen. Only replace screen glass, making for an easy and low-cost.
All you need to do is remove the broken screen glass and laminate the new glass. This tutorial will repair iPhone Xs and Xs Max screens in once time.
Tools
Parts
-
-
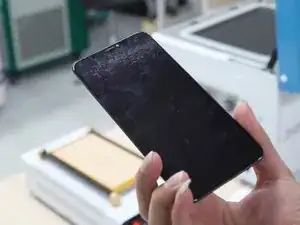
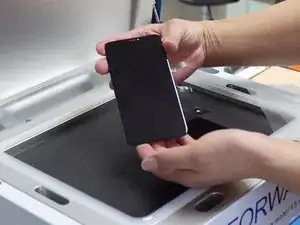
From the picture, we can see that there are obvious scratches on the top of iPhone Xs Max’s glass, so we have to replace a new one. Repair details would be shown in below, let’s move on.
-
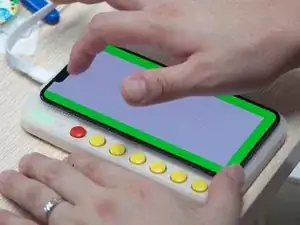
Initially, we need to test the display and touch.
-
Next, we have to remove the bezel of screens.
-
The first thing we have to do is preheat the heating platform of the manual separator device. It’d better set the temperature of the heat platform at 90℃.
-
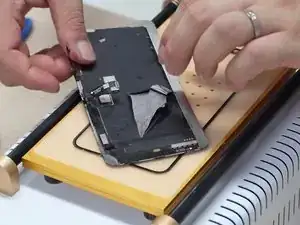
Then we put iPhone Xs Max’s screen on the preheated platform.
-
-
-
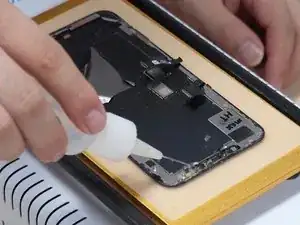
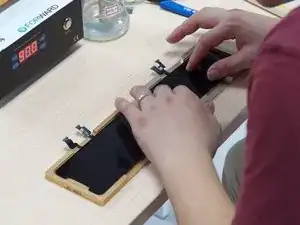
We apply the specialized glue remover X11 to the gap between the bezel and the screen.
-
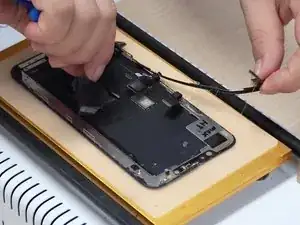
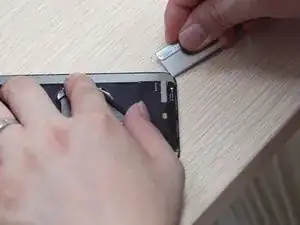
And cut off a small piece of the top bezel that adheres to screws with pliers.
-
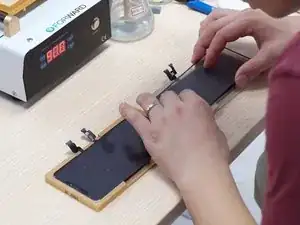
Then slowly pull the bezel out with hands.
-
-
-
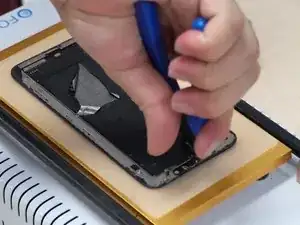
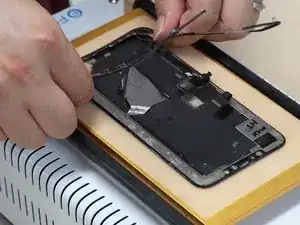
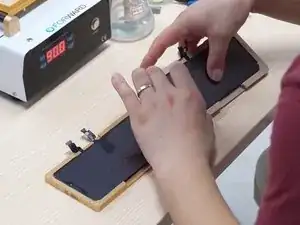
At the bottom position of cable, we can separate the bezel with a plastic pry piece.
-
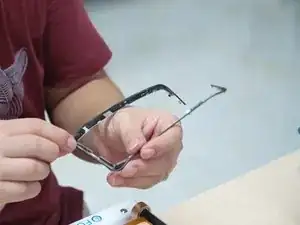
All right, now the whole bracket has been separated.
-
-
-
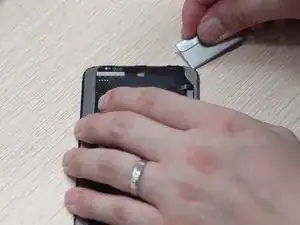
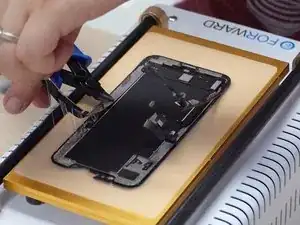
We should remove the residual glue on the edge of screen assembly with the degumming tool.
-
Then scrape the light glue between the screen assembly and the glass with a blade.
-
Once done, we can start to separate the broken glass
-
-
-
Separate the glass with steel wire.
-
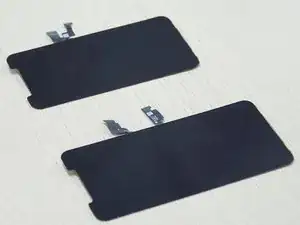
Now, we have separated the screen assembly from the glass.
-
And it’s time to remove iPhone Xs bezel and separate the glass. The steps are the same as before. So we just need to repeat it.
-
-
-
We have finished separating the screen assemblies of iPhone Xs and Xs Max.
-
For the next part, we will laminate new glasses.
-
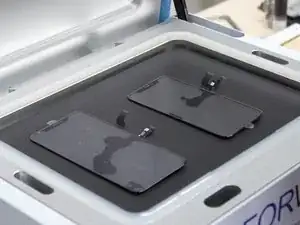
Firstly, we put two screens assemblies into their dedicated mold.
-
Secondly, we laminate new glasses on them.
-
-
-
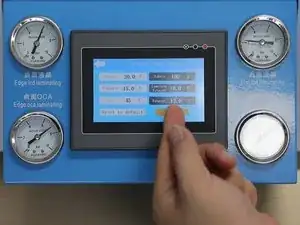
Here we choose Flat LCD mode. In this mode, the machine has preset a suitable pressure value.
-
Then choose “setting”, setting the vacuum time to 20s, laminate time to 15s and bubble remove time to 180s.
-
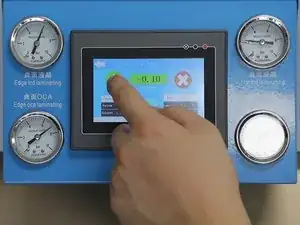
After that, we go back to Flat LCD mode and select “BOTH” into laminating & bubble mode, pressing the start key.
-
-
-
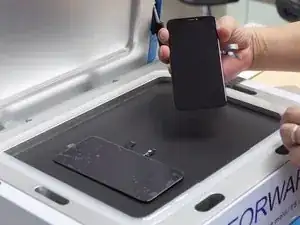
Take out two screens after completing the lamination.
-
When we tear off the protective film of the glass, we can see that the laminating and bubble removing effects are super good.
-
Next, we test two screens’ display and touch.
-
Perfect
-
-
-
After finishing the test, we stick new bezels with a glue maker.
-
The bezel should be glued around.
-
Then install the screen.
-
And press around to make the screen close to the bezel.
-
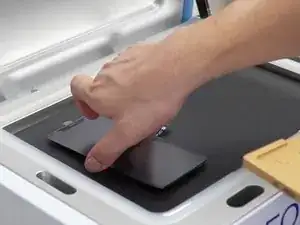
We continue to place the screen into the pressure retaining mold.
-
Wait patiently for 30 minutes. Then Pressure is done. We take out the screen.
-
-
-
The repair job is done as soon as we clean up the screen with white oil.
-
From the picture, we can see the final effect of all repair steps, it’s excellent.
-


To repair your iPhone Xs or Xs Max, follow the tutorial step by step. Repair didn’t have experience?
Check out our Youtube channel to watching the video tutorials.
Any maintenance problems, welcome to consult.