Introduction
Use this guide to revive your iPhone 8’s battery life and performance with a new battery. If your battery is swollen, take appropriate precautions.
This guide instructs you to completely detach the display assembly. This is intended to prevent accidental damage to the display cables. If you feel comfortable removing the battery without putting undue strain on the display cables, you can skip the steps for detaching the display.
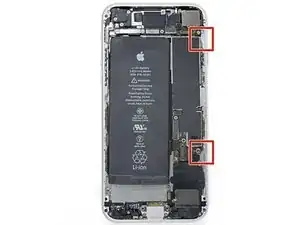
While it’s possible to remove the adhesive strips securing the battery as soon as you open the phone, the written guide strongly recommends first removing the Taptic Engine. Pull-stretch adhesives are designed to be pulled at a shallow angle. Doing so reduces the risk of breaking the lower adhesive strips accidentally, either by snagging them on the Taptic Engine, or by pulling the strips at too sharp of an angle.
For optimal performance, after completing this guide, calibrate your newly installed battery: Charge it to 100% and keep charging it for at least two more hours. Then use your iPhone until it shuts off due to low battery. Finally, charge it uninterrupted to 100%.
Tools
Parts
-
-
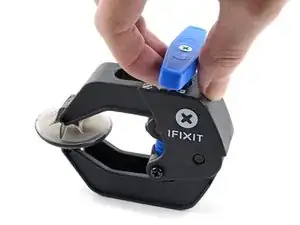
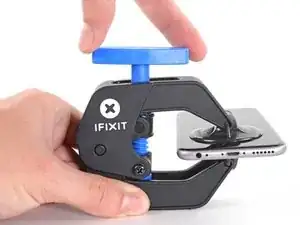
Pull the blue handle backwards to unlock the Anti-Clamp's arms.
-
Slide the arms over either the left or right edge of your iPhone.
-
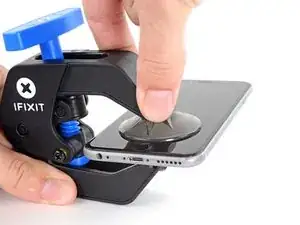
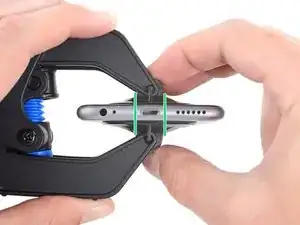
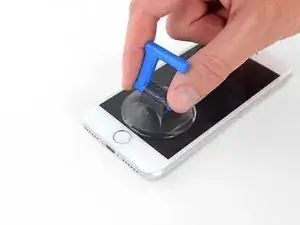
Position the suction cups near the bottom edge of the iPhone just above the home button—one on the front, and one on the back.
-
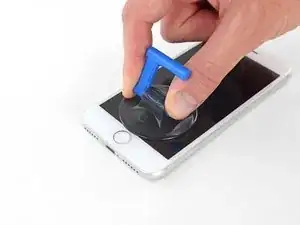
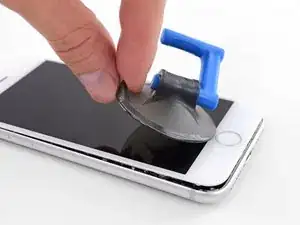
Squeeze the cups together to apply suction to the desired area.
-
-
-
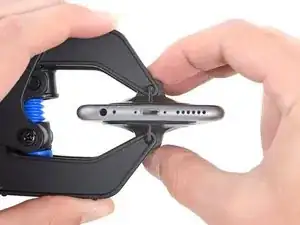
Pull the blue handle forwards to lock the arms.
-
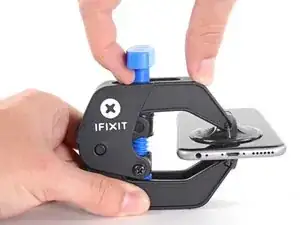
Turn the handle clockwise 360 degrees or until the cups start to stretch.
-
Make sure the suction cups remain aligned with each other. If they begin to slip out of alignment, loosen the suction cups slightly and realign the arms.
-
-
-
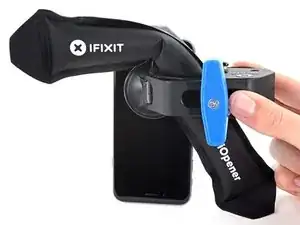
Heat an iOpener and thread it through the arms of the Anti-Clamp.
-
Fold the iOpener so it lays on the bottom edge of the iPhone.
-
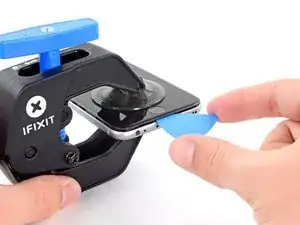
Wait one minute to give the adhesive a chance to release and present an opening gap.
-
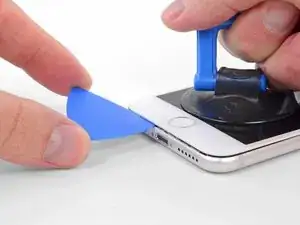
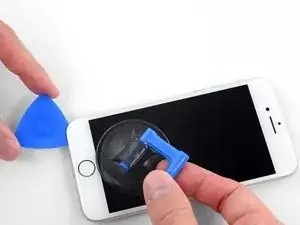
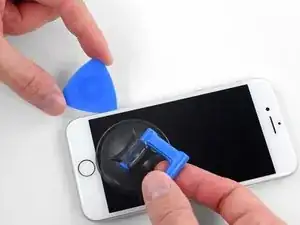
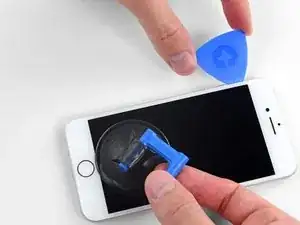
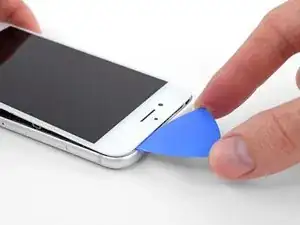
Insert an opening pick into the gap.
-
Skip the next three steps.
-
-
-
Heating the lower edge of the iPhone will help soften the adhesive securing the display, making it easier to open.
-
Use a hairdryer or prepare an iOpener and apply it to the lower edge of the phone for about 90 seconds in order to soften up the adhesive underneath.
-
-
-
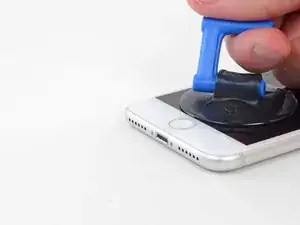
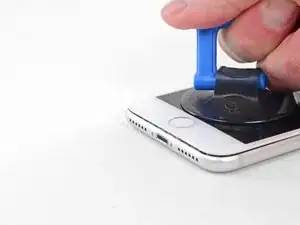
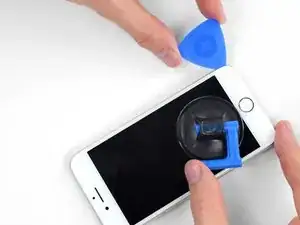
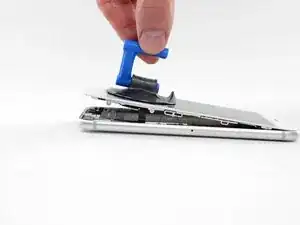
Pull up on the suction cup with firm, constant pressure to create a slight gap between the screen and the frame.
-
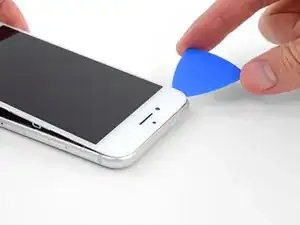
Insert an opening pick into the gap.
-
-
-
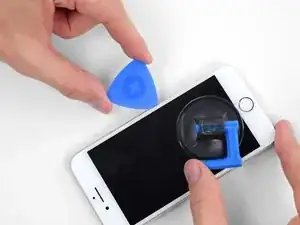
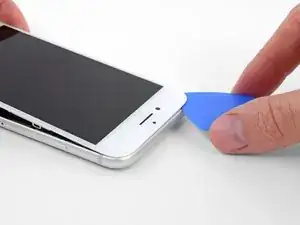
Slide the opening pick up the left edge of the phone starting at the lower edge and moving towards the volume control buttons and silent switch, breaking up the adhesive holding the display in place.
-
Stop near the top left corner of the display.
-
-
-
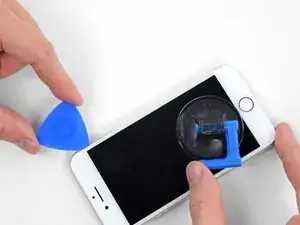
Re-insert your tool at the lower right corner of the iPhone, and slide it around the corner and up the right side of the phone to separate the adhesive.
-
-
-
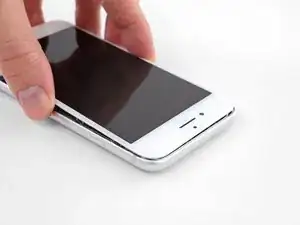
Gently pull up on the suction cup to lift up the bottom edge of the display.
-
Pull on the small nub on the suction cup to remove it from the front panel.
-
-
-
Slide an opening pick underneath the display around the top left corner and along the top edge of the phone to loosen the last of the adhesive.
-
-
-
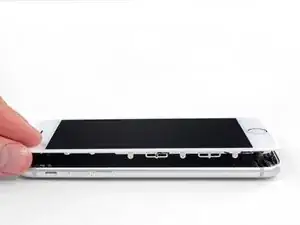
Slide the display assembly slightly down (away from the top edge of the phone) to disengage the clips holding it to the rear case.
-
-
-
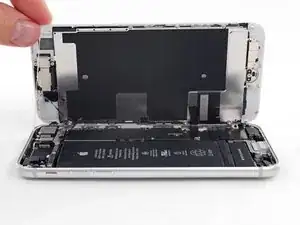
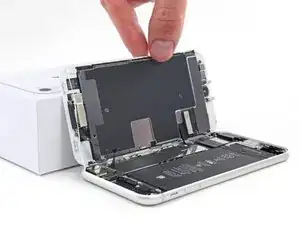
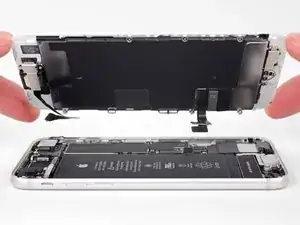
Open the iPhone by swinging the display up from the left side, like the back cover of a book.
-
Lean the display against something to keep it propped up while you're working on the phone.
-
-
-
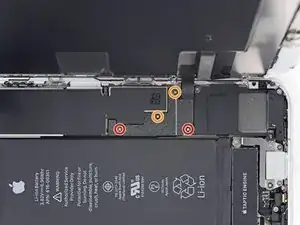
Remove four Phillips screws securing the lower display cable bracket to the logic board, of the following lengths:
-
Two 1.3 mm screws
-
Two 2.8 mm screws
-
Remove the bracket.
-
-
-
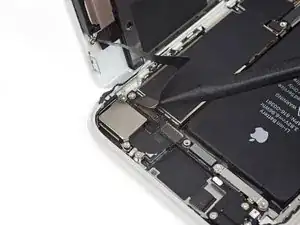
Use the point of a spudger to pry the battery connector out of its socket in the logic board.
-
Bend the battery connector cable slightly away from the logic board to prevent it from accidentally making contact with the socket and providing power to the phone during your repair.
-
-
-
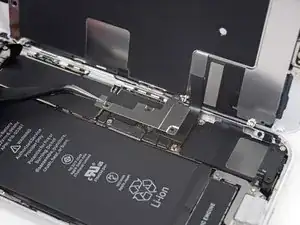
Remove the three 1.3 mm Phillips screws securing the bracket over the front panel sensor assembly connector.
-
Remove the bracket.
-
-
-
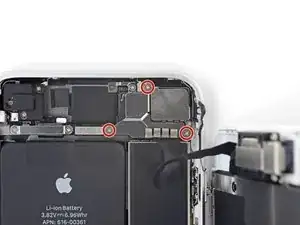
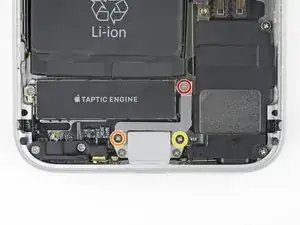
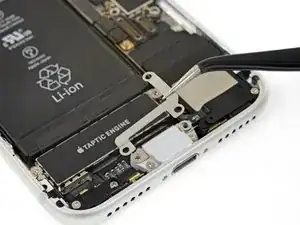
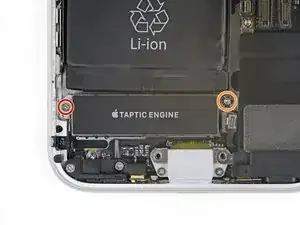
Remove the three screws securing the bracket next to the Taptic Engine:
-
One 1.3 mm Y000 screw
-
One 2.7 mm Phillips screw
-
One 2.9 mm Phillips screw
-
-
-
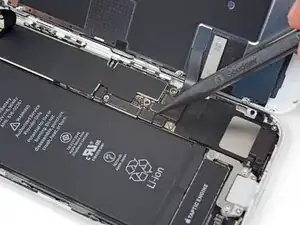
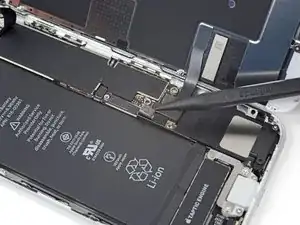
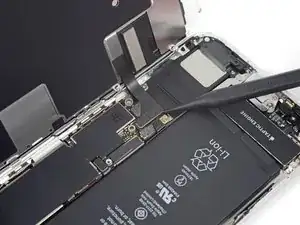
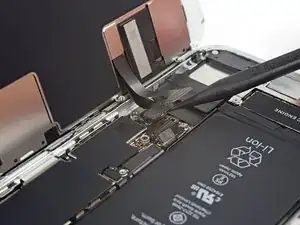
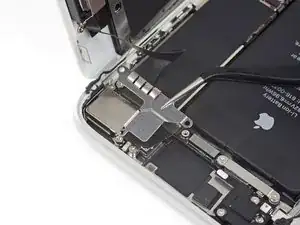
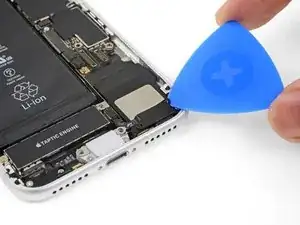
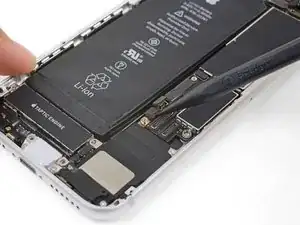
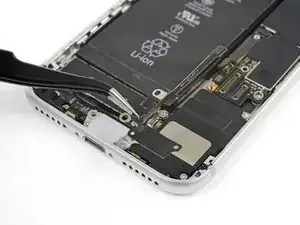
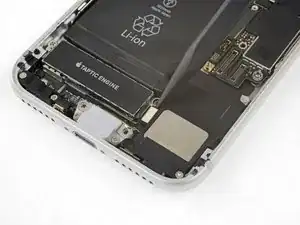
Use the point of a spudger to pry up and disconnect the diversity antenna flex cable from the logic board.
-
-
-
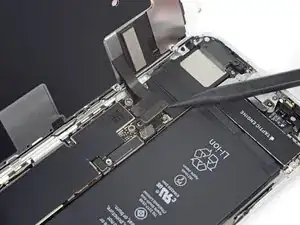
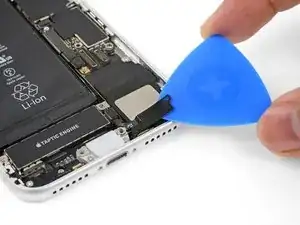
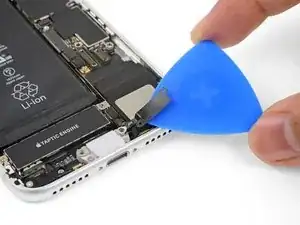
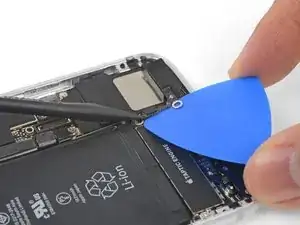
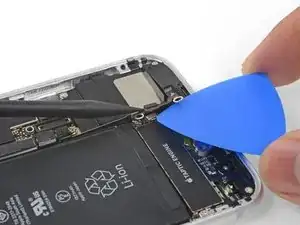
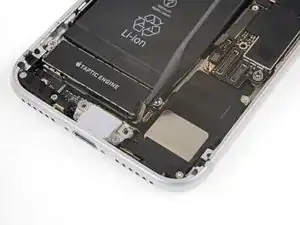
Slide an opening pick under the antenna flex cable to hold the socket down.
-
Use the point of your spudger to pry up and disconnect the antenna flex cable from its socket, using the opening pick to hold the socket down.
-
-
-
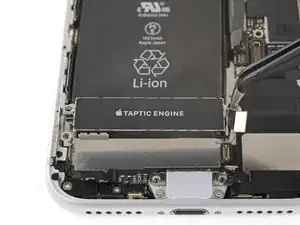
Remove the two screws securing the Taptic Engine:
-
One 2.1 mm Phillips screw
-
One 2.1 mm standoff screw
-
-
-
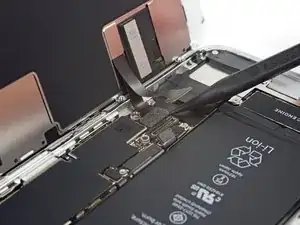
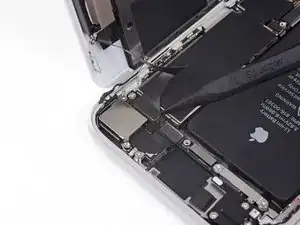
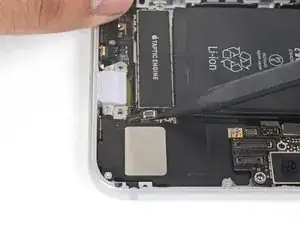
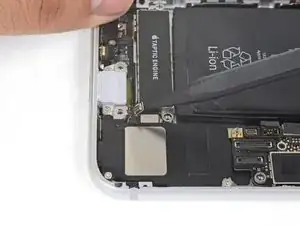
Use the point of your spudger to pry the antenna cable socket up and away from the connector below it.
-
-
-
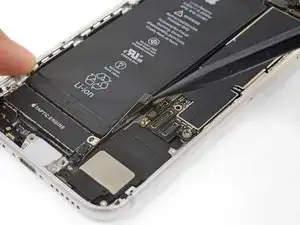
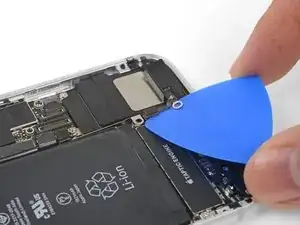
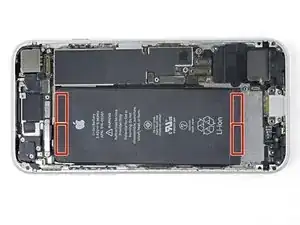
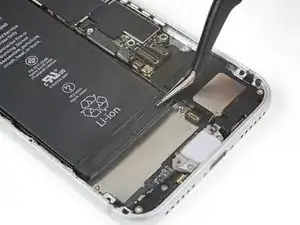
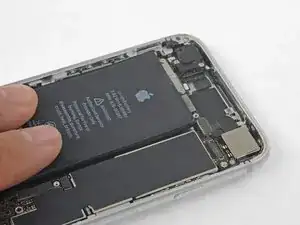
Each piece of adhesive has a black pull-tab at the end, which is lightly adhered to the front surface of the battery.
-
-
-
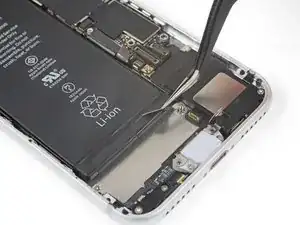
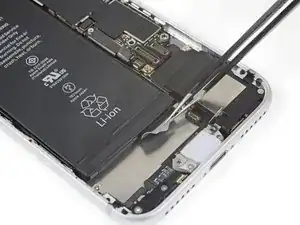
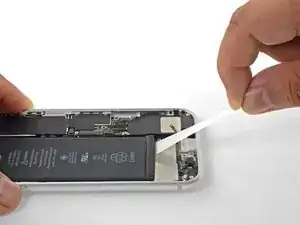
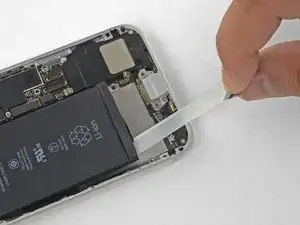
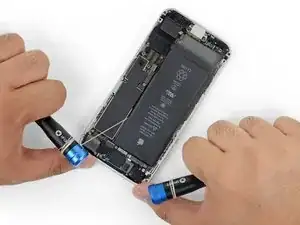
Slowly pull one battery adhesive tab away from the battery, towards the bottom of the iPhone.
-
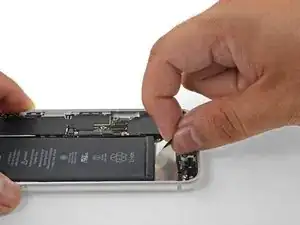
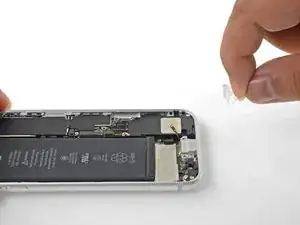
Pull steadily, maintaining constant tension on the strip until it slips out from between the battery and the rear case. For best results, pull the strip at as low an angle as possible, without snagging it on any of the iPhone's other components.
-
If the battery adhesive tabs break during the removal process, use your fingers or blunt tweezers to retrieve the remaining length of adhesive, and continue pulling.
-
-
-
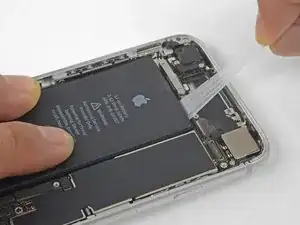
Repeat the above steps to remove the remaining three adhesive strips.
-
If you removed all of the adhesive strips successfully, skip the next step.
-
-
-
Pull the string from side to side in a sawing motion all along the length of the battery to separate the adhesive. Do not deform or damage the battery.
-
-
-
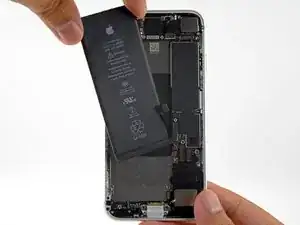
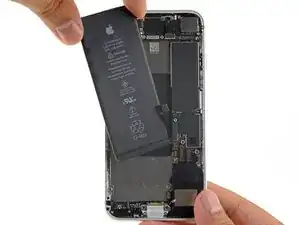
Remove the battery from the iPhone.
-
Adhere the battery, disconnect it, and continue reassembling your device.
-
To reassemble your device, follow these instructions in reverse order. Don't forget to reapply the display adhesive before reinstalling the display.
Take your e-waste to an R2 or e-Stewards certified recycler.
Repair didn’t go as planned? Check out our iPhone 8 Answers community for troubleshooting help.
66 comments
I still did it in 30 minutes….but I am glad I stop repairing phones around the Iphone 6s ! Now it takes serious effors just to replace the battery !
One note on this repair: When reinstalling the standoff that connects to the Taptic Engine, I found that the pointy tip of the spudger fits really well into the little hole at the top of the standoff, and helps with getting it into place and screwing it down if you don’t have a screwdriver bit for the standoff. Hope this is helpful!
Are steps 18 to 27 really required if you’re just replacing the battery?
Hi Daniel!
The pull-stretch adhesive holding the battery has a tendency to tear when they are pulled at a steep angle. When they tear, removing the battery becomes much more difficult. We strongly recommend removing the Taptic Engine in order to give the adhesive the best chance of coming out in one piece.
I tried doing it the ‘easy’ way without those steps. I wound up breaking the top adhesive tabs and it made it a lot harder to remove the battery and took a lot of extra time. If I had to do it again, I would do all the steps. Otherwise, things went very well. Very good instructions.
I have done both the “long way” and the “short way.” If I start with the top tabs and they break, I will skip step 18 - 27 since I will have to use the floss / alcohol / pry method anyway.
Take this with a grain of salt, I very well may have been lucky. But the first two tabs soon tore despite taking it very slowly and carefully and working with the phone on a bed of dry rice heated to 175˚F in a microwave dish enclosed in a slightly-thick plastic bag (I have an infrared thermometer that's not just a fun toy, it's been incredibly useful in a variety of situations). So I (with trepidation) veeeeeeeery slowly and gently worked the battery up from the end I'd tried the first two tabs from, with only barely-noticeable deformation (maybe a 5-degree bend) occurring. Once I had it up, the adhesive was easy to remove by gently picking at the edges and then pulling.
~ I would NOT recommend this if you have any degree of swelling in your battery, and I can't even say I recommend it in general since I may have just been lucky. ~ But unless you can meet the perfect balance of "hot enough to easily separate, but coherent enough to not easily tear", the extra steps will waste time and won't prevent tearing.





just how long are those screws- i turn and turn and turn and the lift off is soooo slight, seemingly insignificant…
An. Jahnke -
I would recommend, from the very beginning, dumping all tools out of the kit (if you got it) and using that white paper tool box as a tray to organize the screws and braces in. It’s nice to work over because it catches screws well and makes it easy to see them if you drop any.
Johnny Emrica -
That’s a great idea thank you
Mohamed Dekkiche -
Screw to the left of the charging port will not come out. Screw on the right came out no problem. Any ideas?
Bill Maher -
I already replaced my iPhone 8 battery with one from iFixit and honestly I wasn't impressed. It worked well for a few months, but then I started noticing the peak performance capability dropping significantly thereafter. I followed the initial charging instructions to a tee and only let it drop below 20% once a month. Normal everyday use for me... no intense apps like games, etc. I considered having Apple do it this time around, but for these older models they don't keep the batteries in-stock and you have to give them your phone for up to a week. So in the end, I opted to try another battery from iFixit instead. Hopefully this one will last longer.
tripmusic -
How with the gigantic kit do I not have a 3 1/2 pentalobe driver the very first screwdriver I reach for and that I need is not in any of these kits. What’s up with that?
Michael Stephens -
Same problem. The kit comes with a screw driver, but not for this pentalobe screw. This is a problem.
Yuji Ishitsuka -
I had to search what screwdriver bit I had to use from the ifixit toolkit; it's the P2 bit. (Maybe it's more obvious if you bought the battery kit, because it only has one type of pentalobe screwdriver.)
Nathaniel Zielstra -