
Introduction
As a fan of iFixit, I wonder why not translate some tutorial for iOS device at iFixit, so I produced this one. I hope you like it, and there will be more for everybody.
-
-
Before we start, please make sure your iPhone has been turned off.
-
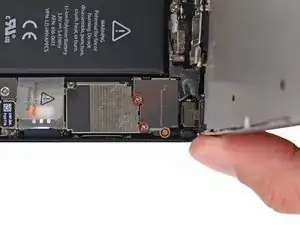
Now you can unscrew the two star-shaped screws next to the charging interface
-
-
-
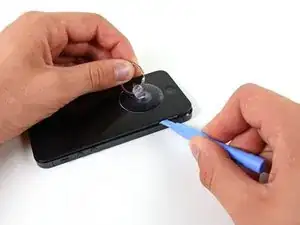
Put a small suction cup above the home button to hold the screen glass.
-
Make sure your suction cup sucks tight enough!
-
-
-
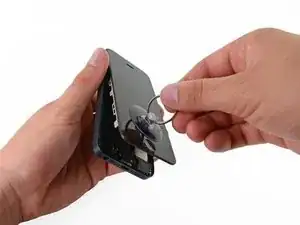
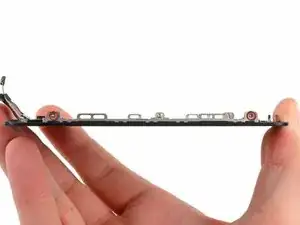
Pinch the suction cup in one hand and carefully lift the screen assembly.
-
Through the attractive body of the iPhone 5 we can guess that the assembly of the screen and the fuselage fit more compact, so you need a slightly larger force for the screen from the fuselage.
-
As there are some clips that hold the screen, you must use the plastic ignition tool shown in the illustration.
-
-
-
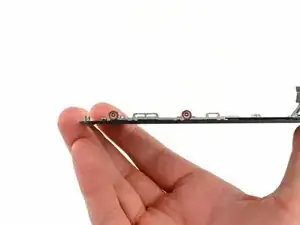
Once buckle is open, you can move screen by pulling the suction cup.
-
Be careful, there are cables behind the screen, so do not remove whole screen at this moment.
-
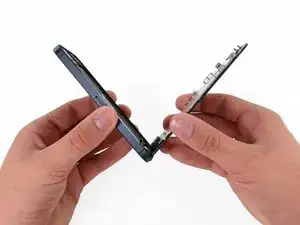
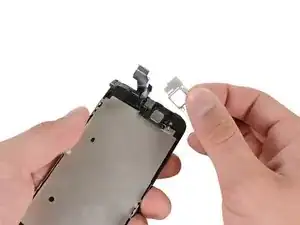
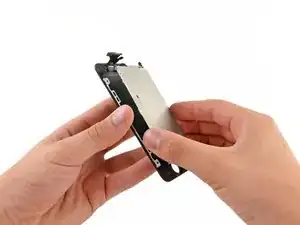
Hold the camera side and then pull the screen to make a V shape, but still do not disconnect with the mainboard.
-
You may now see components inside iPhone 5.
-
-
-
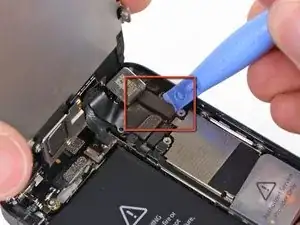
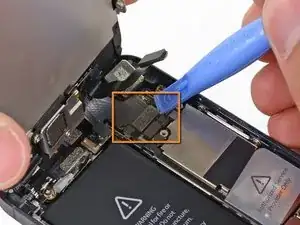
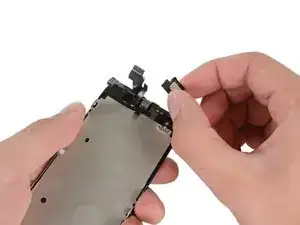
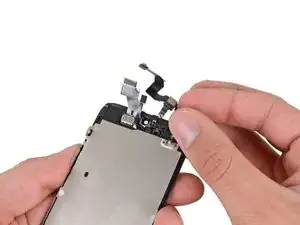
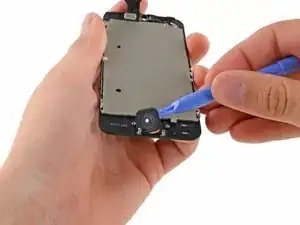
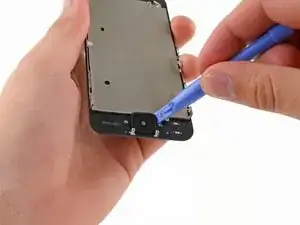
Use a plastic tool to gently disconnect three interfaces as shown, it is similar as cloth clips, no worry to welding.
-
The screen is connected to the mainboard through these three interfaces: front camera cable, touch screen cable, and the LCD screen cable.
-
-
-
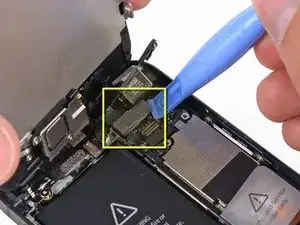
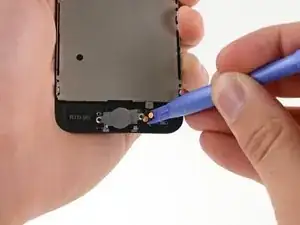
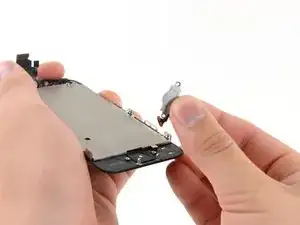
In the position shown in the picture, there is a small cable connector, which can be gently removed with a plastic tool.
-
-
-
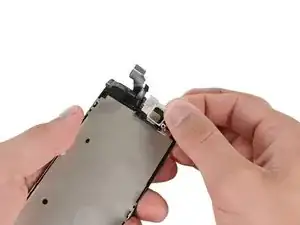
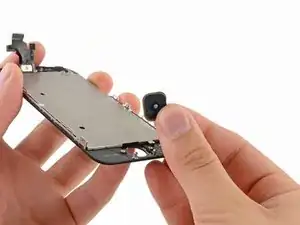
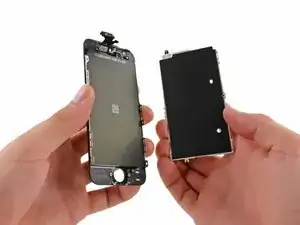
Finally you have the iPhone 5 screen with integrated components.
-
Replace the screen with a new one, and reverse the operation set forth before to assemble it back to your iPhone.
-
If your friend or you have a broken iPhone 5 screen, what are you waiting for? It is your show time! If you don't have a broken one, try to make one.
-
Have a good day, and Good Luck!
-


In order to reassemble your device, follow these instructions in reverse order.