
Introduction
A iPhone 4 trouble shooting repair is much easier than you think. If your iPhone 4 will not turn on unless plugged in to a charger, and even then it's only on for two minutes and then will shut off again. If you try to plug your iPhone 4 into the computer it will come up with the Apple logo and then will fade off and on forever. Lastly when your iPhone 4 does turn on if it says that it's December 31. Your problem is your battery. In this manual I will teach you how completely take apart your iPhone 4 and replace the battery.
-
-
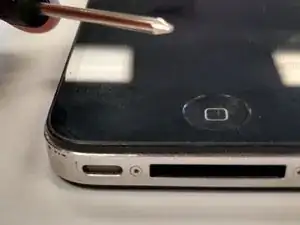
Remove both five-point tamper resistant screws which are located on either side of the charging port. Remove them with your T5 Torx screwdriver.
-
-
-
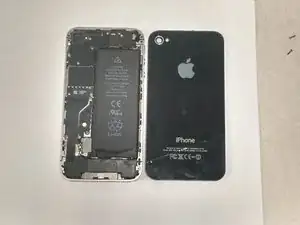
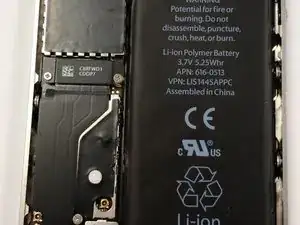
You can then remove the screw on the battery connector. Which will free up your battery for removal.
-
-
-
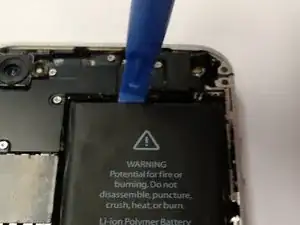
Then you will take your plastic opening tool and begin to pry up the battery connector, which is the plate you took the screw out of. After you have that up you can begin to pry up on each edge of the battery.
-
-
-
After removing the battery you can put the replacement battery in and connect the battery connector.
-
-
-
you can then pit the back cover back on and screw in the five-point tamper resistant screws and it should be ready to use.
-


Your iPhone 4 should now be back to its former glory!