
Introduction
Introductions on how too repair iphone 13 screen
-
-
To initiate, press and hold both the side and volume down keys concurrently for a brief moment. Then, swipe across the displayed slider from left to right to proceed.
-
-
-
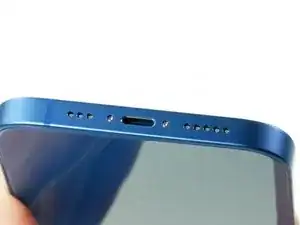
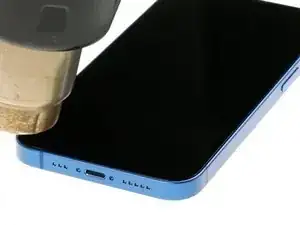
First, loosen the two Pentalobe screws located on either side of the Lightning connector. Next, securely place them in a designated screw storage for safekeeping.
-
-
-
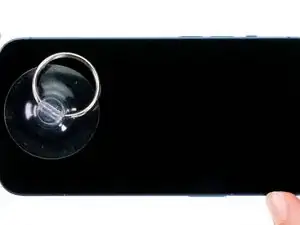
Affix a suction cup to the bottom edge of the screen, then pull it upwards firmly to create a slender gap between the screen and the casing. Insert a flat, sturdy tool into the gap to widen it further.
-
-
-
Glide the plastic tool once around the perimeter of the screen, simultaneously applying upward pressure to disengage its hooked lugs from the casing. Once the screen is fully detached, cautiously pivot it towards the volume buttons and prop it against a sturdy surface for support.
-
-
-
First, remove the six screws securing the two cover plates and store them in your screw storage. Then, delicately extract the plates from your device using a pair of tweezers.
-
-
-
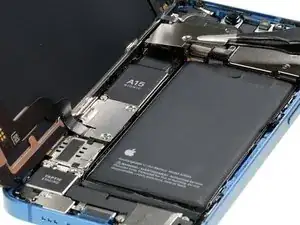
Gently disconnect the two screen connectors from the logic board using a spudger. Once detached, set the fully removed screen aside.
-
-
-
Remove the three Y-type screws securing the cover plate above the sensor cable. Set the loosened cover plate aside for safekeeping.
-
-
-
Apply heat to the adhesive securing the sensor cable using a hot air gun. Slide a flat tool beneath the cable to detach it from the screen unit. Carefully pry the sensors integrated on the cable out of their guides.
-
-
-
Before installation, ensure your replacement screen is ready by peeling off all protective films from the inside. For added protection against scratches, it's advisable to leave the film covering the screen glass intact until the repair process is complete.
-
-
-
Position the sensor cable precisely over the new screen unit and gently reinsert the sensors into their respective guides. Next, firmly press down on the cable to ensure a snug fit. The adhesive residue on its back should provide ample strength for secure reattachment.
-
-
-
Position the cover plate accurately over the sensor cable. Secure the plate in place using the three Y-type screws.
-
-
-
Warm the adhesive frame with heat and gradually peel it off using tweezers. Once removed, discard the carrier film and affix the adhesive frame onto the edge of the case. Subsequently, peel off the protective film from the upper side of the adhesive frame.
-
-
-
Prop the screen securely against a stable surface to facilitate connection. Sequentially, delicately press each of the two screen connectors onto the logic board. Ensure you hear and feel a satisfying click as they firmly seat into position.
-
-
-
Gently but firmly press the connector onto the logic board until you hear and feel it audibly click into place.
-
-
-
Gently fold the screen around, but refrain from pressing it into the case just yet. Power on your iPhone and swipe an app across the screen to verify proper touch functionality throughout. If any issues arise, double-check that all components are correctly installed and securely attached.
-
-
-
Align the two cover plates over the connectors, utilizing the screw holes to aid in precise positioning. Secure the cover plates in position by fastening the screws. Use tweezers to hold them firmly in place to prevent any shifting during the process.
-
-
-
If you've installed a new adhesive frame, remove any remaining protective film at this stage. Carefully flip the screen and firmly press it into the case frame to ensure even alignment. Listen for and feel the reassuring click as it settles into position. To ensure proper bonding, gently apply heat to the edge of the screen using hot air.
-


To reassemble your device, follow these instructions in reverse order.