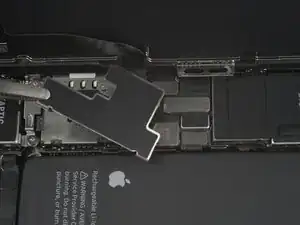
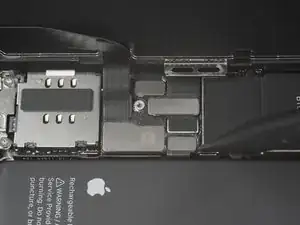
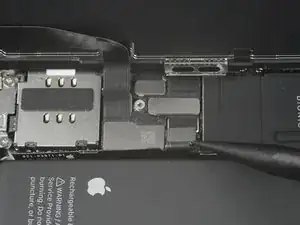
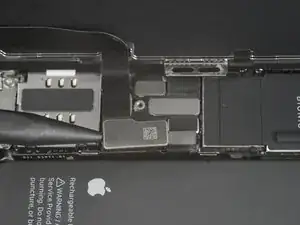
Introduction
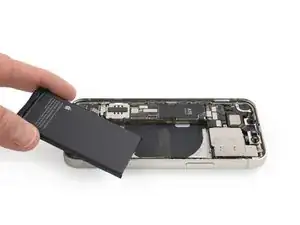
iPhone batteries are rated to hold 80% of their capacity for up to 500 charge cycles, which lasts roughly 18-24 months for most users. After that, your iPhone may need to be charged far more frequently, and iOS may warn you that performance is affected (in other words, your phone will run slower). Use this guide to replace your battery and restore your iPhone 13 mini to like-new performance.
If your battery is swollen, take appropriate precautions.
Note: On iOS 17.6 and earlier, your iPhone may display a warning about the “genuineness” of the battery after the repair, even when using original Apple parts. If your iPhone functions normally, you can safely ignore the warning. On iOS 18 and newer, authenticate your new battery using Apple's Repair Assistant.
You’ll need replacement adhesive to reattach components when reassembling the device.
Tools
Parts
-
-
Power off your iPhone before beginning disassembly.
-
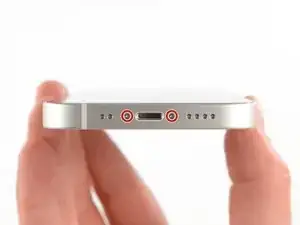
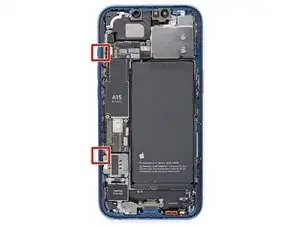
Remove the two 6.8 mm-long pentalobe P2 screws at the bottom edge of the iPhone.
-
-
-
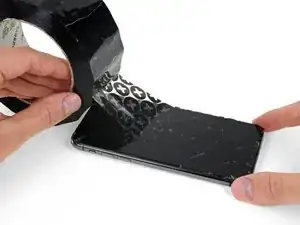
Lay overlapping strips of clear packing tape over the iPhone's screenuntil the whole face is covered.
-
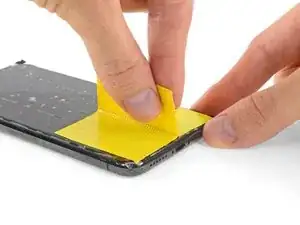
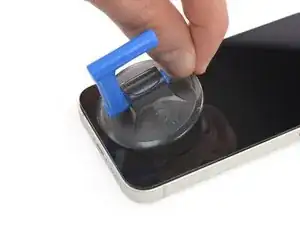
If you can't get the suction cup to stick in the next few steps, fold a strong piece of tape (such as duct tape) into a handle and lift the screen with that instead.
-
-
-
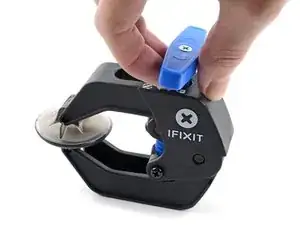
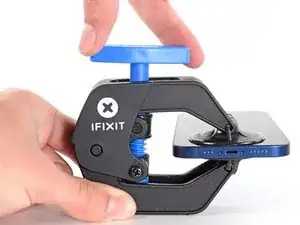
Pull the blue handle backwards to unlock the Anti-Clamp's arms.
-
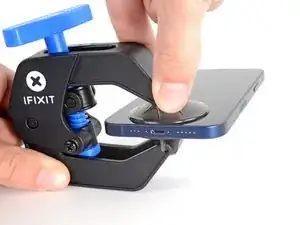
Slide the arms over either the left or right edge of your iPhone.
-
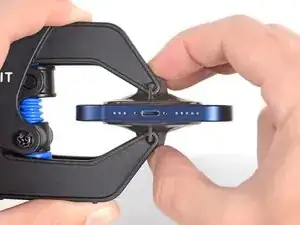
Position the suction cups near the bottom edge of the iPhone—one on the front, and one on the back.
-
Squeeze the cups together to apply suction to the desired area.
-
-
-
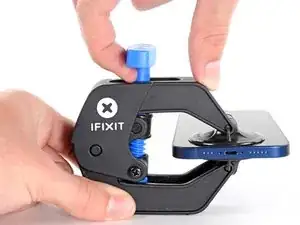
Pull the blue handle forwards to lock the arms.
-
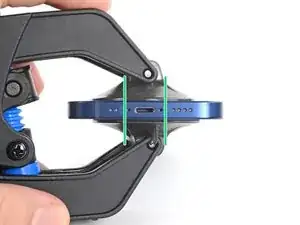
Turn the handle clockwise 360 degrees or until the cups start to stretch.
-
Make sure the suction cups remain aligned with each other. If they begin to slip out of alignment, loosen the suction cups slightly and realign the arms.
-
-
-
Support your iPhone on something sturdy such as a hardcover book so it rests hands-free and parallel to the ground; this makes it easier to work with in the following steps.
-
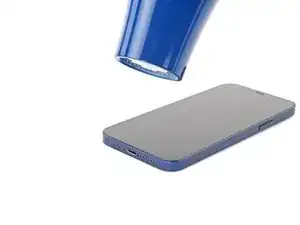
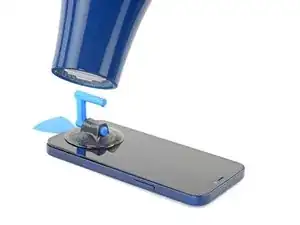
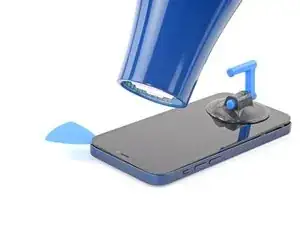
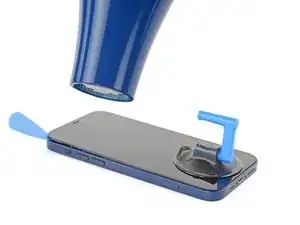
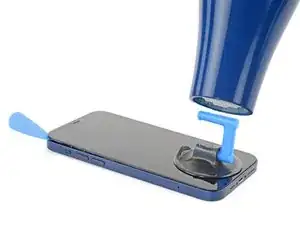
Use a hair dryer to heat along the bottom edge of the iPhone. The screen should feel slightly too hot to touch.
-
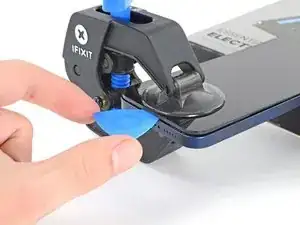
Wait one minute to give the adhesive a chance to release and present an opening gap.
-
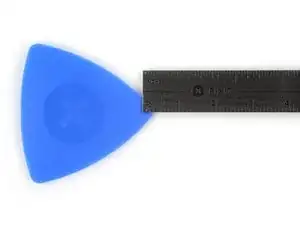
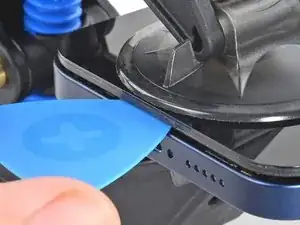
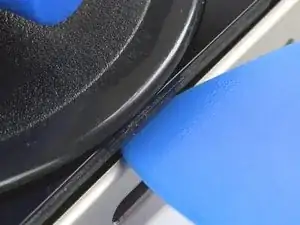
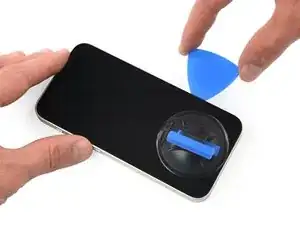
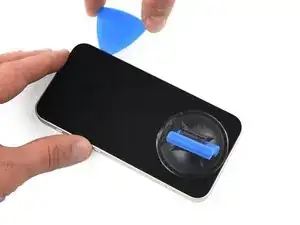
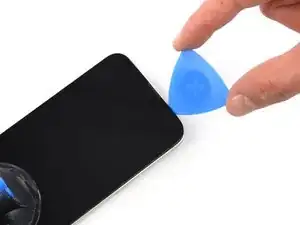
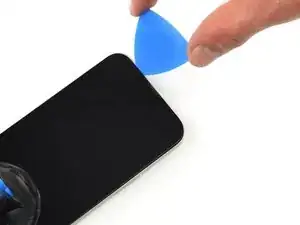
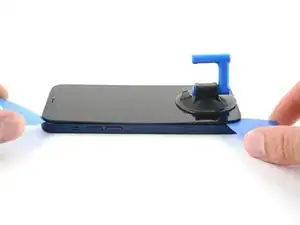
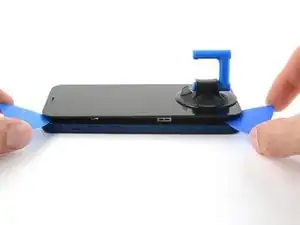
Insert an opening pick under the screen's plastic bezel when the Anti-Clamp creates a large enough gap.
-
Skip the next three steps.
-
-
-
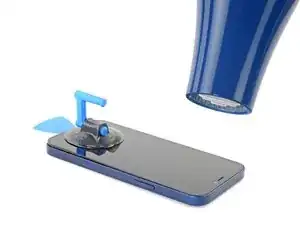
Use a hair dryer or a heat gun to heat the bottom edge of the iPhone for 90 seconds or until the screen is slightly too hot to touch.
-
-
-
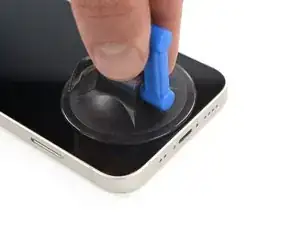
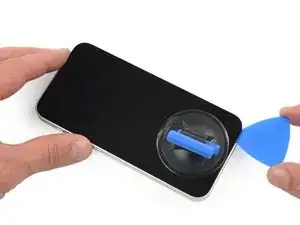
If you're using a single suction handle, apply it to the bottom edge of the phone, as close to the edge as possible.
-
-
-
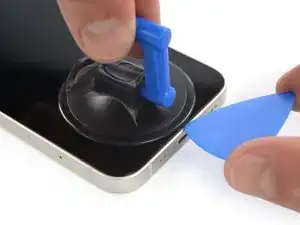
Pull up on the suction cup with firm, constant pressure to create a slight gap between the screen and the frame.
-
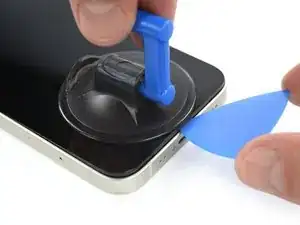
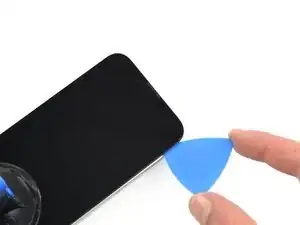
Insert an opening pick into the gap under the screen's plastic bezel.
-
-
-
Use a hair dryer to heat the right edge of the iPhone (the edge with the power button) for 90 seconds or until the screen is slightly too hot to touch.
-
-
-
Slide the opening pick around the bottom right corner and along the right edge of the iPhone, slicing through the adhesive holding the display in place.
-
Leave the pick in the top right corner before continuing.
-
-
-
Use a hair dryer to heat the top edge of the iPhone for 90 seconds or until the screen is slightly too hot to touch.
-
-
-
Slide the opening pick around the top right corner of the iPhone to separate the top adhesive.
-
Leave the pick in the top left corner before continuing.
-
-
-
Use a hair dryer to heat the left edge of the iPhone for 90 seconds or until the screen is slightly too hot to touch.
-
-
-
Insert a second opening pick in the bottom left corner of the iPhone.
-
Twist both picks simultaneously until the left edge clips release.
-
-
-
Rotate your iPhone so the right edge faces you.
-
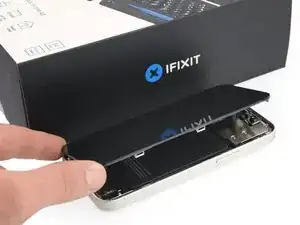
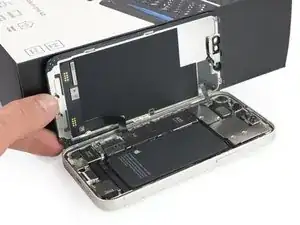
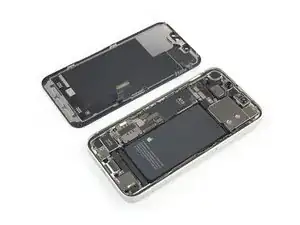
Open the iPhone by swinging the display up from the right side, like the front cover of a book.
-
Lean the display against something to keep it propped up while you're working on the phone.
-
-
-
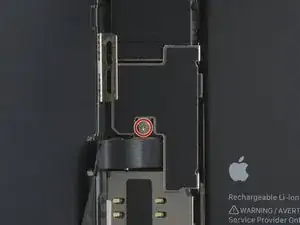
Remove the 1.2 mm-long Y000 screw securing the battery and display connector cover.
-
Throughout this repair, keep track of each screw and make sure it goes back exactly where it came from to avoid damaging your iPhone.
-
-
-
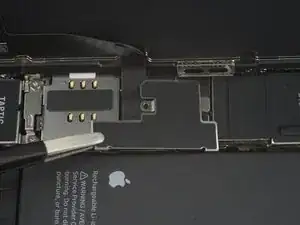
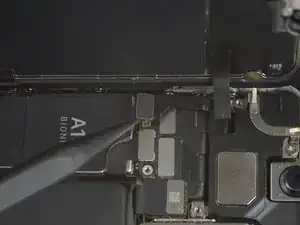
Use a spudger to pry the battery and OLED panel cable connectors up from their sockets on the logic board.
-
Bend the connector slightly away from the logic board to prevent it from accidentally making contact with the socket and providing power to the phone during your repair.
-
-
-
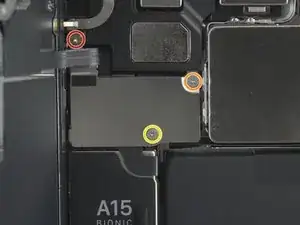
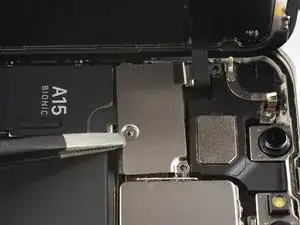
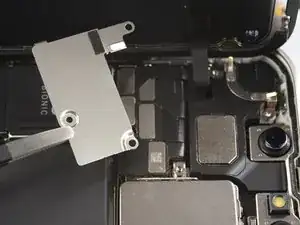
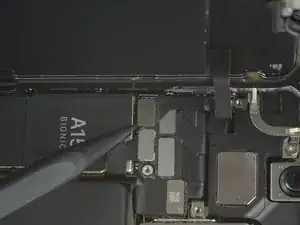
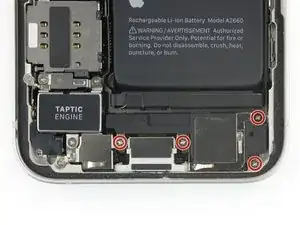
Remove the three screws (securing the front sensor assembly cover):
-
One PH000 1.4 mm-long screw
-
One Y000 1.8 mm-long screw
-
One Y000 1.2 mm-long screw
-
-
-
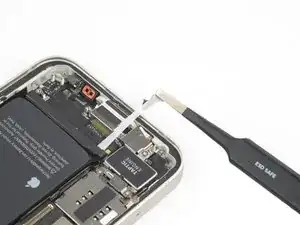
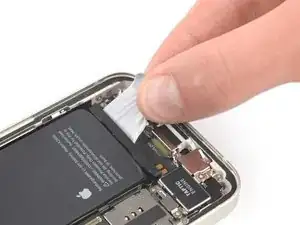
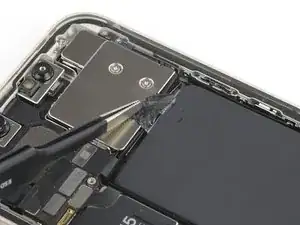
Peel down the first battery adhesive pull-tab to un-stick it from the bottom edge of the battery.
-
-
-
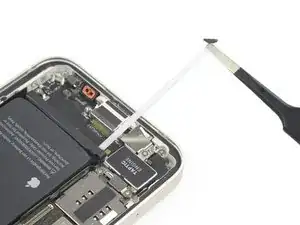
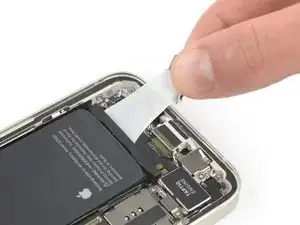
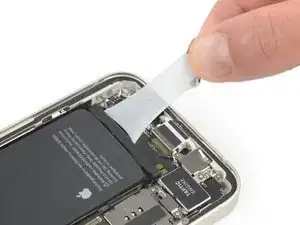
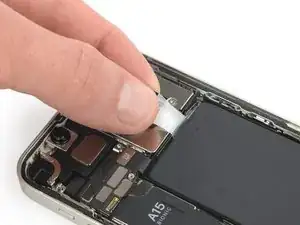
Grab the first pull-tab with a pair of tweezers or your fingers and slowly pull it away from the battery, toward the bottom of the iPhone 13 mini.
-
Pull hard enough to maintain tension on the strip, but don't force it. Give it plenty of time to stretch and un-stick from under the battery.
-
Don't press down on the battery. Hold the iPhone firmly by its sides.
-
Keep the strip flat and unwrinkled. Try to pull evenly on the whole strip, rather than pulling mainly in the middle or on one side.
-
Pull at a low angle so the strip doesn't snag on the edge of the battery.
-
If the adhesive strip breaks off, try to retrieve it using your fingers or blunt tweezers, and continue pulling—but do not pry under the battery.
-
-
-
Grab the wide pull tab with blunt nose tweezers and slowly pull it away from the battery, toward the bottom of the iPhone.
-
-
-
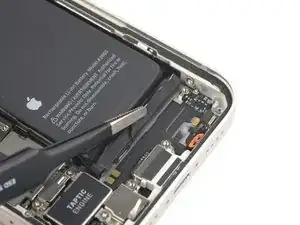
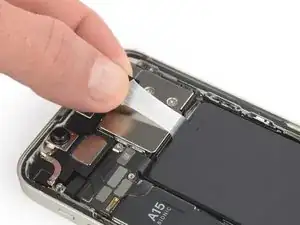
Grab the second pull-tab with your fingers and pull it away from the battery, toward the bottom of the iPhone.
-
Follow the same procedure as with the previous strip: don't press down on the battery, keep the strip flat and unwrinkled, and pull at a low angle.
-
If the adhesive strip breaks off, try to retrieve it using your fingers or blunt tweezers, and continue pulling—but do not pry under the battery.
-
-
-
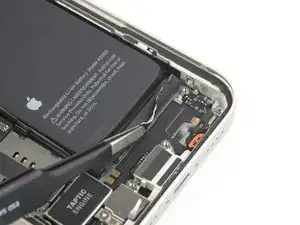
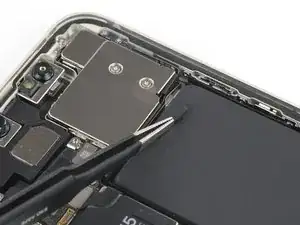
Grab the pull tab on the top with tweezers and slowly pull it away from the battery, toward the top of the iPhone.
-
-
-
Using the same procedure as before, pull the remaining tab to stretch and remove the remaining adhesive strip holding the battery in place. Try not to snag the adhesive on anything.
-
Wait about one minute for the alcohol solution to weaken the adhesive.
-
Use the flat end of a spudger to gently lift the battery.
-
-
-
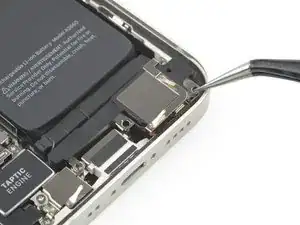
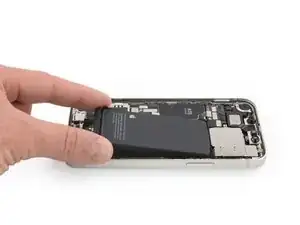
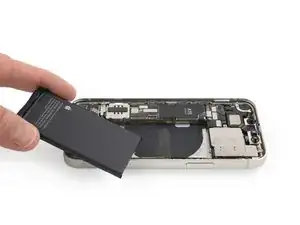
Remove the battery.
-
If there's any alcohol solution remaining in the phone, carefully wipe it off or allow it to air dry before installing your new battery.
-
If possible, turn on your device and test your repair before installing new adhesive and resealing.
Secure the new battery with pre-cut adhesive or double-sided adhesive tape. In order to position it correctly, apply the new adhesive into the device at the places where the old adhesive was located, not directly onto the battery. Press the new battery firmly into place.
To reassemble your device, follow the above steps in reverse order. Apply new adhesive where necessary after cleaning the relevant areas with isopropyl alcohol (>90%).
After your repair, depending on the replacement part, you may be able to calibrate it using Apple's Repair Assistant, available as of iOS 18. Update your device, navigate to Settings → General →About → Parts & Service History, tap Restart & Finish Repair, and follow the onscreen prompts.
For optimal performance, after completing this guide, calibrate your newly installed battery.
Take your e-waste to an R2 or e-Stewards certified recycler.
Repair didn’t go as planned? Try some basic troubleshooting, or ask our iPhone 13 mini Answers community for help.
9 comments
Schade, dass Apple die Reparatur von Iphones nicht mehr kostengünstig zulässt. Das wird die Gebrauchtmarktpreise und somit den Wert der Handys stark verringern...
Mike B. -
Does this repair disable the ability to view the current charge percentage of the battery in the top right of the screen?
No, but it will take a few charge cycles to get an accurate reading. iPhone will re-learn what 100% is, based on how the battery behaves. It is recommended that your run your phone for a couple of COMPLETE charge cycles:
1. Charge it to 100%.
2. Leave on charger for an additional hour.
3. Don’t charge your phone again until it is below 5% (ideally, until empty).
4. Repeat once.
This gets you back to accurate reading, sooner. More importantly, it’ll extend the life of the battery.
Also do this if you haven’t used your phone in a while (a couple of months or more).
Read more about this by looking up: priming a lithium battery.
Last note: do not leave a lithium powered device on its charger all day or 24/7. (Laptops, phones,etc.). It’s bad for the battery and will greatly reduce its life.
This is why, when you charge your iPhone overnight, on a regular basis: iPhone will charge to 80%, then finish the charge in the morning. Batteries degrade/deteriorate faster at 100%.
Das Glas hat sich leider bei mir von dem Display gelöst... Jetzt ist es kaputt.
Es wurde keine große Kraft aufgewendet, man hätte ruhig hier warnen können, bzw. irgendwie auf etwas hinweisen können um dies zu verhindern..
Stefan -
