Introduction
iPhone batteries degrade with use—over time, they lose their ability to hold a full charge. Apple's batteries are rated to hold 80% of their capacity for up to 500 charge cycles, which lasts roughly 18-24 months for most users. When your battery's chemistry is degraded, it may also cause your iPhone to run more slowly. Use this guide to replace your battery and restore your iPhone 11 to full performance.
If your battery is swollen, take appropriate precautions.
Note: After the repair, your iPhone may display a warning about the “genuineness” of the battery, even when using original Apple parts. If your iPhone functions normally, you can safely ignore the warning.
For optimal performance, after completing this guide, calibrate your newly installed battery: Charge it to 100% and keep charging it for at least two more hours. Then use your iPhone until it shuts off due to low battery. Finally, charge it uninterrupted to 100%.
You'll need replacement adhesive in order to complete this repair.
Tools
Parts
-
-
Power off your iPhone before beginning disassembly.
-
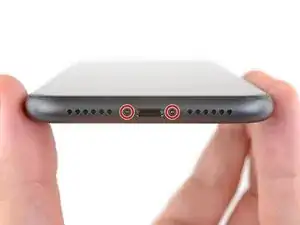
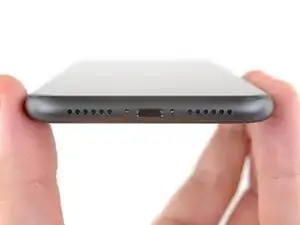
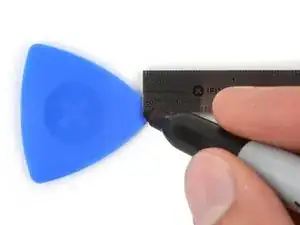
Remove the two 6.7 mm-long pentalobe screws at the bottom edge of the iPhone.
-
-
-
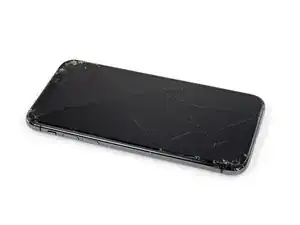
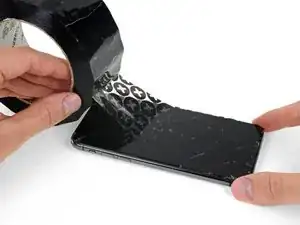
Lay overlapping strips of clear packing tape over the iPhone's screen until the whole face is covered.
-
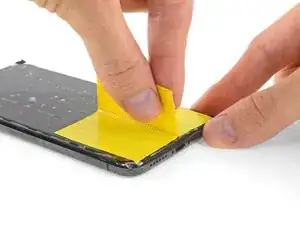
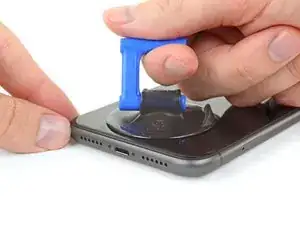
If you can't get the suction cup to stick in the next few steps, fold a strong piece of tape (such as duct tape) into a handle and lift the screen with that instead.
-
-
-
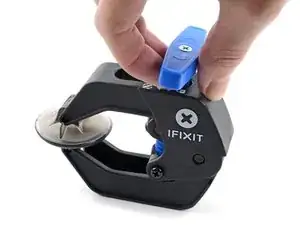
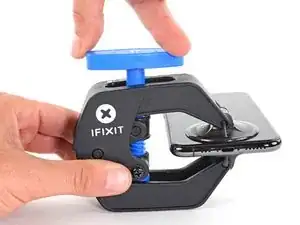
Pull the blue handle backwards to unlock the Anti-Clamp's arms.
-
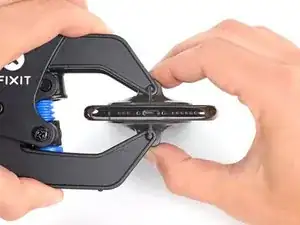
Slide the arms over either the left or right edge of your iPhone.
-
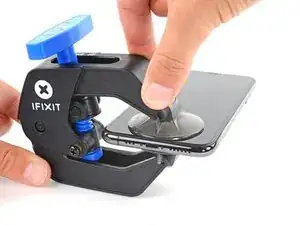
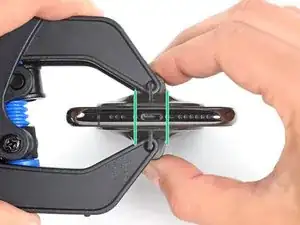
Position the suction cups near the bottom edge of the iPhone—one on the top, and one on the bottom.
-
Squeeze the cups together to apply suction to the desired area.
-
-
-
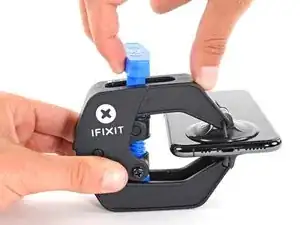
Pull the blue handle forward to lock the arms.
-
Turn the handle clockwise 360 degrees or until the cups start to stretch.
-
Make sure the suction cups remain aligned with each other. If they begin to slip out of alignment, loosen the suction cups slightly and realign the arms.
-
-
-
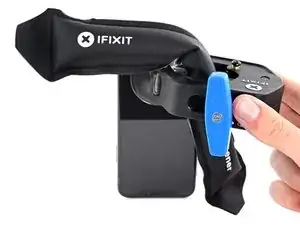
Heat an iOpener and thread it through the arms of the Anti-Clamp.
-
Fold the iOpener so it lays on the bottom edge of the iPhone.
-
Wait one minute to give the adhesive a chance to release and present an opening gap.
-
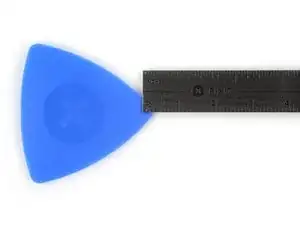
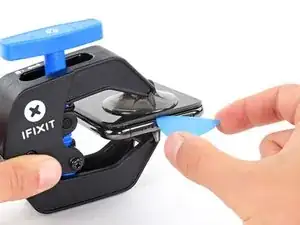
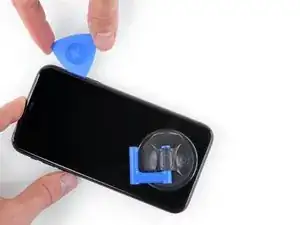
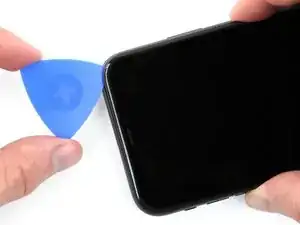
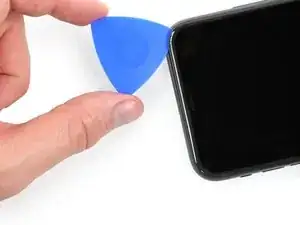
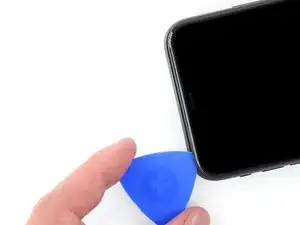
Insert an opening pick into the gap under the screen and the plastic bezel, not the screen itself.
-
Skip the next three steps.
-
-
-
Use a hairdryer or heat gun or prepare an iOpener and apply it to the lower edge of the iPhone for about a minute.
-
-
-
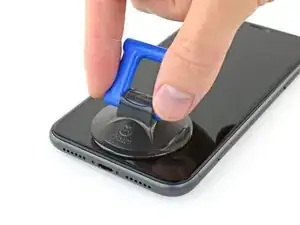
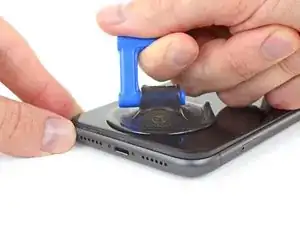
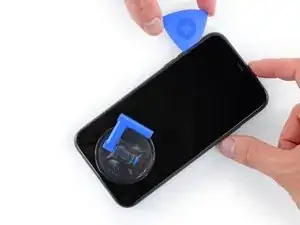
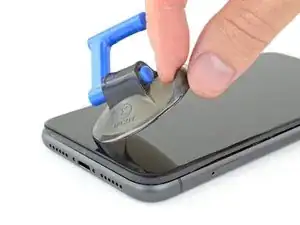
If you're using a single suction handle, apply it to the bottom edge of the phone, while avoiding the curved portion of the glass.
-
-
-
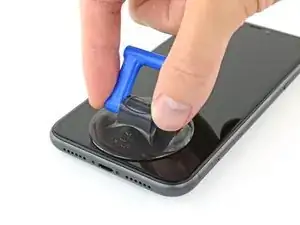
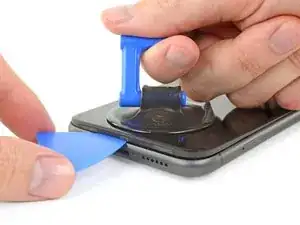
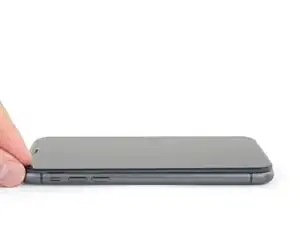
Pull up on the suction cup with firm, constant pressure to create a slight gap between the front panel and rear case.
-
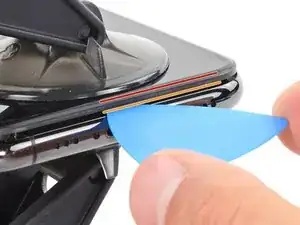
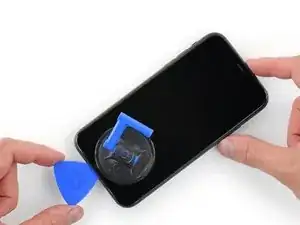
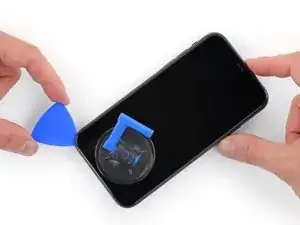
Insert an opening pick into the gap under the screen and the plastic bezel, not the screen itself.
-
-
-
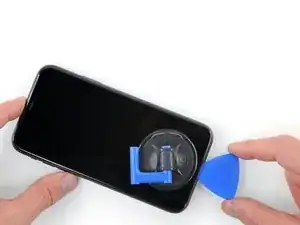
Slide the opening pick around the lower left corner and up the left edge of the iPhone, slicing through the adhesive holding the display in place.
-
-
-
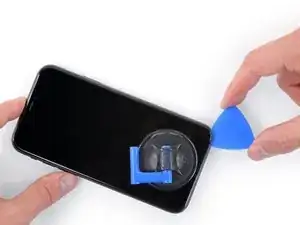
Re-insert your pick at the bottom edge of the iPhone, and slide it up the right side to continue separating the adhesive.
-
-
-
Gently pull the right edge of the display down slightly (in the direction of the Lightning port).
-
Insert your pick into the top-right corner of the phone.
-
-
-
Continue pulling the display down (toward the Lightning port) as needed in order to make a gap large enough for the pick.
-
Slide the pick to the top left corner and cut any remaining adhesive securing the display.
-
-
-
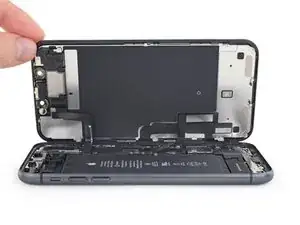
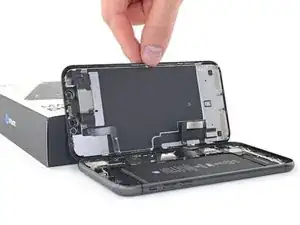
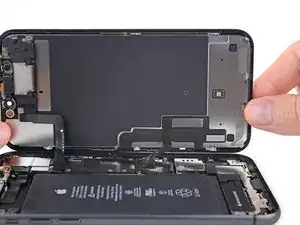
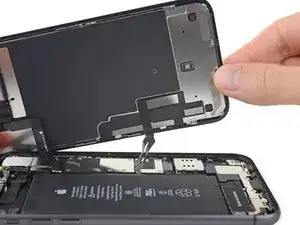
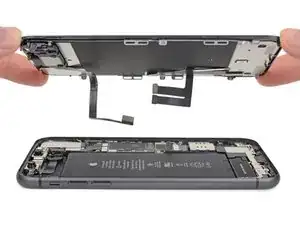
Open the iPhone by swinging the display up from the left side, like the back cover of a book.
-
Prop the display up against something sturdy.
-
-
-
To access the screws in the following step, tilt the display by slightly lifting its lower edge.
-
-
-
Use a Y000 driver to remove the three 1.1 mm-long screws securing the battery connector bracket.
-
-
-
Use a spudger or a clean fingernail to pry the battery connector up from its socket on the logic board.
-
Bend the connector slightly away from the logic board to prevent it from accidentally contacting the socket.
-
-
-
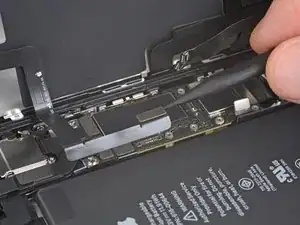
Use a spudger or a fingernail to disconnect the LCD panel cable connector.
-
Disconnect the digitizer connector next to it.
-
-
-
Use the point of a spudger or a fingernail to disconnect the front panel sensor assembly connector.
-
-
-
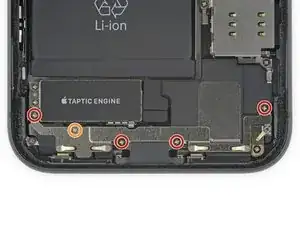
Using a Phillips driver, remove the five screws securing the bracket below the Taptic engine and speaker:
-
Four 1.6 mm screws
-
One 1.3 mm screw
-
-
-
Remove the five screws securing the speaker and brackets:
-
One 1.9 mm Phillips screw
-
One 2.3 mm Phillips screw
-
One 3.1 mm standoff screw
-
Two 1.6 mm Phillips screws
-
-
-
Lift and push aside the small board covering the remaining speaker screw in the bottom right corner of the iPhone.
-
Remove the 2.4 mm standoff screw underneath.
-
-
-
Insert a spudger under the top edge of the speaker, near the edge of the iPhone's case.
-
Gently pry up and lift the top edge of the speaker.
-
-
-
Hold the speaker by its side edges and rock it side-to-side, separating the adhesive securing it to the bottom edge of the iPhone.
-
Pull the speaker away from the bottom edge of the iPhone until the adhesive gasket separates.
-
-
-
Remove the speaker.
-
Peel away any remaining adhesive with tweezers.
-
Prep the area underneath by cleaning it with a bit of isopropyl alcohol and a lint-free cloth or coffee filter so that the gasket adheres properly.
-
Install a new gasket onto the speaker, and then install the speaker.
-
-
-
Use a spudger to disconnect the Taptic Engine flex cable by prying it straight up from its socket.
-
-
-
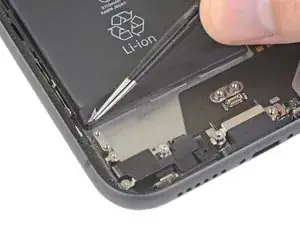
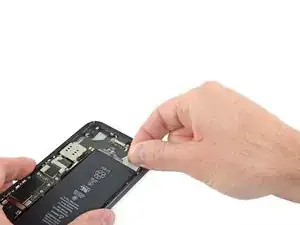
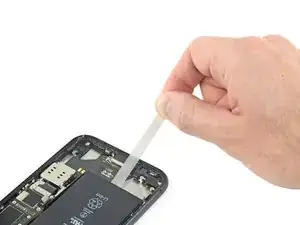
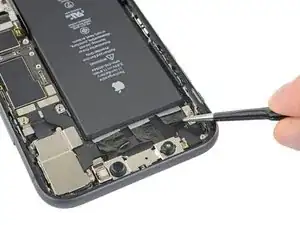
Each piece of adhesive has a black pull-tab at one end, which is lightly adhered and folded onto the top of the battery.
-
-
-
To increase your odds of success:
-
Don't press down on the battery. Hold the iPhone firmly by its sides.
-
Keep the strips flat and unwrinkled as you pull.
-
Pull very slowly, giving the strip time to stretch and separate. It takes around 30 seconds of stretching to remove each strip.
-
Pull at a low angle so the strip doesn't snag along the bottom edge of the battery.
-
If a strip does break off underneath the battery and cannot be retrieved, move on to the other strips and then continue with the additional steps below.
-
-
-
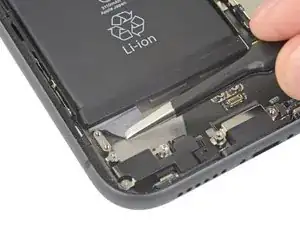
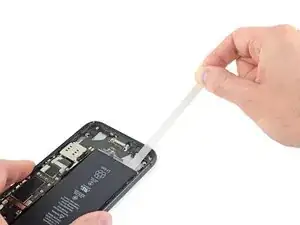
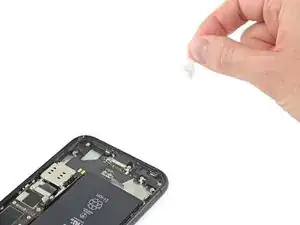
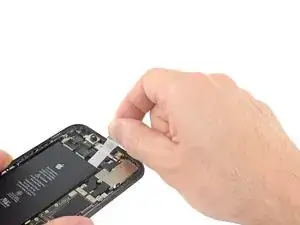
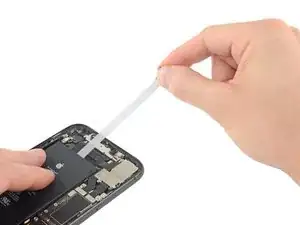
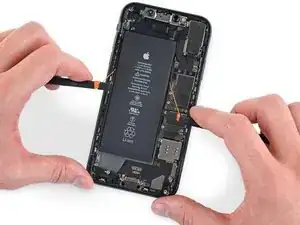
Slowly pull one battery adhesive tab away from the battery, towards the bottom of the iPhone.
-
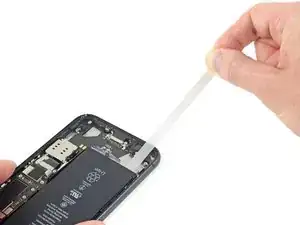
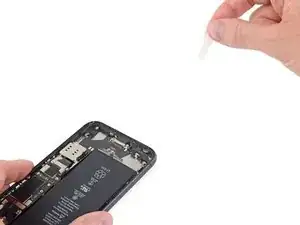
Pull steadily, maintaining constant tension on the strip until it slips out from between the battery and the rear case.
-
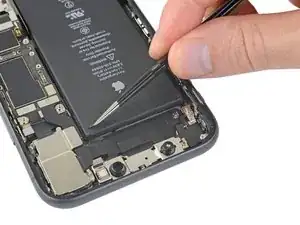
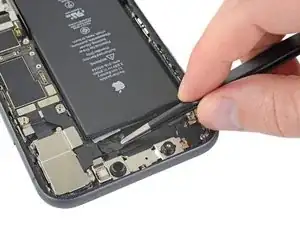
If the battery adhesive tabs break during the removal process, use your fingers or tweezers to retrieve the remaining length of adhesive, and continue pulling.
-
If any of the adhesive strips break underneath the battery and cannot be retrieved, try to remove the other strips, and then proceed as instructed below.
-
-
-
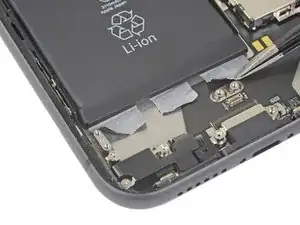
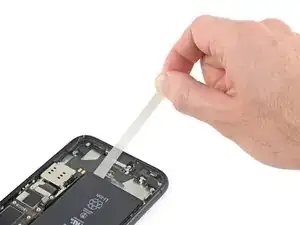
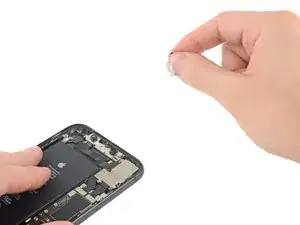
Repeat the above steps to remove the other two adhesive strips near the bottom edge of the iPhone.
-
-
-
Pull the top adhesive strips out one at a time, using the same method you've used to pull the bottom strips.
-
If you removed all of the adhesive strips successfully, skip the next step.
-
If any of the adhesive strips broke off underneath the battery and could not be retrieved, continue with the next step below.
-
-
-
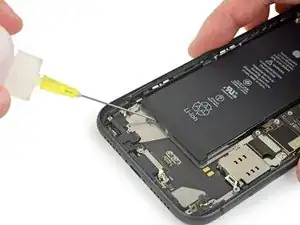
If any of the adhesive strips broke off and the battery remains stuck to the rear case, remove it by adding a few drops of isopropyl alcohol (90% or greater) underneath the battery near the stuck strip(s).
-
After about a minute, gently lift the battery.
-
-
-
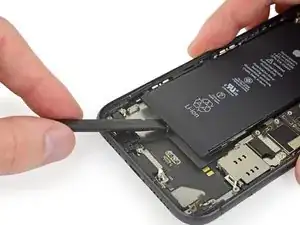
If your battery is stuck and an appropriate liquid solvent is not available, prepare an iOpener or use a hair dryer to heat the rear case directly behind the battery.
-
Flip the iPhone back over and thread a strong piece of string (such as dental floss) underneath the battery.
-
Pull the string from side to side in a sawing motion to separate the adhesive. This can take some time since the adhesive is slow to deform, but with patience it will come free. Do not deform or damage the battery.
-
Start from the top or bottom edge of the battery, and pull toward the middle. Don't pull the string through the middle third of the battery, or you may damage the ribbon cables or the wireless charging coil directly underneath.
-
-
-
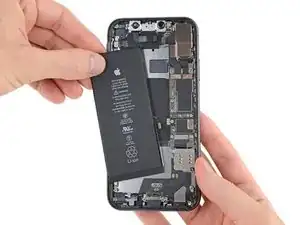
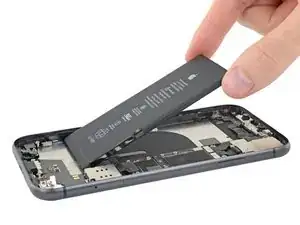
Remove the battery.
-
Adhere the battery, disconnect it, and continue reassembling your device.
-
If your new battery doesn’t have adhesive preinstalled, refer to this guide to replace the adhesive strips.
-
Perform a force restart after reassembly. This can prevent several issues and simplify troubleshooting.
-
Compare your new replacement part to the original part—you may need to transfer remaining components or remove adhesive backings from the new part before installing.
To reassemble your device, follow the above steps in reverse order.
Take your e-waste to an R2 or e-Stewards certified recycler.
Repair didn’t go as planned? Try some basic troubleshooting, or ask our iPhone 11 Answers community for help.
23 comments
Also, it would be nice to have a step by step of how to reprogram the new battery to bypass the “non-genuine warning”
I have been looking for a solution for this! Seems the only way is to remove the BMS board from the original battery. Requires soldering.
Apple specifically does this to prevent 3rd parties from repairing their products. A Simple google search would have yielded this.
"A simple google search would have yielded this" 🤓🤓🤓
Anyone figure out a way to hide the badge on the settings icon?
La guida consiglia di rimuovere molte parti, in realtà basta solo rimuovere lo schermo ed acquistare una batteria già assemblata.
Io personalmente o impiegato 45 minuti andando molto lento e molto attento alle mie operazioni.
When opening up a phone, why doesn't ifixit recommend to use a static electricity grounding wrist band since such charge can damage phone electronics if not grounded? (Apple technicians use such).
How come ifixit does not give advice after a battery change how to reprogramme the phone to its full functioning capability since some are lost when a battery is replaced? (Apple technicians include this service in a battery change).
What are the statistics on after market batteries not performing as good as OEM parts and what are statistics where such after market batteries harm the phone? All batteries are made in China but Apple endorsed battery makers are required to adhere to strict standards.
L D -


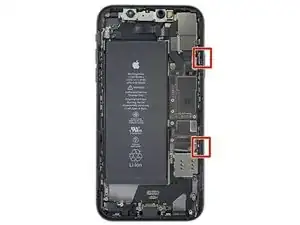
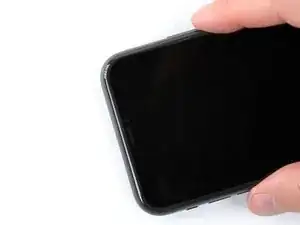
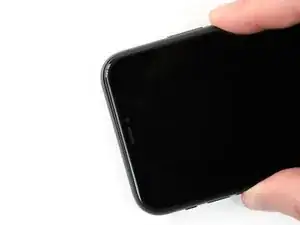
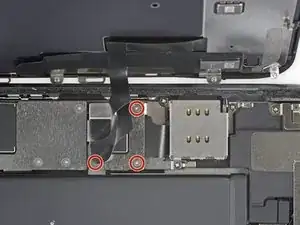
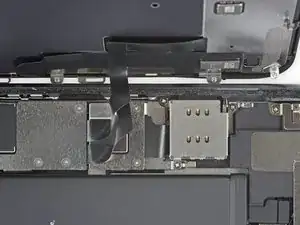
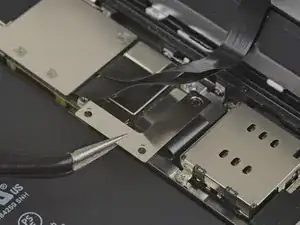
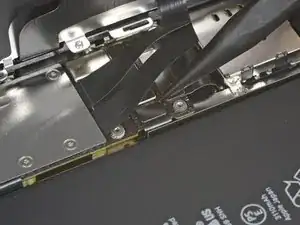
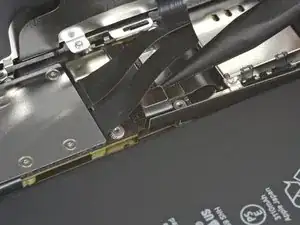
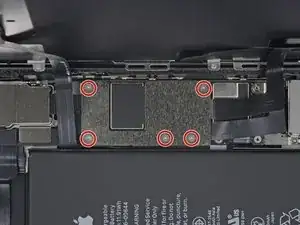
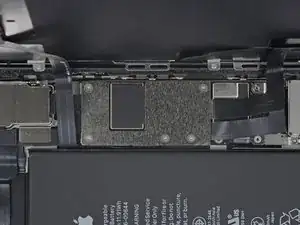
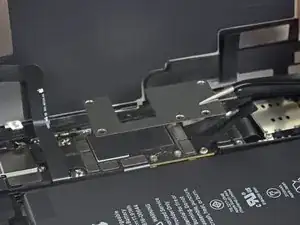
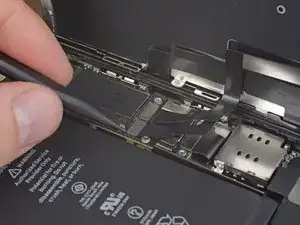
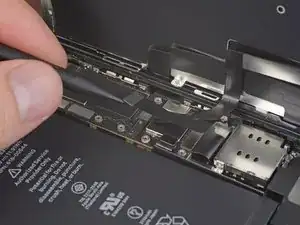
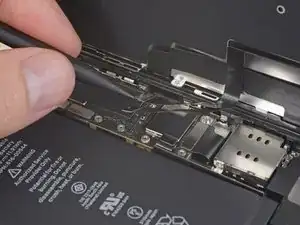
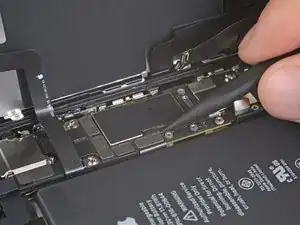
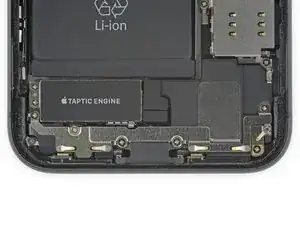
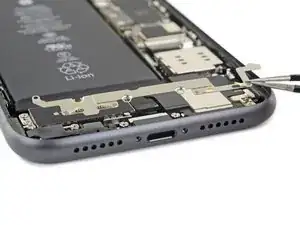
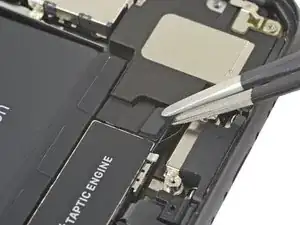
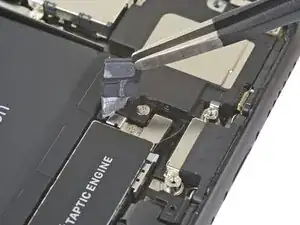
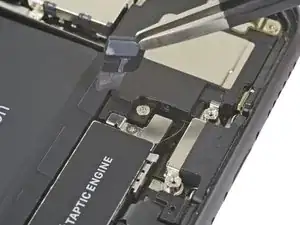
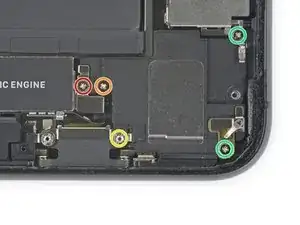
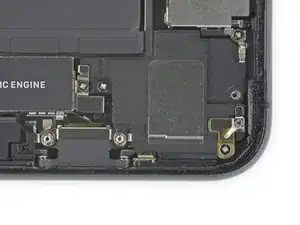
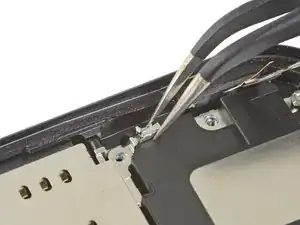
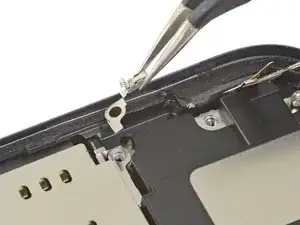
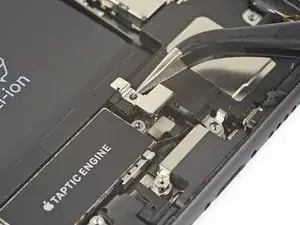
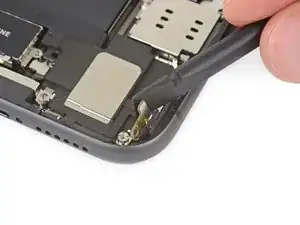
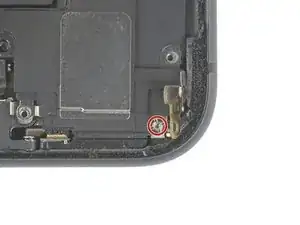
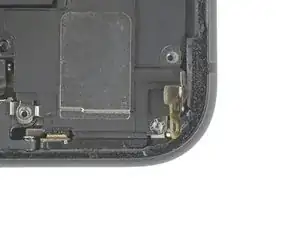
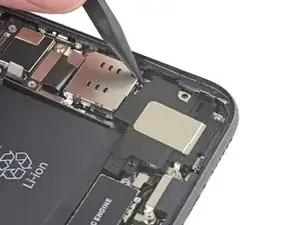
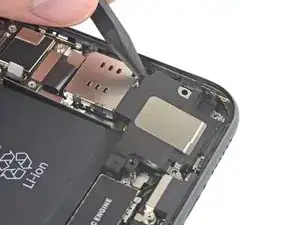
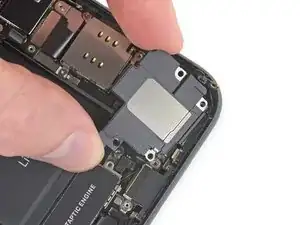
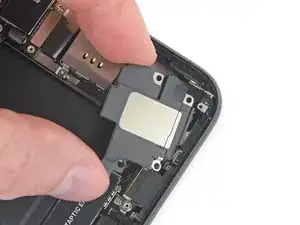
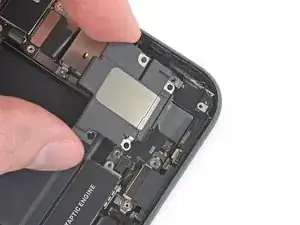
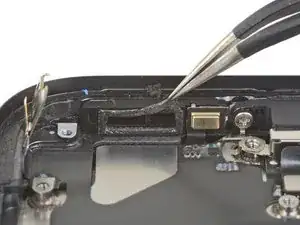
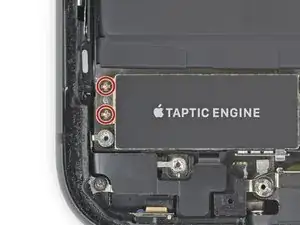
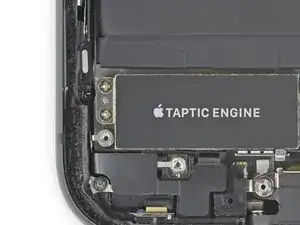
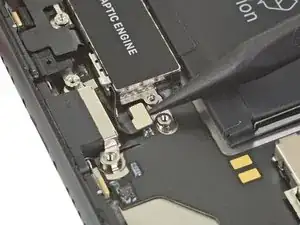
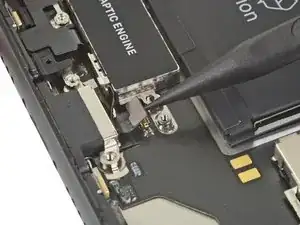
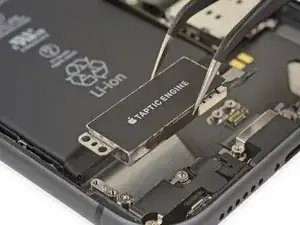
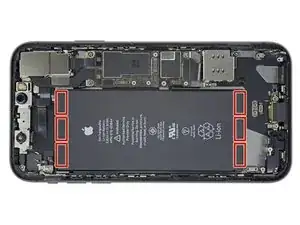

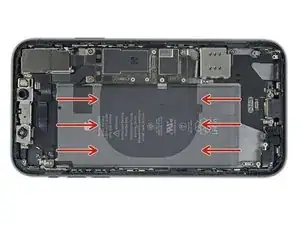

the right screws wouldn’t come off
Yusef San Inocencio -
ok one came of but my right wont come of either!!!!
Aisa Jawara -
Hello guys, I still haven't found away to power off the iphone without using the screen. Cheers!
danielaguirre93 -
You can try this.
Quickly Press and release the volume up button.
then Quickly Press and release the volume down button.
then press and hold the power button and wait until it turns off.
worked for me :D
Benóný Egilson -
Where does one get replacement seals? Is this the same as the display assembly adhesive?
Brian Baker -
not of the screwdrivers i have seem to be able to turn the screws
Aisa Jawara -
how do you change battery of an iPhone 11 and still the battery health shows, do you use a software for that?
Great Me -
Battery health won’t show on a non Apple battery.
DON’T forget to discharge old battery before removing it. Very impressive fire (and smoke!) if you puncture it. Ask me how I know
Doug Harrowing -