Introduction

The official guide has been updated and can be found here. This guide is archived for historical purposes.

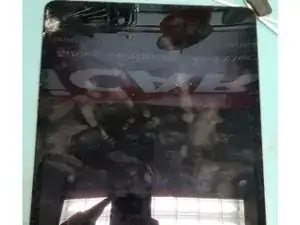
Couldn't find a guide to fix a customer’s iPad so here it is put a lot of work into providing something you can use as a reference! Thanks, comment please!

  1. LAOnFJL61tVrU2ML
    • iPad Pro 3rd Gen' A1895

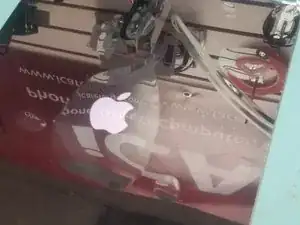
    • Be sure to turn off the iPad by pressing and releasing the volume up button then volume down.

    • Press and hold the side button until the screen turns off.

    • Use the slider if you can.

    • Not powering it off can blow out your LCD back light just like iPhones other iPads!

  2. XQbkfyg41IpL2YLm
    • You can use a heat gun or another handy heating method! MUST DO!

    • Heating the entire screen will help make it easy to safely remove the screen.

  3. 1AaLyDAvPNJjgJOy
    • Leave it on the heat for 15 minutes to loosen the strong adhesive.

    • Use an ifixit suction cup to pull up the screen so that you can insert a plastic pick.

  4. lDZTLYkZJqGW4gXM
    lDZTLYkZJqGW4gXM
    kDDOBiEVgQNaUDqg
    IESBXlGbyavUbJDQ
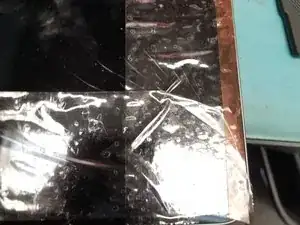
    • Apply tape or adhesive over broken glass!

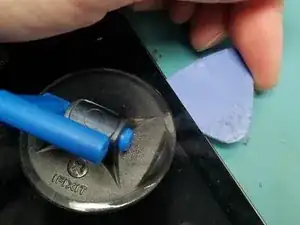
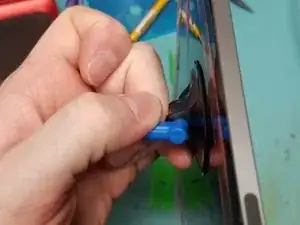
    • Bust out the metal pry tool lifting broken causing glass to stick to tape working your way around broken side.

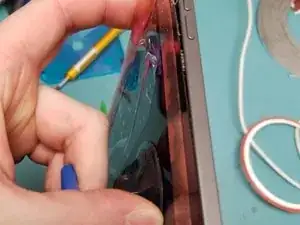
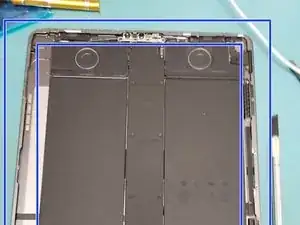
    • Wiggle Jiggle the screen off the adhesive using multiple plastic guitar picks.

    • Do Not Tear the Screen Off!!!

  5. vxLcjQ6ZTe6LD4nf
    vxLcjQ6ZTe6LD4nf
    IENGhFcR1ljoQnqp
    FEXQteKMAvSs6JA3
    • Do not rip the screen off!! Cables are very short will cause internal Damages!!!

    • On the Top of the screen the proximity sensor front camera has to be disconnected 1st.

  6. TPdhcbtub1EyrCPg
    TPdhcbtub1EyrCPg
    XCBBNGhNt6OUHVSX
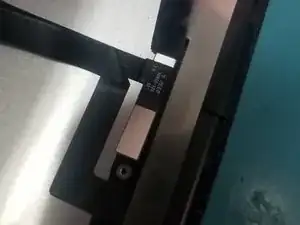
    • Lay screen flat pull it down just enough to use a PH000 Screw drive to remove the safety bracket

    • Use Flat Ended Spoudger remove the bracken and cable from the Logic board!

  7. xuRDtAcRQBDnGNHR
    xuRDtAcRQBDnGNHR
    5xZgQWBFCMIejaju
    • Perfect! Now Lift the screen folding it up to the left like so!

    • Remove 5 PH000 Screws protecting Power Connection and Display Cables

  8. OYvvD5F1oMsailDE
    OYvvD5F1oMsailDE
    m3sNpRdVdP2D2aNf
    YoMmKKAnANtVfZlj
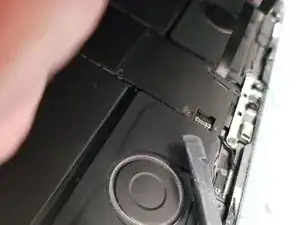
    • Remove PH000 Battery Connection clip retaining screw.

    • Do not attempt to remove battery connection.

    • Move Small cable is taped around edges up so you can gain access to the side of the battery connection.

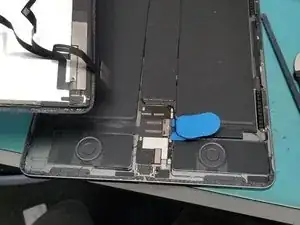
    • Slide thin plastic under battery connection. This will lift the battery connection pins away from the battery cable connectors and isolate the battery.

    • After Isolating battery.

    • Remove all 3 ribbon cables from logic board with flat headed spudger!

  9. tmeSioH3BuqMdpXP
    tmeSioH3BuqMdpXP
    nFubNPxaF1EiJyJk
    6luiYLKaJqA4mQvL
    • Just a touch of heat don't melt the thing off remove the face ID sensor from Old Screen.

    • Damaging Proximity sensor could effect True Tone with 3rd Party Parts

    • Gently use a tool to get under glued down connection on glass frame of screen!

  10. XbcPoyiURvuI6rQM
    XbcPoyiURvuI6rQM
    hosGrG24Ejr2waJy
    vpuAZGTWVZWhRTC2
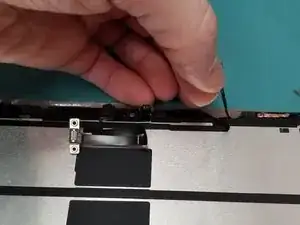
    • Remove Bracket off old screen you and move it to new screen

    • Transfer Cables and Bracket to new screen

  11. HnUnTjjSvP1XyQPL
    HnUnTjjSvP1XyQPL
    NF4LgJRkYhoQPFtr
    ORubTU3CiZruIMjB
    • Place Screen without adhesive test your screen and face ID

    • After running test take

  12. mpUgFGHfS3DrqM16
    mpUgFGHfS3DrqM16
    ja2XkV6vijBu4QFP
    • Clean Edges with flat ended metal tool to remove broken glass

    • Clean desk of glass on table get ready to remove Proximity sensor from old screen!

    • Do not clamp recommend to use flat and heavy object

    • Broken glass on the frame will crack your new screen

Conclusion

To reassemble your device, follow these instructions in reverse order.

Mark D Schlossman

Member since: 25/09/19

6269 Reputation

0 comments