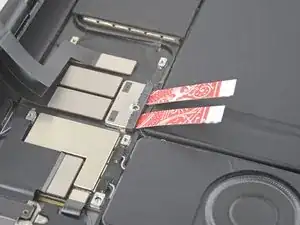
Introduction
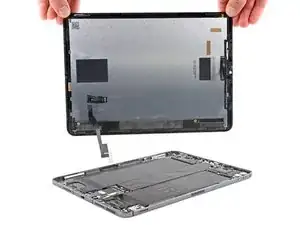
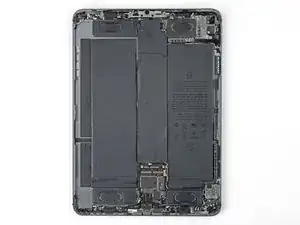
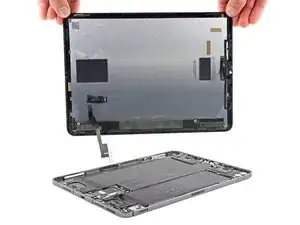
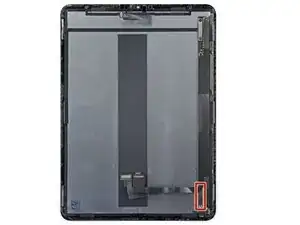
Follow this guide to replace the screen on your iPad Pro 11" 4th gen. The screen design has been mostly unchanged in terms of how it connects to the logic board from the 1st generation to the 4th. This means that any display replacement you can find that fits an 11-inch iPad Pro will likely work.
If your battery is swollen, take appropriate precautions.
The LiDAR sensor assembly attached to the screen is paired with the Face ID hardware. You'll need to transfer it to your new screen to keep Face ID functionality.
Tools
Parts
-
-
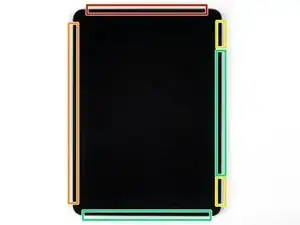
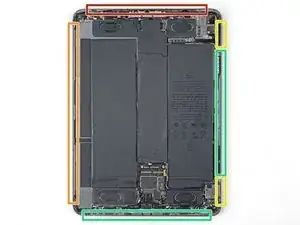
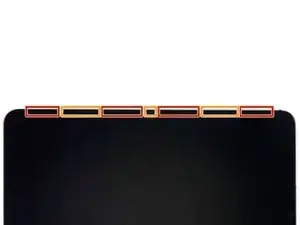
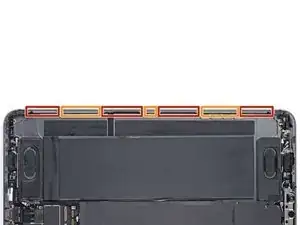
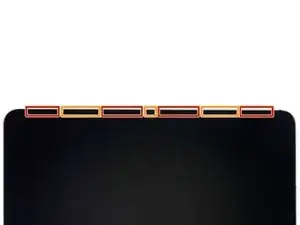
Exposed LCD Edges
-
Screen Magnets
-
Camera Module, Ambient Light & Proximity Sensors, and Microphone
-
Display Cables
-
-
-
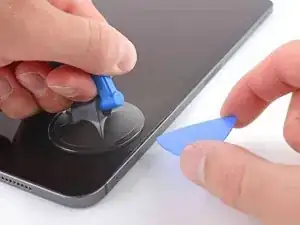
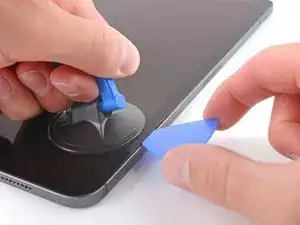
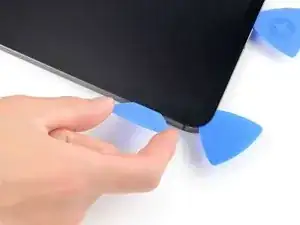
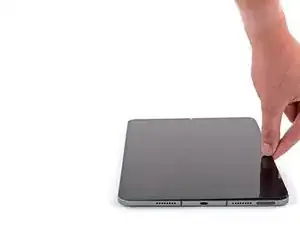
Apply a suction cup to the right edge of the screen about 5 cm from the bottom edge.
-
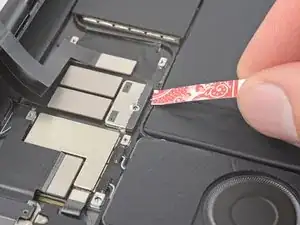
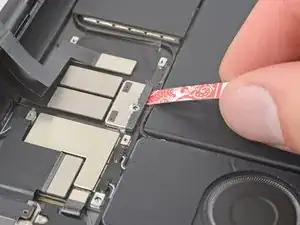
Pull up on the suction cup with firm, constant pressure to create a gap large enough to insert an opening pick no more that 5mm into the iPad.
-
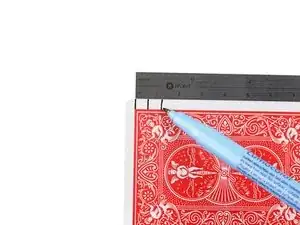
If you find it helpful, mark the 5mm line on the opening pick with a sharpie before inserting.
-
-
-
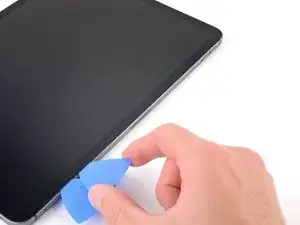
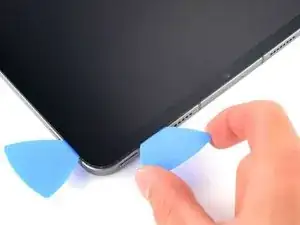
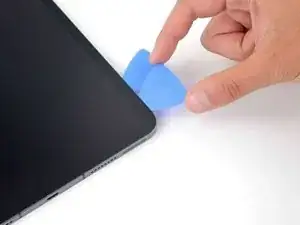
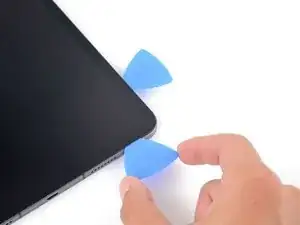
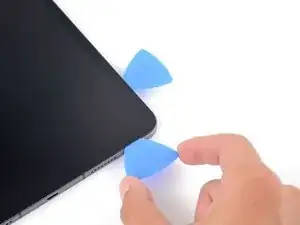
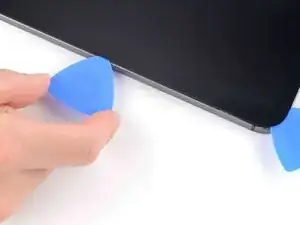
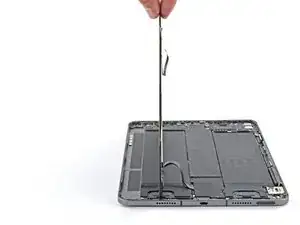
Insert another opening pick right next to the original.
-
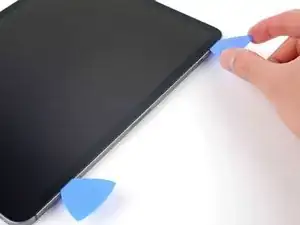
Slide the new pick along the right edge to separate the adhesive.
-
Leave the pick in the top right corner.
-
-
-
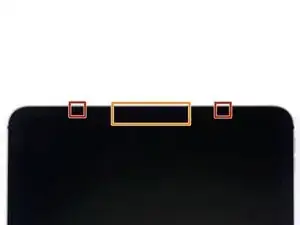
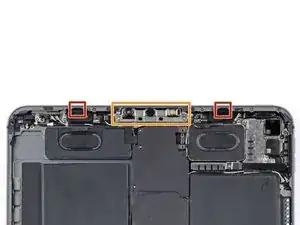
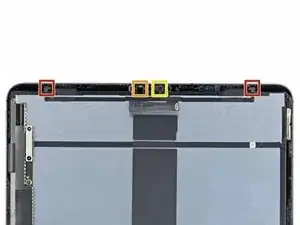
This color indicates the location of the ambient light sensors. Avoid inserting the opening pick more than 2mm to avoid damaging the sensors.
-
This color indicates the location of the camera module, proximity sensor and microphone. Avoid inserting the opening pick more that 1mm to avoid damage.
-
-
-
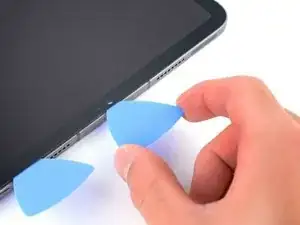
Insert opening pick #3 around the corner from where you left #2.
-
Take pick #3 and slide the pick along the top edge. Taking precaution of the components listed in the previous step.
-
Leave pick #3 on the right side of the ambient light sensor, near the upper left corner.
-
-
-
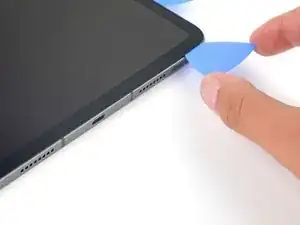
Insert pick #4 in the bottom right corner below the original pick.
-
Slide the pick around the bottom right corner taking caution not to insert more than 2mm.
-
-
-
Slide the opening pick along the bottom edge, taking care just above the USB-C port.
-
Once the pick has made it to the opposite corner, leave pick #4 right above the USB-C port.
-
Insert opening pick #5 above opening pick #4 and take #5 the rest of the length of the bottom edge and around the left corner. Leave #5 at just above the corner.
-
-
-
This color indicates where the display cables are located within small indents of the frame. Best practice is to insert the pick at a 45 degree angle.
-
This color indications where the flat sections of the frame are. These sections require the pick to be horizontal.
-
-
-
Insert a pick at a 45 degree angle just above the bottom left corner.
-
Carefully slide the pick along the left edge, stopping when you reach the flats section of the frame.
-
-
-
Separate the remaining adhesive.
-
Slide the pick at a 45 degree downward angle and don't insert the pick more than 5mm.
-
Slide the pick horizontally and don't insert more than 5mm
-
-
-
Use yet another opening pick to see if there is any remaining adhesive.
-
Grave the top right and bottom left corners of the screen and slowly move the screen towards the bottom right side.
-
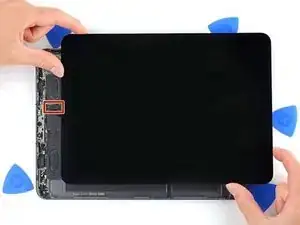
Keep moving the screen until you see the ambient light sensor ribbon cable near the top edge is uncovered.
-
-
-
Use the flat end of a spudger to disconnect the ambient light sensor cable by lifting straight up on the press connectors.
-
-
-
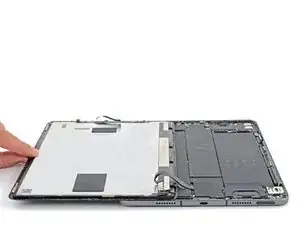
Holding the right edge of the screen, open the iPad like a book.
-
In order to not strain the ribbon cable let the screen rest over the left side of the iPad.
-
-
-
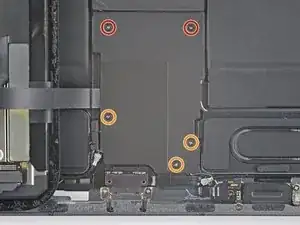
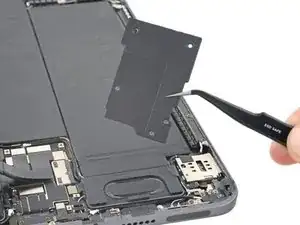
Using a Phillips head screwdriver, remove the five screws securing the cable shield to the logic board:
-
Two 2.0 mm screws
-
Three 1.3 mm screws
-
Use tweezers or your fingers to grab and remove the lower cable shield.
-
-
-
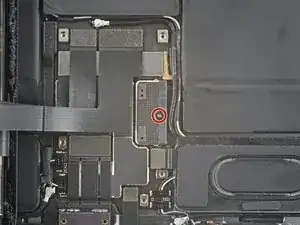
Use a Phillips screwdriver to remove the 1.8 mm screw securing the battery connector to the logic board.
-
-
-
Using the pointed end of a spudger, disconnect the bottom two display cables.
-
Using the pointed end of a spudger disconnect the top two display cables.
-
-
-
Ambient Light Sensors (2)
-
Microphone
-
Proximity Sensor
-
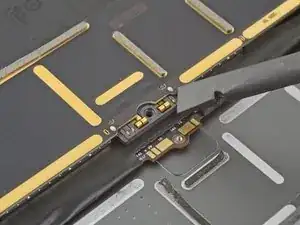
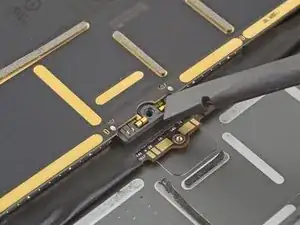
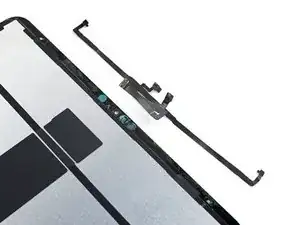
The ribbon cable that connects these sensors is very thin and delicate, take your time and be careful with removal.
-
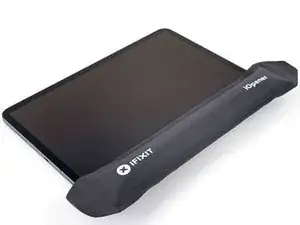
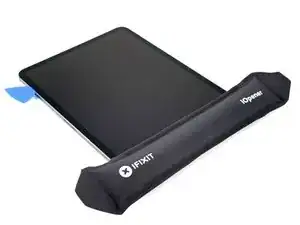
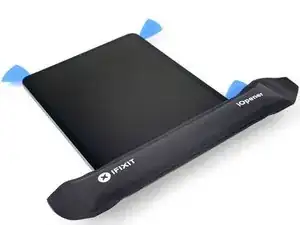
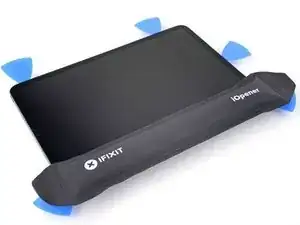
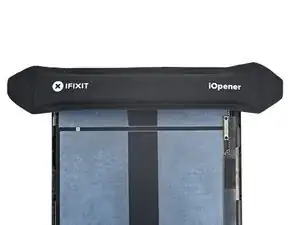
Prepare an iOpener. Leave it in place at the top of the display for two minutes.
-
-
-
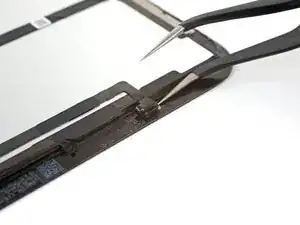
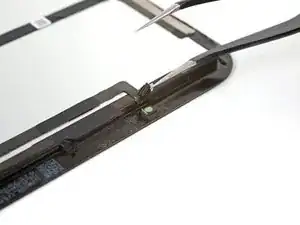
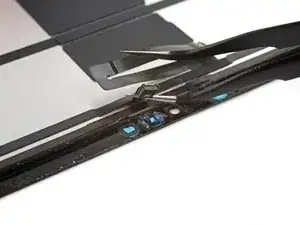
Using a pair of tweezers, insert one arm between the ambient light sensor and the screen.
-
Gently pry the sensor up from the screen. This may take considerable force.
-
Repeat these steps with the other ambient light sensor.
-
-
-
Reheat & reapply your iOpener
-
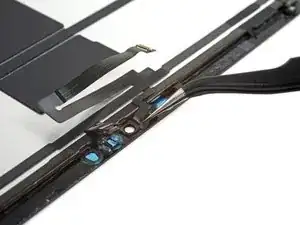
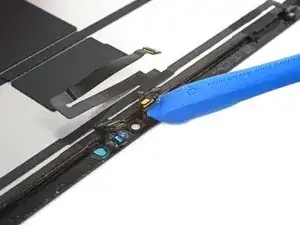
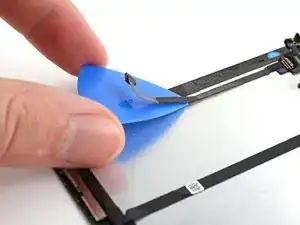
Using the same method that we used with the ambient light sensor, use one arm of the tweezers to slip under the ribbon cable and gently pry up.
-
-
-
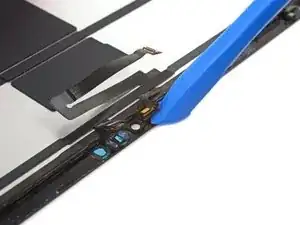
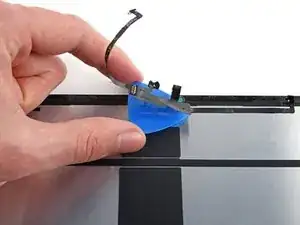
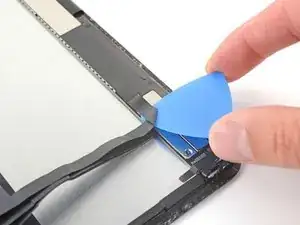
Slide the opening tool under the microphone to separate the adhesive.
-
Pry up to separate the microphone from the screen.
-
-
-
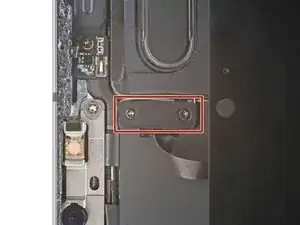
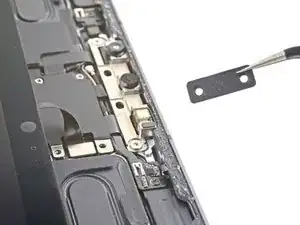
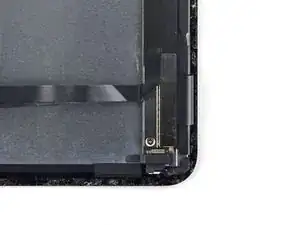
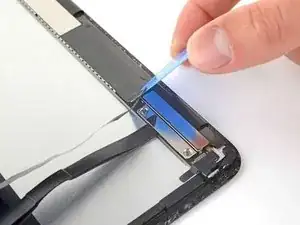
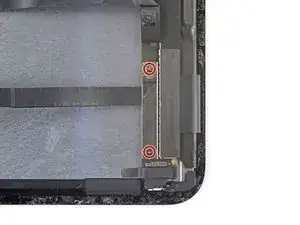
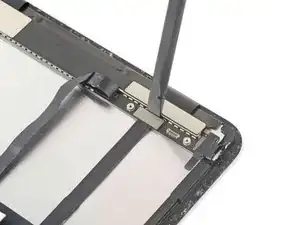
The bracket in the bottom right corner of the display is covering the display cable connectors.
-
-
-
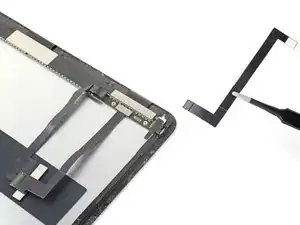
Use an opening pick to remove the small section of the upper display cable that is attached to the bracket.
-
-
-
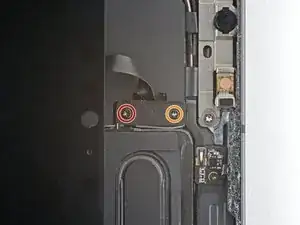
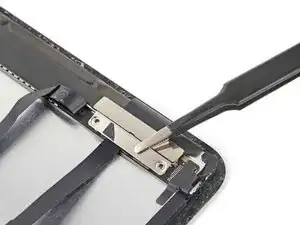
Use a Phillips screwdriver to remove the two 1.2mm screws scoring the display cable bracket.
-
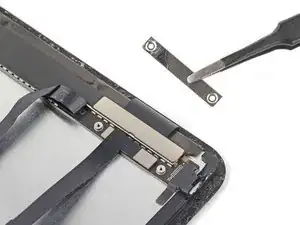
Using a pair of tweezers remove the lower display cable bracke.
-
-
-
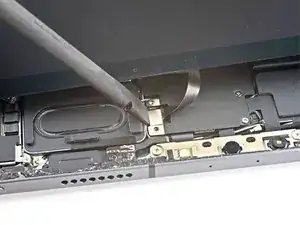
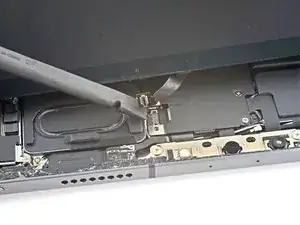
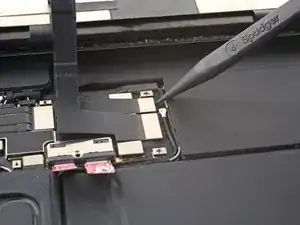
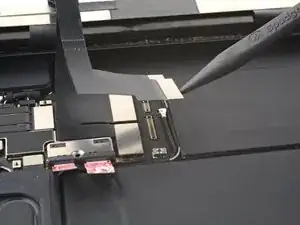
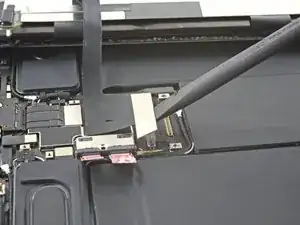
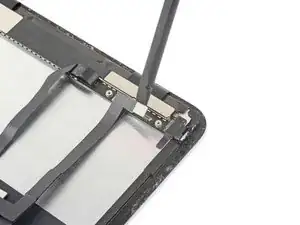
Using flat end of a spudger, pry up and disconnect the narrow display cable.
-
Set the cable aside to connect to your new display.
-
Repeat this process with the wider display cable.
-
To reassemble your device, follow these instructions in reverse order.
2 comments
One quick note - you can replace the screen on the 4th gen with one from a 3rd gen, but there's a slight difference in the ledge in the top right corner that stops it from sitting flush. It needs to be dremeled out about 1/8" for the screen to fit properly.
Excellent call out! Please add it to the guide as a note or call out at the beginning. I think that process would be worth its own guide if you ask me. Would definitely link it to this one if you do.
Luke -
