Introduction
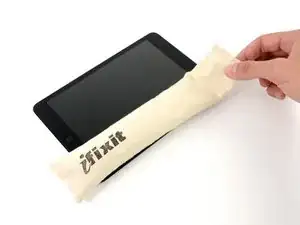
Prereq used with iOpener.
Tools
Parts
-
-
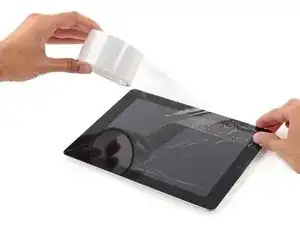
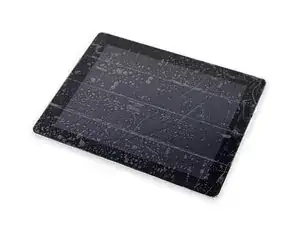
If your display glass is cracked, keep further breakage contained and prevent bodily harm during your repair by taping the glass.
-
Lay overlapping strips of clear packing tape over the iPad's display until the whole face is covered.
-
Do your best to follow the rest of the guide as described. However, once the glass is broken, it will likely continue to crack as you work, and you may need to use a metal prying tool to scoop the glass out.
-
-
-
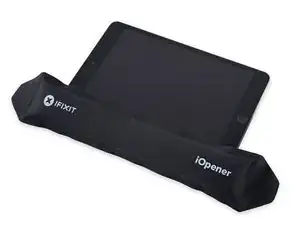
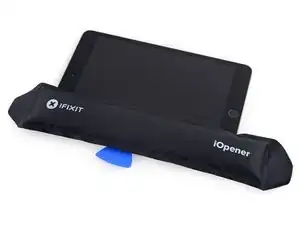
Handling it by the tab, place the heated iOpener on the side of the iPad to the left of the home button assembly.
-
Let the iOpener sit for about five minutes to soften the adhesive beneath the glass.
-
-
-
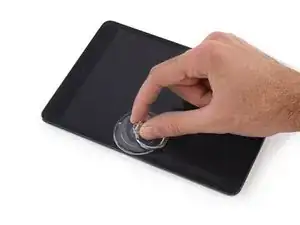
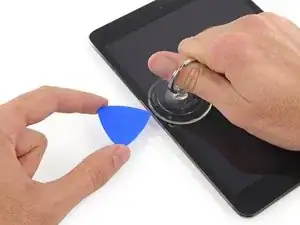
Carefully place a suction cup halfway up the heated side.
-
Be sure the cup is completely flat on the screen to get a tight seal.
-
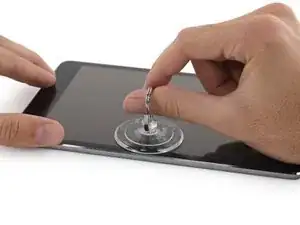
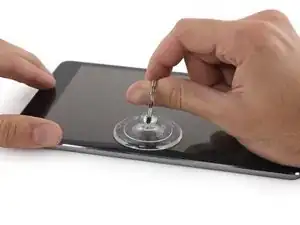
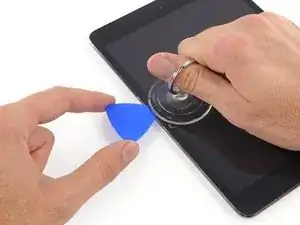
While holding the iPad down with one hand, pull up on the suction cup to slightly separate the front panel glass from from the rear case.
-
-
-
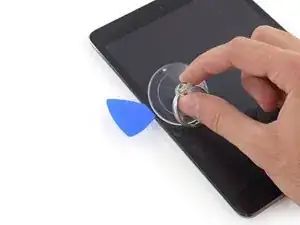
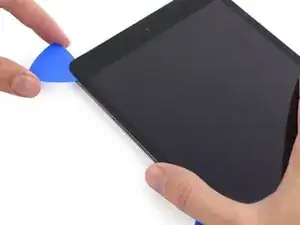
While holding the glass up with the suction cup, slide the point of an opening pick into the gap between the glass and body of the iPad.
-
Pull the suction cup's plastic nub to release the vacuum seal and remove the suction cup from the display assembly.
-
-
-
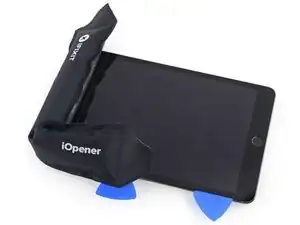
Reheat and reapply the iOpener.
-
Let it rest for a few minutes to reheat the left edge of the iPad.
-
-
-
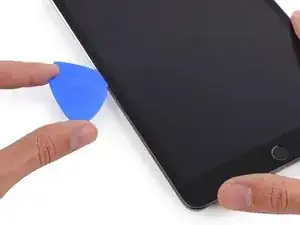
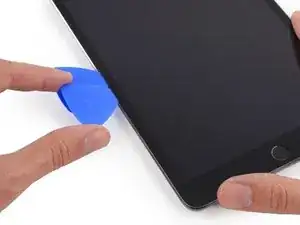
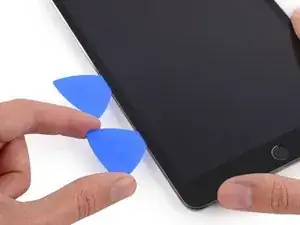
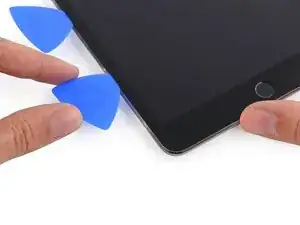
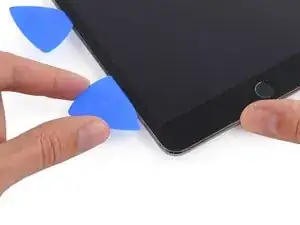
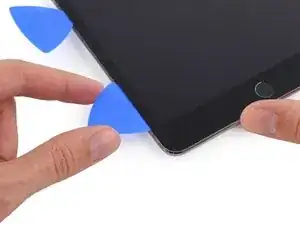
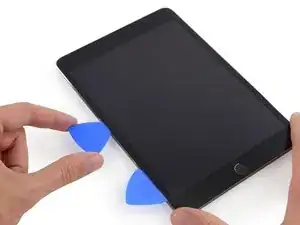
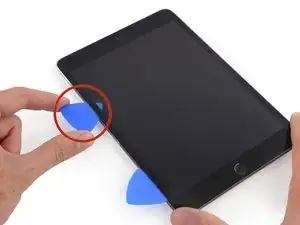
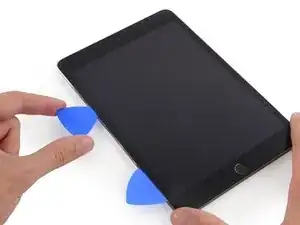
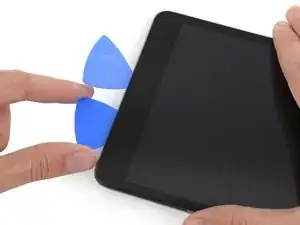
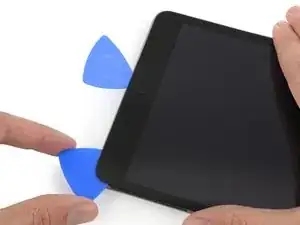
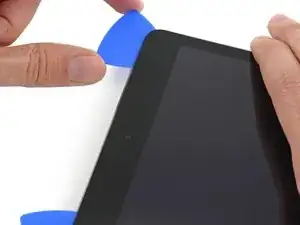
Place a second opening pick alongside the first and slide the pick down along the edge of the iPad, releasing the adhesive as you go.
-
-
-
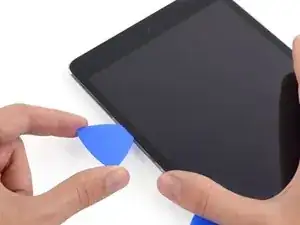
Continue moving the opening pick down the side of the display to release the adhesive.
-
If the opening pick gets stuck in the adhesive, "roll" the pick along the side of the iPad, continuing to release the adhesive.
-
-
-
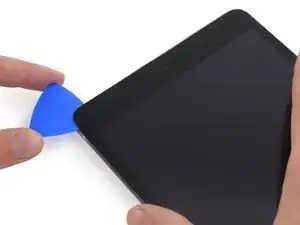
Take the first pick you inserted and slide it up toward the top corner of the iPad.
-
If you can see the tip of the opening pick through the front glass, don't panic—just pull the pick out a little bit. Most likely, everything will be fine, but try to avoid this as it may deposit adhesive on the front of the LCD that is difficult to clean off.
-
-
-
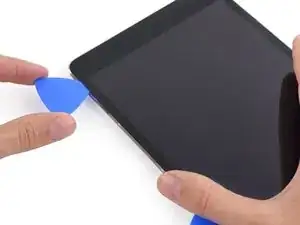
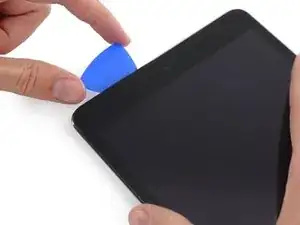
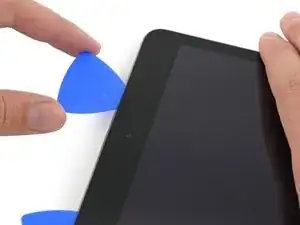
Slide the opening pick along the top edge of the iPad, stopping just before you reach the camera.
-
-
-
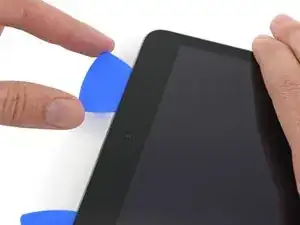
Pull the pick out slightly, and slide the very tip gently along the top of the front-facing camera section of the top edge.
-
-
-
Leave the opening pick in the iPad slightly past the front-facing camera.
-
Leave the second pick in place to prevent the corner adhesive from re-sealing as it cools.
-
-
-
Insert the previous pick deeper into the iPad and slide it away from the camera toward the corner.
-
-
-
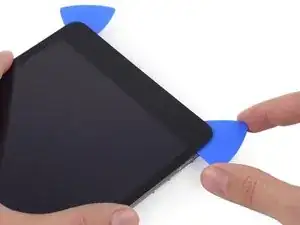
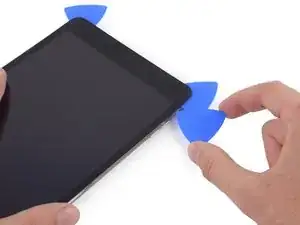
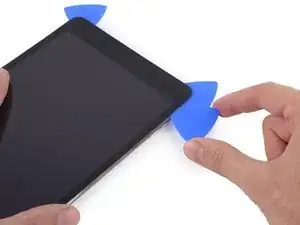
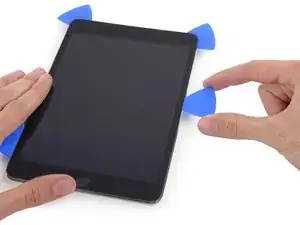
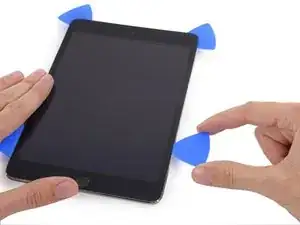
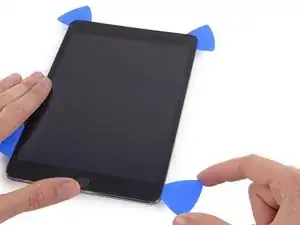
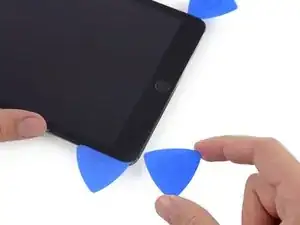
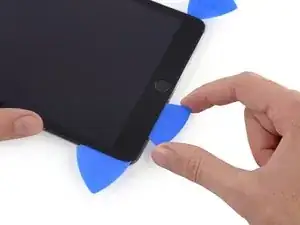
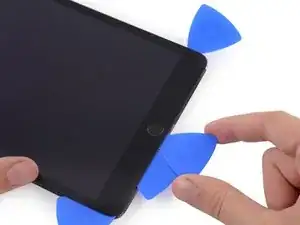
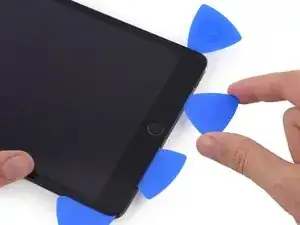
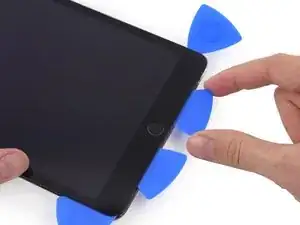
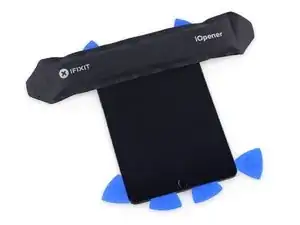
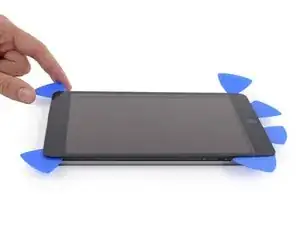
Leave the three picks in the corners of the iPad to prevent re-adhering of the front panel adhesive.
-
Reheat the iOpener and place it on the remaining long side of the iPad—along the volume and lock buttons.
-
-
-
Slide the top right opening pick around the corner to fully release the top edge of the glass.
-
Leave this pick in place to keep the adhesive from re-sealing itself, and grab a new pick for the next step.
-
-
-
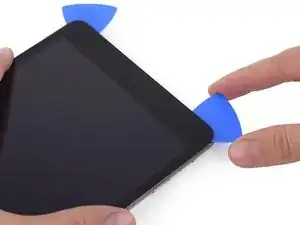
Insert a new opening pick and slide it to the middle of the right edge of the iPad, releasing the adhesive as you go.
-
-
-
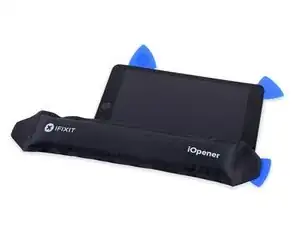
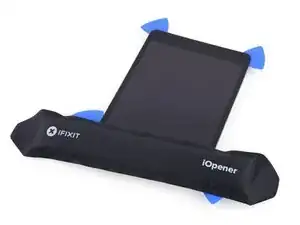
Leave the opening picks in place and reheat the iOpener.
-
Set the reheated iOpener on the home button end of the iPad and let it rest for a few minutes to soften the adhesive beneath the glass.
-
-
-
Slide the lower left pick to the lower left corner to cut the adhesive on that corner.
-
Leave the pick at the corner. Do not pry any farther, and do not remove the pick from the iPad.
-
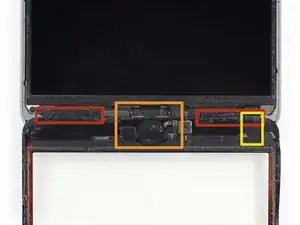
Antennas
-
Home button cavity
-
Digitizer cable
-
The following steps will direct you where to pry to avoid damage to these components. Only apply heat and pry where directed.
-
-
-
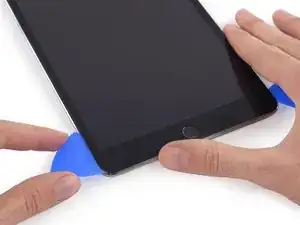
With a new pick, slice gently over the left-hand antenna, stopping before the home button.
-
Leave the pick in place before moving on.
-
-
-
Insert the tip of one last pick next to the previous step's pick, and slide it beneath the home button.
-
Insert the pick slightly deeper and work it back toward the home button.
-
-
-
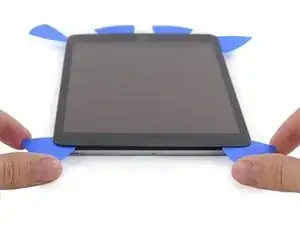
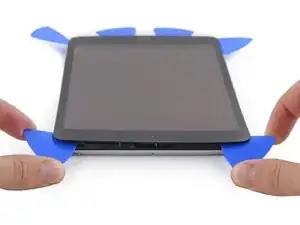
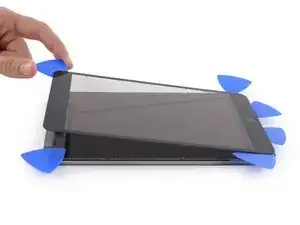
At the top of the iPad opposite the home button, you should have a pick lodged into each corner. Twist the picks to lift the glass slightly, separating the last of the adhesive along all four edges.
-
-
-
Once all of the adhesive has been separated, open the front glass like a page in a book and rest it on your workspace.
-
-
-
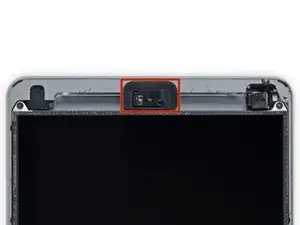
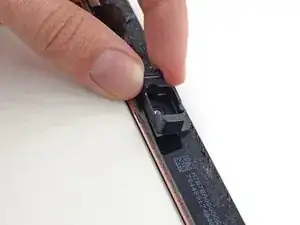
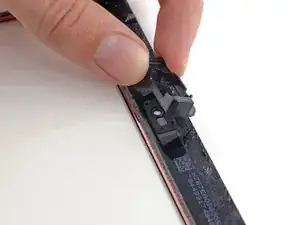
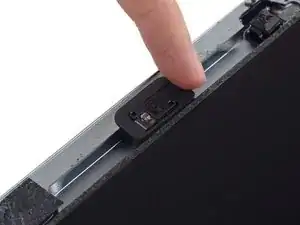
The front-facing camera housing may stick to the front panel; peel up the housing and place it back over the camera to protect it.
-
Rock the camera housing up on one edge to free it from the adhesive and remove it from the front panel.
-
Return the front-facing camera housing to its recess in the rear case.
-
To reassemble your device, follow these instructions in reverse order.
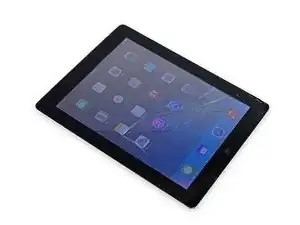
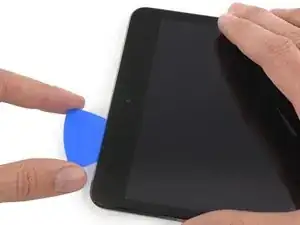
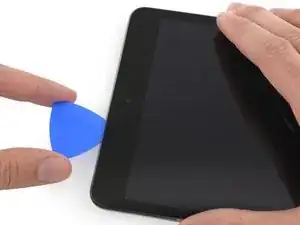
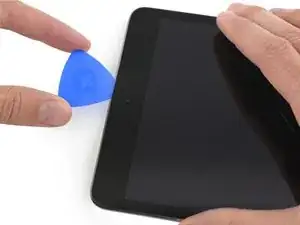
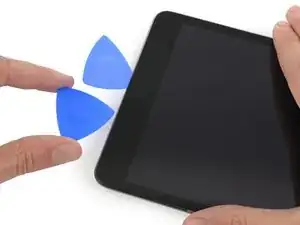





In case of broken glass, here are some hints:
- I prefer 3M "3350" tape; a metalized polypropylene tape with an acrylic adhesive. It's a very thin, silvery HVAC tape, not your standard duct tape.
- Test your tape to make sure it sticks really well to the glass.
- Use isopropyl alcohol on a paper towel to remove fingerprints and other dirt to help the tape stick to the screen.
- Use the widest tape you can find, and apply it evenly, without trapping bubbles, without crinkles: This greatly improves your chance of success with the suction cup later.
- Cut tape pieces long enough and go over the (rounded) edge; afterwards carefully run a scalpel alongside the edge (between bezel and glass) to trim off any excess.
- Don't overlap edges of the tape: butt-join them instead.
- If needed: repeat in other direction.
- If needed: Cut square piece of tape (size of suction cup) and place it where you want to lift the glass, so that the suction cup doesn't cover any butt-joins.
Good luck, you brave person!
volty -
This is the second broken screen I’ve fixed. Overlapped package tape carefully stuck to the glass and trimmed to the edges will contain most of the shards. I found that a hair dryer works for softening the glue. After getting under an edge with the suction cup I carefully followed the opening sequence using a combination of plastic picks and a single edge razor blade to get under the small pieces. It was slow going with lots of reheating with the dryer (about 45 minutes), but the taped glass came off without glass everywhere.
Bill Roughen -