Introduction
Internal prereq.
-
-
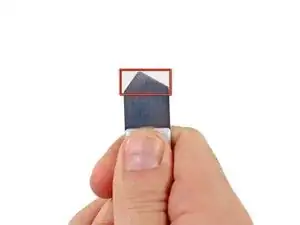
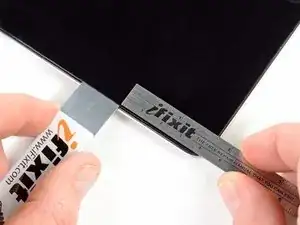
While using the iSesamo, do not insert the tool more than ~0.5 inches, i.e. past the corners of the wedge.
-
-
-
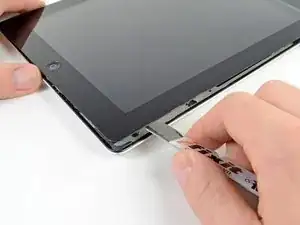
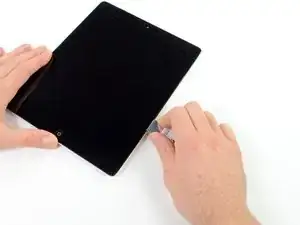
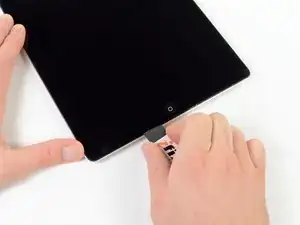
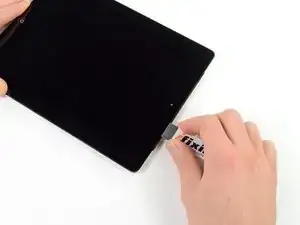
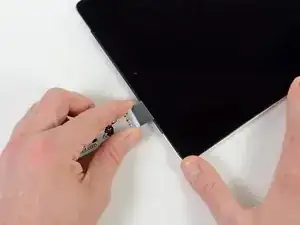
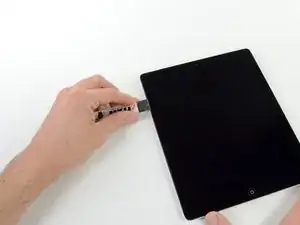
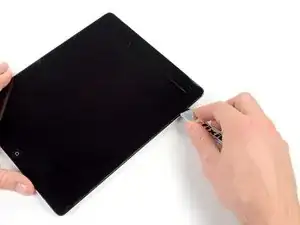
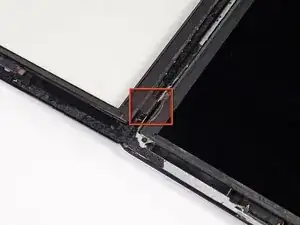
Exploiting the gap in the adhesive, carefully insert the tip of the iSesamo in between the front glass and the aluminum frame.
-
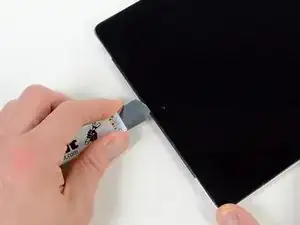
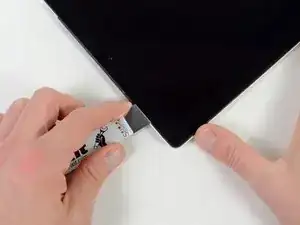
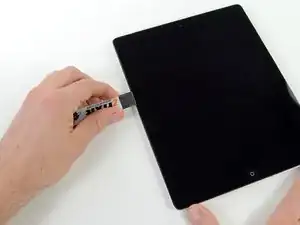
Carefully push the iSesamo further into the iPad, stopping when the tool is approximately 3/8" (1 cm) underneath the front glass.
-
-
-
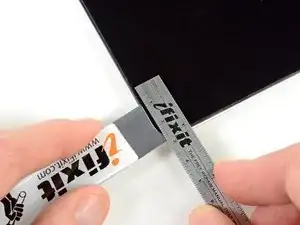
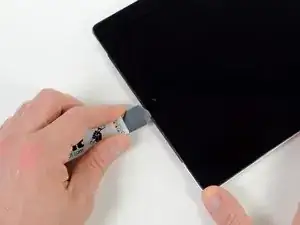
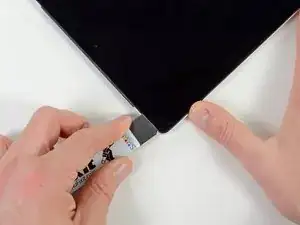
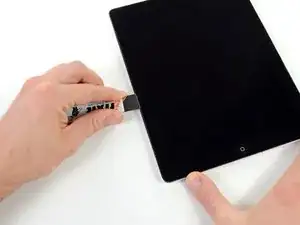
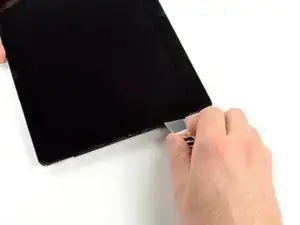
Holding the tool firmly, slide the iSesamo down the right edge of the iPad.
-
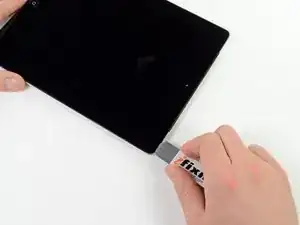
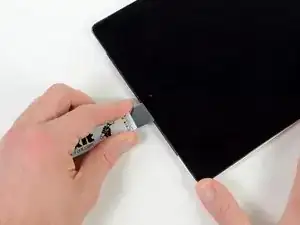
Continue sliding the iSesamo along the entire right edge of the iPad, releasing the adhesive all the way to the bottom right corner.
-
-
-
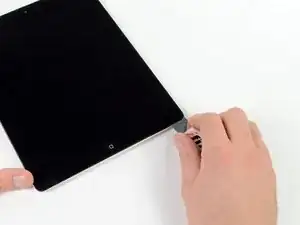
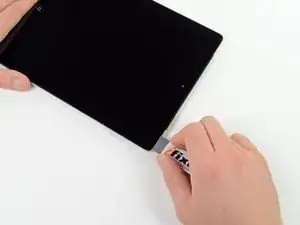
Without removing the iSesamo, rotate it around the bottom right corner of the iPad.
-
Maintaining the iSesamo at the same penetration depth, carefully slide the iSesamo along the bottom edge of the iPad, stopping just before the home button.
-
-
-
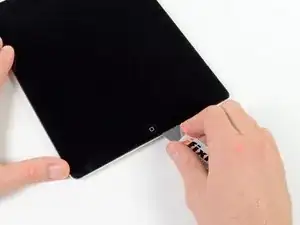
When you reach the right side of the home button, pull the iSesamo out until only ~0.5 cm (3/16") remains inside the iPad.
-
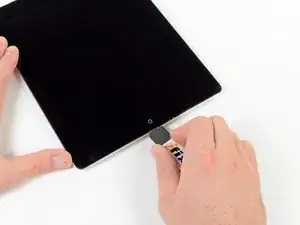
Slide the iSesamo along the bottom edge underneath the home button.
-
Once the adhesive beneath the home button has been released, re-insert the iSesamo.
-
-
-
Continue sliding the iSesamo along the left half of the bottom edge of the iPad, releasing the adhesive all the way to the corner.
-
-
-
Without removing the iSesamo, rotate it around the bottom left corner of the iPad.
-
Begin sliding the iSesamo up along the left edge of the iPad, stopping just before the ribbon cable, approximately 2.5 cm from the bottom of the iPad.
-
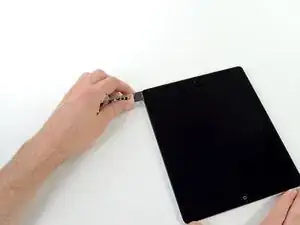
Remove the iSesamo from the iPad.
-
-
-
In the same manner as described above, insert the iSesamo into the upper right corner of the iPad 3.
-
-
-
To remove the adhesive above the camera fixture, pull the iSesamo out of the iPad until only 2 mm (~1/8") is still inside the iPad.
-
Slide the tip of the iSesamo along the length of the camera fixture.
-
-
-
Once the tip of the iSesamo has cleared the camera fixture, re-insert the iSesamo to its proper depth of 1.5 cm.
-
-
-
Continue sliding the iSesamo along the top edge of the iPad, releasing the adhesive all the way to the corner.
-
-
-
Without removing the iSesamo, rotate it around the top left corner of the iPad.
-
Begin sliding the iSesamo down the left edge of the iPad, releasing the adhesive as you go.
-
-
-
Slide the iSesamo tool down the left edge of the iPad, stopping ~4 cm (1.5") from the bottom.
-
Remove the iSesamo from the iPad.
-
-
-
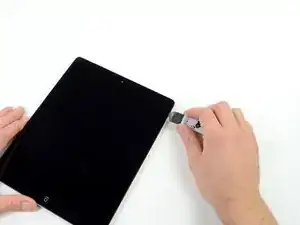
Insert the iSesamo into the right edge of the iPad, near the top corner.
-
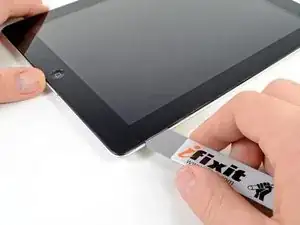
Gently twist the iSesamo, loosening any adhesive that may still be holding the front glass to the aluminum frame.
-
-
-
In the same manner described above, insert the iSesamo into the top left corner of the iPad.
-
Twist the iSesamo gently to release the remaining adhesive.
-
-
-
Insert the iSesamo near the bottom right corner of the iPad.
-
Gently twist the iSesamo to release any remaining adhesive.
-
-
-
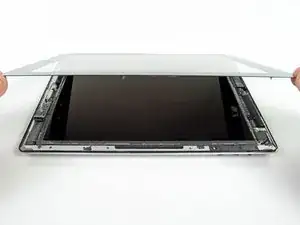
Holding the front panel from top- and bottom-right corners, gently lift the front panel, rotating it around the left edge.
-
Rotate the display all the way over, laying the front panel on the table beside the iPad.
-
Be careful to not bend or tear the touchscreen ribbon cable.
-
-
-
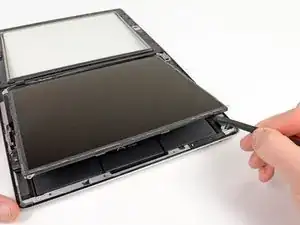
Using the flat end of a spudger, lift the right edge of the LCD out of the iPad.
-
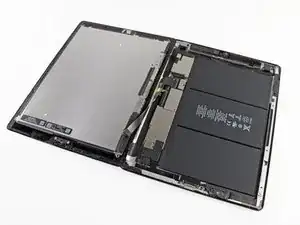
Rotate the LCD along its left edge and lay it down on top of the front panel.
-


To reassemble your device, follow these instructions in reverse order.