Introduction
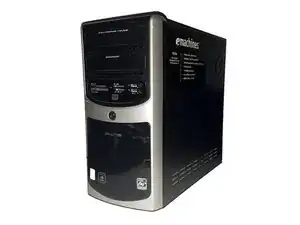
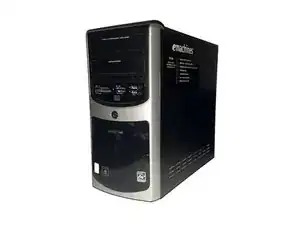
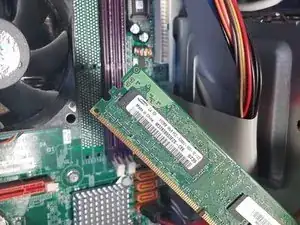
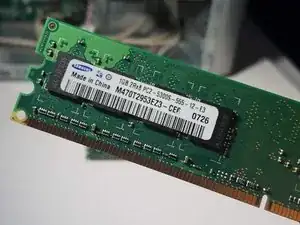
Has your eMachine been running slow lately? Ready to upgrade to a higher memory size? This guide will show you how to remove the built-in Samsung random access memory (RAM) disks and install two DDR4 SDRAM memory disks.
Note that the size of your memory disks will need to be in DDR4 SDRAM bandwidth.
I will be using the Phillips #1 Screwdriver from my iFixit Pro Tech Toolkit.
Tools
-
-
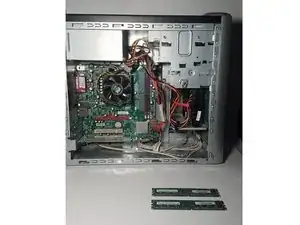
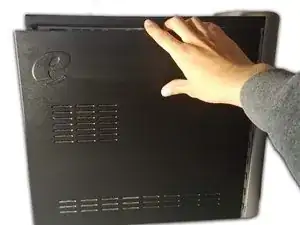
Place the computer upright at standing position.
-
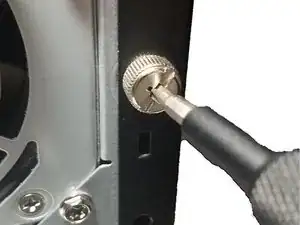
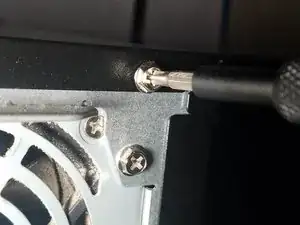
Using a Phillips #1 Screwdriver:
-
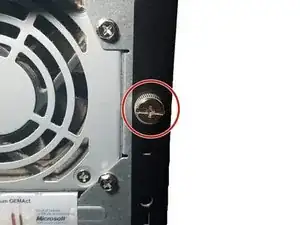
Remove the two 1cm combination screws located on the right of the casing.
-
-
-
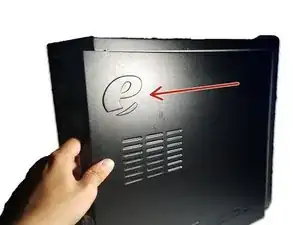
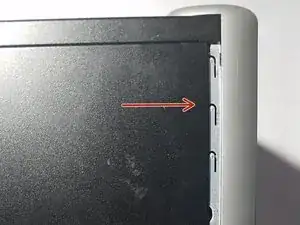
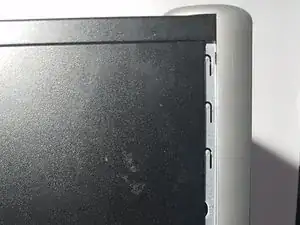
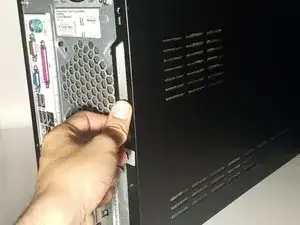
Using your hands, dislodge the casing and pull the case panel towards you until the panel comes off.
-
-
-
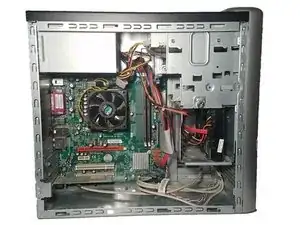
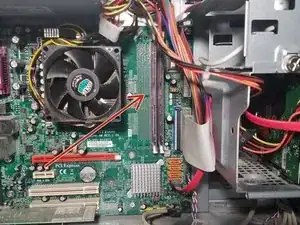
With the case panel open, locate the two RAM disk slots on the right side of the motherboard.
-
-
-
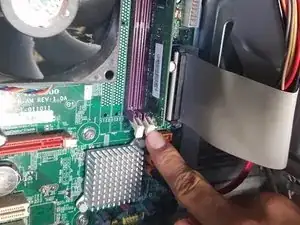
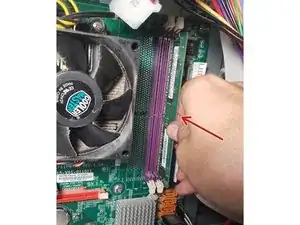
Locate the tabs on the RAM disks.
-
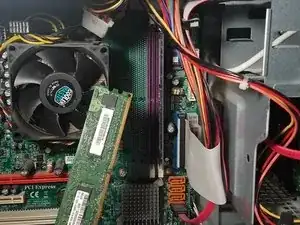
Use your index finger to release the tab at the bottom of the left RAM disk slot.
-
-
-
Release the tab at the top of the left RAM disk.
-
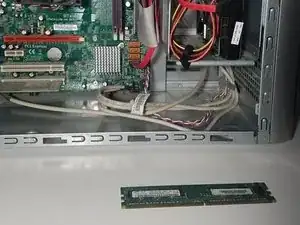
Store the unused RAM disk in a plastic container for future use or go to a recycling center for proper disposal.
-
-
-
Align the RAM disk to match the slot and insert the disk to the right memory disk slot.
-
Gently push the disk in to secure.
-
Secure the tabs at the top and bottom of the memory disk slots to lock into place.
-
-
-
Align the RAM disk to match the slot and Insert the RAM disk to the right memory disk slot
-
Gently push the disk in to secure.
-
Secure the tabs at the top and bottom of the RAM disk to lock into place.
-
-
-
Use both hands to align the case panel to the case frame.
-
Once in place, push the case panel forward until it secures in place.
-
-
-
Using your Phillips #1 Screwdriver:
-
Screw the two 1cm combination screws back into place on the right side of the case panel.
-
And that’s all there is to it! Make sure to dispose your old RAM disks properly at your local recycling center.
