
Introduction
Welcome to the Zoom H1 Handy Recorder guide to replace the speaker. It will happen at times that the speaker corrodes, suffers damage, or ages in quality, making the device not project the sound properly or any at all. This guide will provide step-by-step instructions to help you replace the speaker. Although this guide is easy to follow, there is a special skill necessary: soldering.
Caution! About soldering: there are some hazards to be aware of, necessary equipment, and the act of soldering itself. Luckily, iFixit has a Wiki on all of the above! Click here to access the Wiki. Now go and make your Zoom H1 Handy Recorder work like new again!
-
-
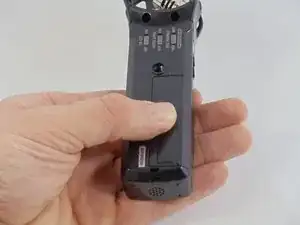
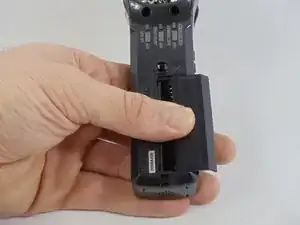
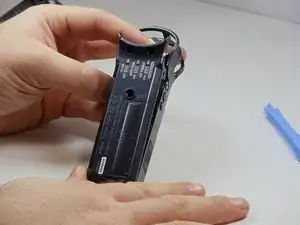
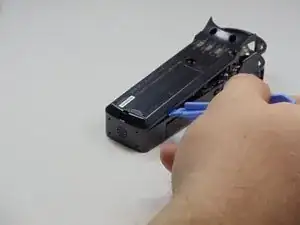
Remove the back plate by using a plastic removal tool to pry the back cover up around the edges.
-
-
-
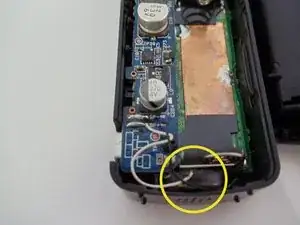
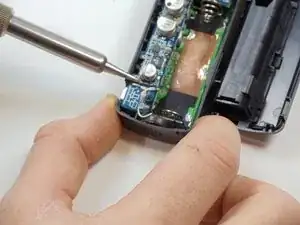
De-solder the white and black speaker wires from their soldering points.
-
Speaker soldering points are located on the thin section of the blue circuit board, and are marked with “SP+” and “SP-”.
-
-
-
Remove the damaged speaker from its place at the very bottom of the case, just below the battery input.
-
-
-
Replace the damaged speaker and re-solder to the original solder points.
-
Ensure that the negative wire is soldered to the “SP-” while the positive wire is soldered to the “SP+” point.
-

To reassemble your device, follow these instructions in reverse order.