Introduction
Consider replacing the front camera of your ZTE Maven 3 for a few key reasons. First, if the current camera consistently produces blurry or distorted images, a replacement could significantly enhance the quality of your selfies and video calls.
Additionally, a malfunctioning or nonfunctional front camera might disrupt your ability to take photos or engage in video chats, necessitating a replacement to restore normal functionality.
Moreover, upgrading to a new front camera could offer improved resolution, better performance in low-light conditions, or additional features, ultimately elevating your overall photography experience on the device.
-
-
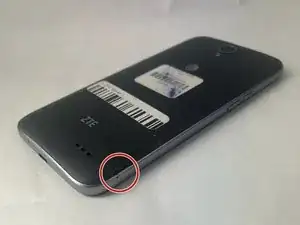
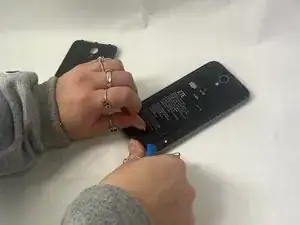
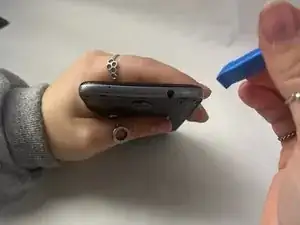
Locate the small indent on the back right bottom corner of the phone.
-
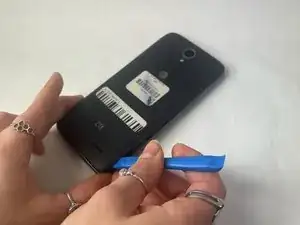
Put the pry tool or your fingertip inside the small gap on the bottom right of the back of the phone and pop up the cover.
-
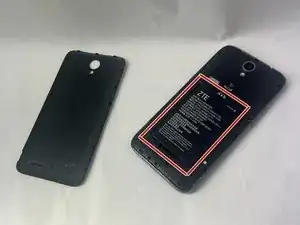
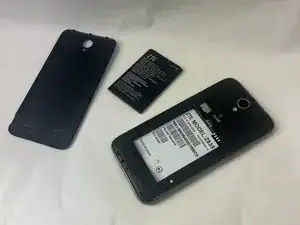
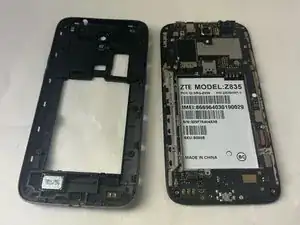
Continue to go around the phone until the cover is completely off the back of the pull and put it aside.
-
-
-
Locate the battery in the middle of the back of the phone.
-
Push in and up on the battery to remove it from its slot.
-
Put the battery aside.
-
-
-
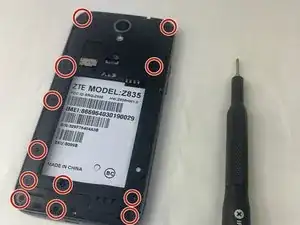
Use a Phillips #00 screwdriver to remove twelve 2 mm screws along the back outer edges of the phone.
-
-
-
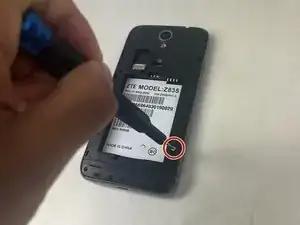
There’s a 13th 2 mm screw with a lock sticker over it on the bottom right corner. Insert the #00 Phillips screwdriver in the middle, breaking the sticker, and take the screw out.
-
-
-
Slide the pry tool into the middle of the connection between the screen and the back of the phone.
-
Once in, slide the pry tool around the phone, separating the screen and the back of the phone.
-
The detached piece is the midframe, and you can place it aside when detached.
-
-
-
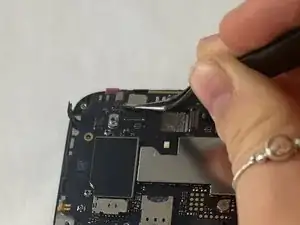
Detach the ribbon cable connecting the camera in the top middle left of the phone.
-
Use blunt tweezers to pull the camera off and put it aside.
-
Use blunt tweezers to pull the camera off and put it aside.
-

To reassemble your device, follow these instructions in reverse order.
