
Introduction
Use this guide to remove or replace the rear glass of the Xiaomi Mi 8.
You’ll need replacement adhesive to reattach components when reassembling the device.
-
-
Apply a heated iOpener to the rear glass to loosen the adhesive beneath the edges. Apply the iOpener for at least two minutes.
-
-
-
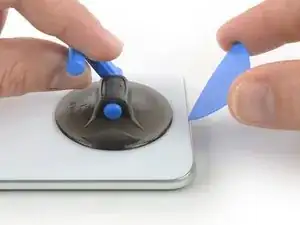
Secure a suction handle to the lower edge of the rear glass, as close to the edge as possible.
-
Lift the rear glass with the suction handle to create a gap between the glass and the frame.
-
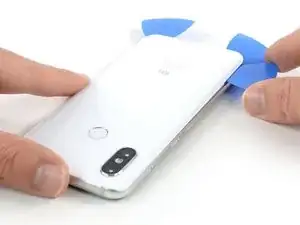
Insert an opening pick into the gap.
-
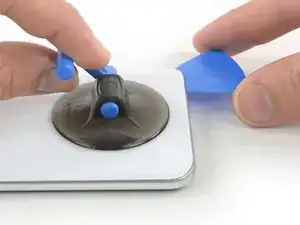
Slide the opening pick to the bottom right corner of the phone.
-
-
-
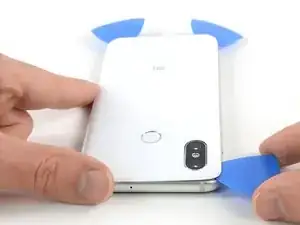
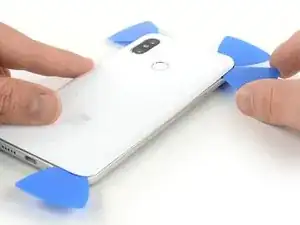
Insert a second opening pick and slide it to the bottom left corner to cut the adhesive.
-
Leave the opening picks in place to prevent the adhesive from resealing.
-
-
-
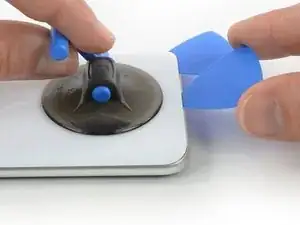
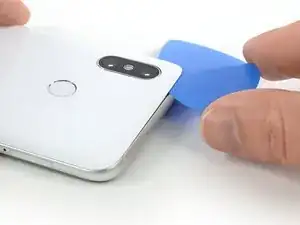
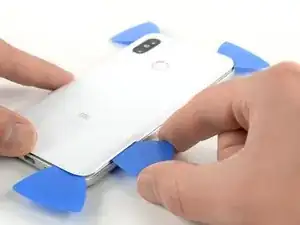
Insert a third opening pick at the bottom left corner.
-
Start to slide the opening pick from the bottom left corner along the side of the Xiaomi Mi 8 to cut the adhesive.
-
As the adhesive cools down it gets harder to cut. If necessary use your iOpener to reheat it.
-
Leave the opening pick in the top left corner to prevent the adhesive from resealing.
-
-
-
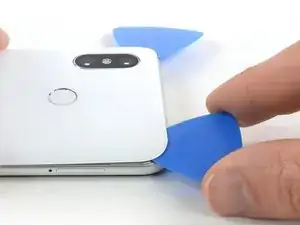
Insert a fourth opening pick under the top left corner of the rear glass.
-
Slide the opening pick along the top to cut the adhesive.
-
Leave the opening pick in the top right corner to prevent the adhesive from resealing.
-
-
-
Insert a fifth opening pick at the top right corner of the phone.
-
Slide the opening pick along the right edge to cut the remaining adhesive.
-
-
-
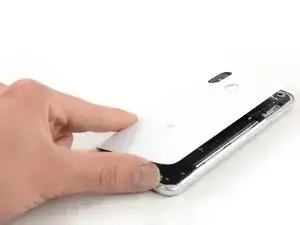
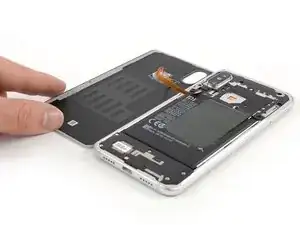
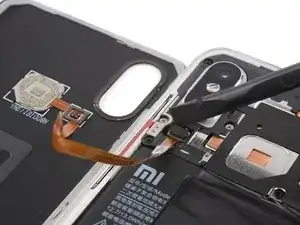
Carefully lift the rear glass and fold it to the left side to access the fingerprint flex connector.
-


Secure the new back cover with pre-cut adhesive or double-sided adhesive tape.
To reassemble your device, follow these instructions in reverse order.
After installing the rear glass, apply pressure for several minutes to help the adhesive form a good bond, such as by placing it under a stack of heavy books.
Repair didn’t go as planned? Check out our Answers Community for troubleshooting help.

4 comments
what adhesive can you use to glue the back on and the fingerprint scanner to the back?
Polly -
Hi Polly,
you can either buy pre-cut adhesive for your device/rear glass or use thin double sided adhesive tape you cut by yourself. For example you can use this tesa adhesive card.
Can you remove the fingerprint component from the old back cover? I just want to replace the cover as it is cracked and the fingerprint sensor is still working great.
dannoe -
Hi Dannoe,
the fingerprint sensor is glued to the back cover. To transfer the fingerprint reader you need appropriate custom cut adhesive to adhere it to your new back cover. You should be able to remove it by placing and iOpener for about 1 minute onto the back cover where the fingerprint reader is located (following the iOpener instructions) and carefully sliding an opening pick underneath the edges of the reader to separate it from the back cover. Be especially carefully in the area where the chip is located and avoid overheating it. Good luck with your repair!