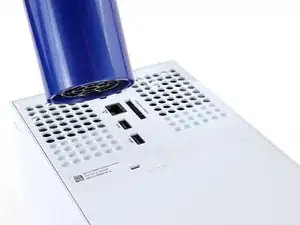
Introduction
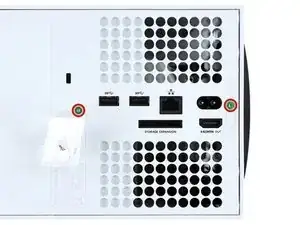
Use this guide to replace the USB and Pair button board in your Xbox Series X (Digital Edition) gaming console.
If your Pair button is sticking or isn't clicking, or if the USB port on the front of your Xbox has a loose connection, you may need to replace the USB and Pair button board.
If your controller isn't syncing to your Xbox, make sure the problem isn't with your controller before replacing the board.
Before you begin, completely power down and unplug all cables from your console. Remember to follow general electrostatic discharge (ESD) safety procedures while repairing your console.
-
-
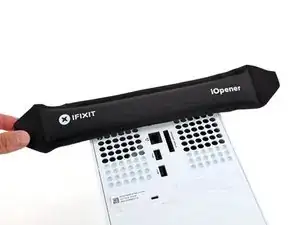
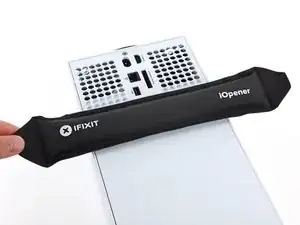
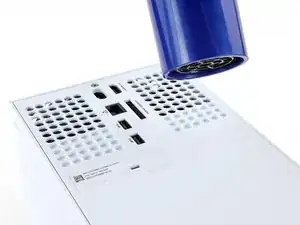
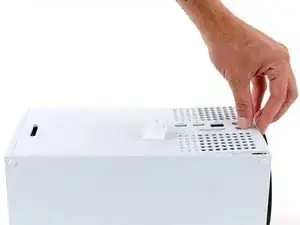
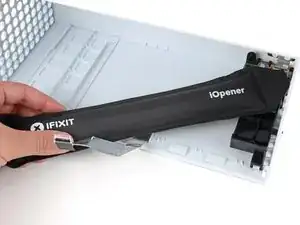
Heat an iOpener and lay it on the smaller sticker near the bottom of the back panel for two minutes.
-
-
-
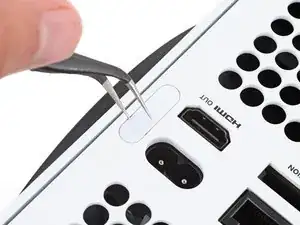
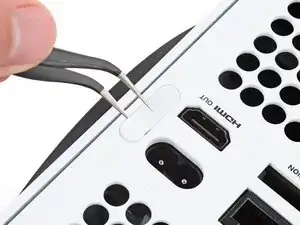
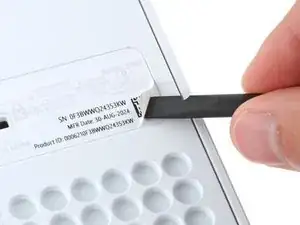
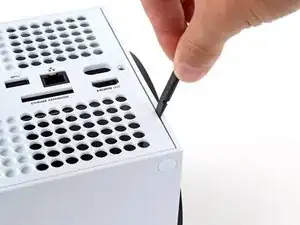
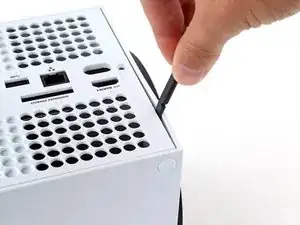
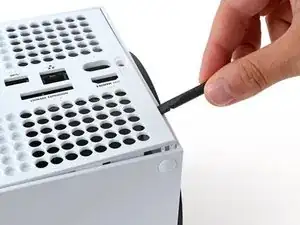
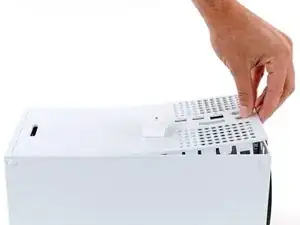
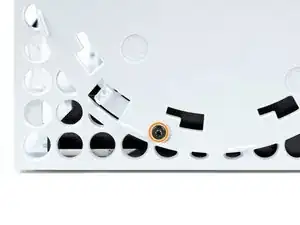
Use a pair of angled tweezers to remove the sticker hiding the first screw on the back panel, near the base.
-
-
-
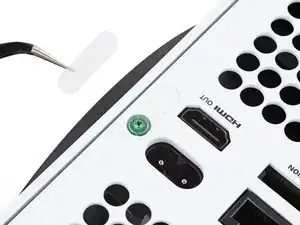
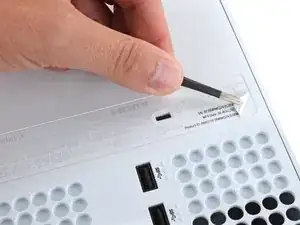
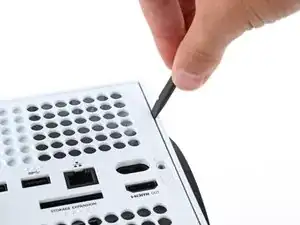
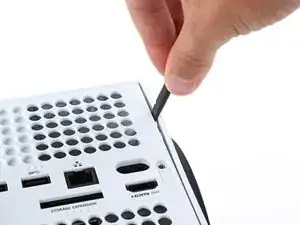
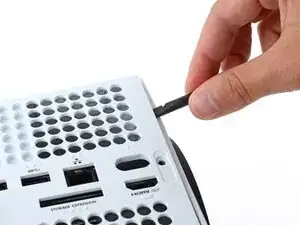
Use the flat end of a spudger to scrape up a corner of the larger sticker until you can grip it with a pair of blunt tweezers.
-
Use blunt tweezers to peel back the sticker to reveal the second screw.
-
-
-
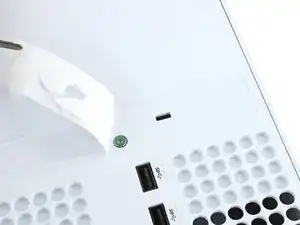
Insert the flat end of a spudger into the gap between the back panel and the shell, near the left side of the base.
-
Pry up the back panel to release it from the locking clips.
-
-
-
Insert the flat end of a spudger into the gap between the back panel and the shell, near the right side of the base.
-
Pry up the back panel to release it from the locking clips.
-
-
-
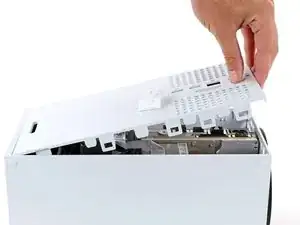
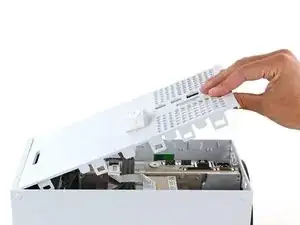
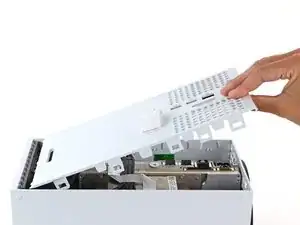
Grip the back panel at the opening you just created and pull it up and away from the shell to unclip the long edges.
-
-
-
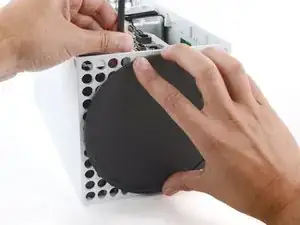
Tilt the back panel up and pull it away from the top edge of the shell to release it from the gap.
-
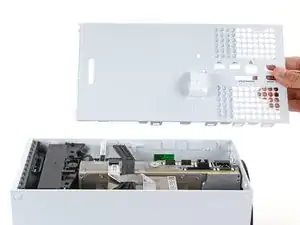
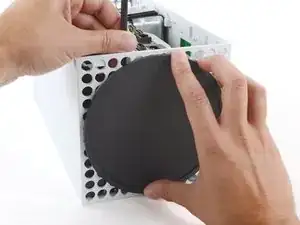
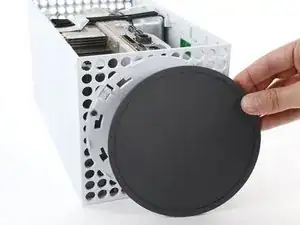
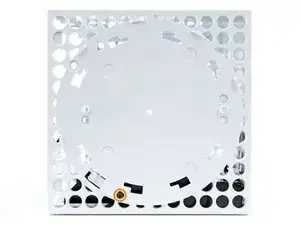
Remove the back panel.
-
-
-
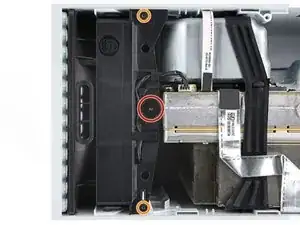
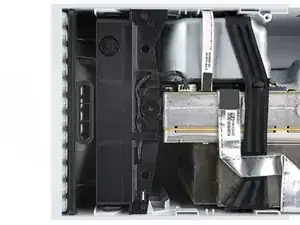
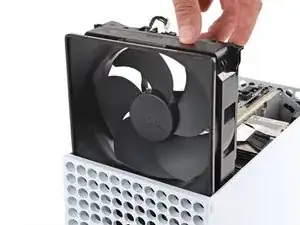
Use a T8 Torx driver to remove the three screws securing the fan to the center chassis:
-
One 10.3 mm‑long pancake screw
-
Two 9 mm‑long screws
-
-
-
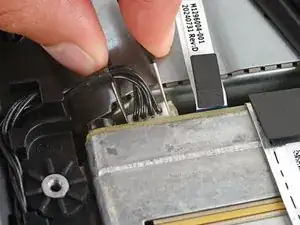
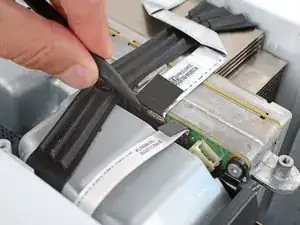
Use your fingernails or a pair of angled tweezers to firmly grip the edges of the fan cable connector.
-
Pull the connector straight out of the socket to disconnect it.
-
-
-
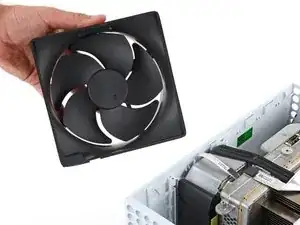
Slide the fan out of its slot to remove it.
-
Before installing the fan, make sure it's clean! Use a dust blower or compressed air to blow off any dust or debris, and wipe the fan clean with a clean cloth.
-
Note that the fan can only be installed one way—make sure Master Chief is facing you.
-
-
-
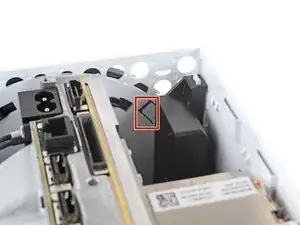
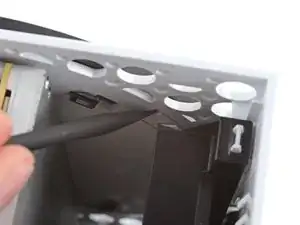
Use the flat end of a spudger to pry up the locking tab holding the base to the shell.
-
Keep the locking tab held open for the next step.
-
-
-
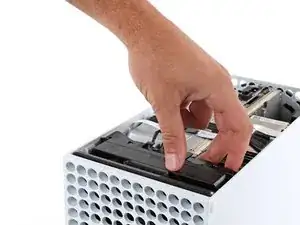
With the locking tab held open, grip the base and rotate it counterclockwise to unlock it from the shell.
-
Remove the base.
-
-
-
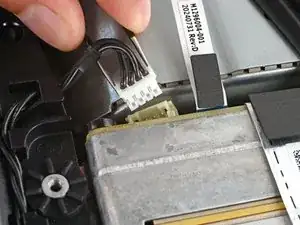
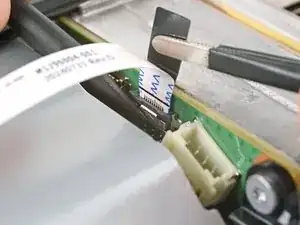
Use a pair of tweezers to gently pull up on the black plastic pull tab to disconnect the USB port cable.
-
Move the USB port cable out of the way of the chassis.
-
-
-
Use the pointed end of a spudger to depress the metal tab on the side of the power button cable's board connector.
-
With the metal tab depressed, use a pair of tweezers to pull up on the pull tab to disconnect the power button cable from the center chassis.
-
-
-
Use a T8 Torx driver to remove the three 7.4 mm‑long green screws securing the center chassis assembly to the shell.
-
-
-
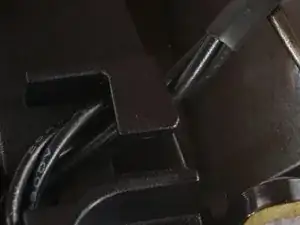
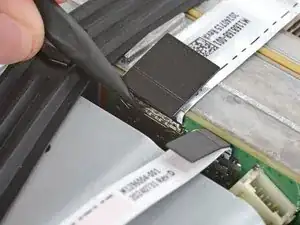
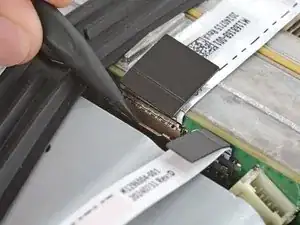
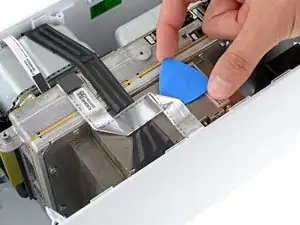
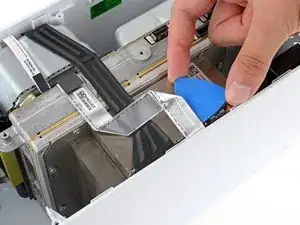
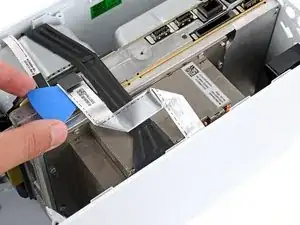
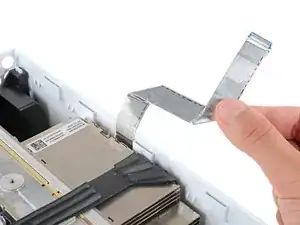
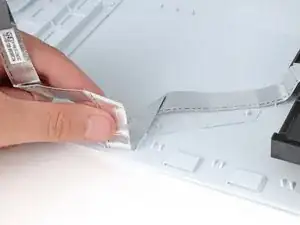
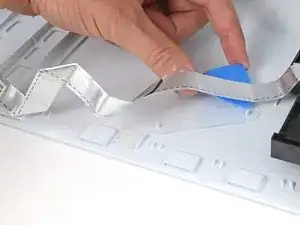
Peel up the section of USB board cable near the outer edge of the shell to separate the adhesive.
-
Slide an opening pick under the section of the cable closest to the board to separate the adhesive.
-
-
-
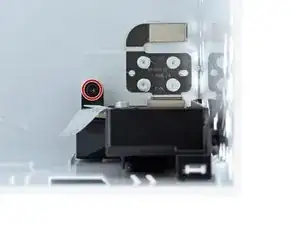
Use a T8 Torx driver to remove the two 8.9 mm‑long screws securing the USB board enclosure:
-
One screw inside the shell
-
One screw on the bottom of the shell (where the base was)
-
-
-
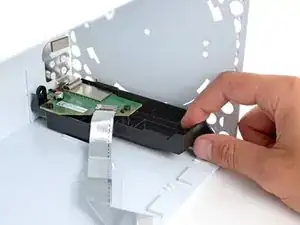
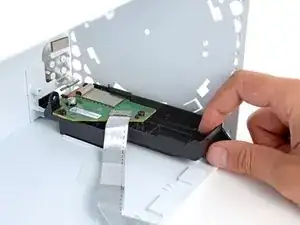
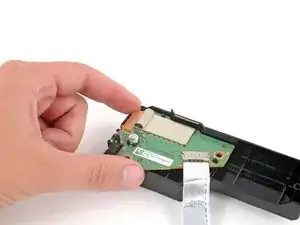
Use your fingers to slide the USB board enclosure out from under the metal clip securing it to the shell.
-
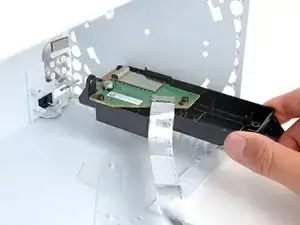
Remove the enclosure.
-
Make sure the Pair button is properly oriented and fully inserted in its slot.
-
Firmly slide the enclosure into position until it snaps into place under the metal clip.
-
-
-
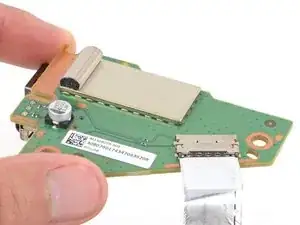
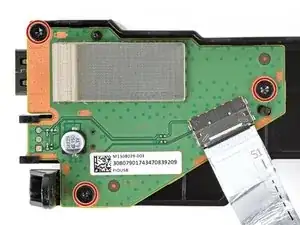
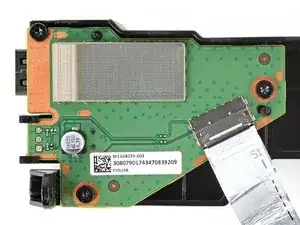
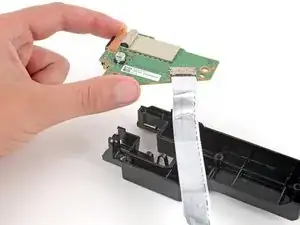
Use a T8 Torx driver to remove the three 8.9 mm‑long screws securing the USB board to its enclosure.
-
-
-
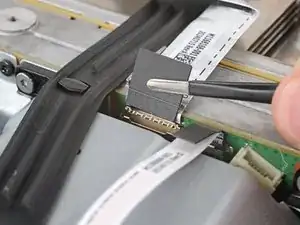
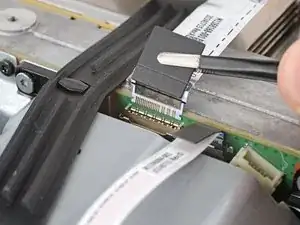
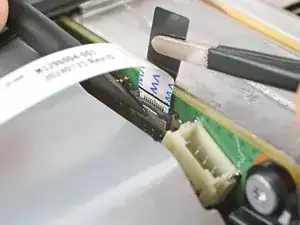
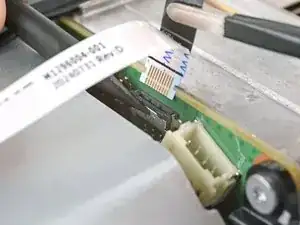
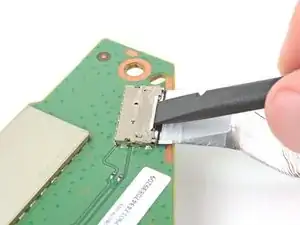
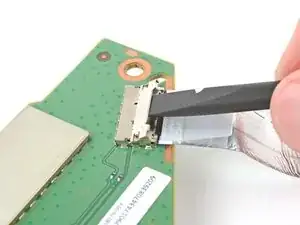
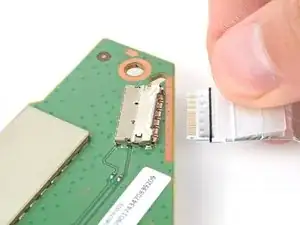
Use the flat end of a spudger to lift the hinged locking flap on the board's cable connector.
-
Use your fingers or a pair of tweezers to slide the cable straight out of its socket.
-


To reassemble your device, follow these instructions in reverse order.
Take your e-waste to an R2 or e-Stewards certified recycler.
Repair didn’t go as planned? Try some basic troubleshooting, or ask our Answers community for help.