
Introduction
Follow this guide to remove and replace the Wi-Fi board on a Xbox Series S.
-
-
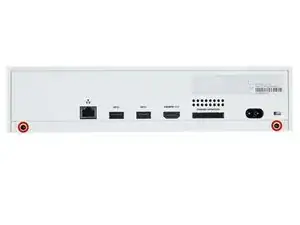
Use a T8 Torx driver to remove the two 10 mm-long screws securing the back panel to the bottom panel.
-
-
-
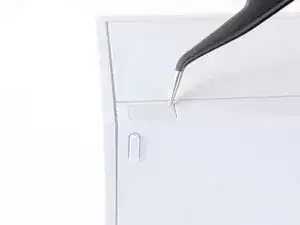
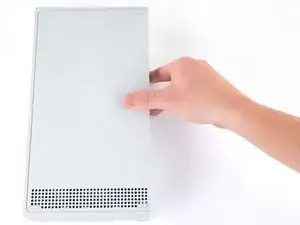
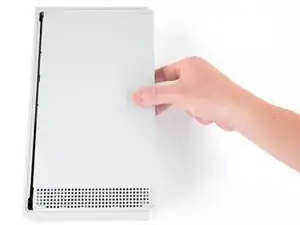
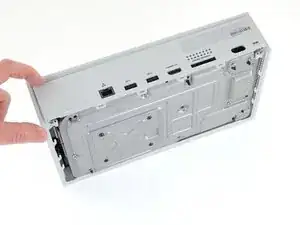
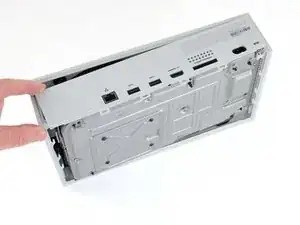
Slide the bottom panel horizontally toward the back of the console until it comes to a stop.
-
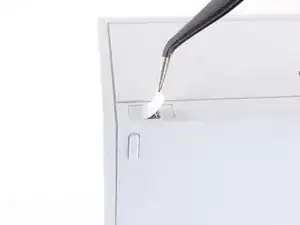
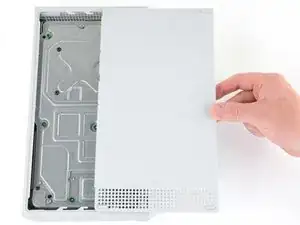
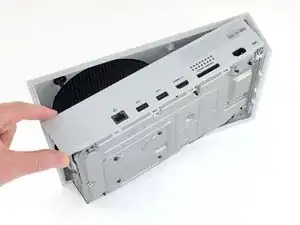
Lift straight up and remove the bottom panel from the plastic case.
-
-
-
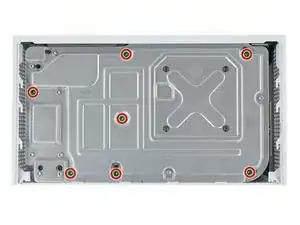
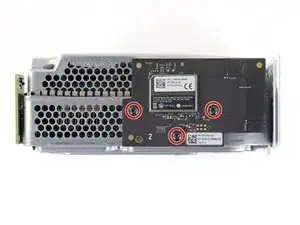
Use a T10 Torx driver to remove the seven 51 mm-long screws securing the chassis to the plastic case.
-
-
-
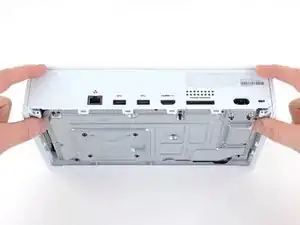
With the bottom of the Xbox facing you, pull the two bottom-rear corners of the plastic case away from each other.
-
As you pull the corners apart, slide the back panel towards the bottom of the device. This releases the back panel from the plastic case.
-
-
-
Pull the bottom-left corner away from the chassis while swinging the chassis away from the plastic case.
-
Remove the plastic case from the chassis.
-
-
-
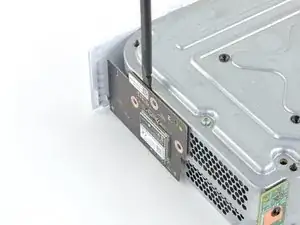
Use a T8 Torx driver to remove the three 9.5 mm-long screws securing the Wi-Fi board to the short edge of the chassis.
-
-
-
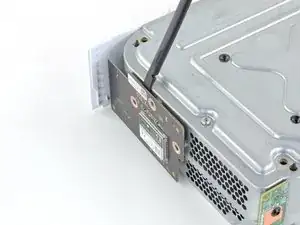
Use a spudger to pry and loosen the Wi-Fi board.
-
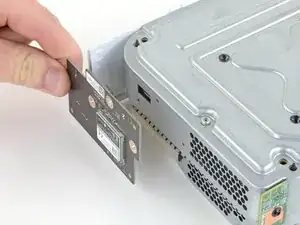
Pull the Wi-Fi board straight out to disconnect it from the chassis.
-


To reassemble your device, follow these instructions in reverse order.
Take your e-waste to an R2 or e-Stewards certified recycler.
Repair didn’t go as planned? Try some basic troubleshooting, or ask our Answers community for help.

2 comments
Did anyone else replace the HDMI port and have it chirp then immediately shut off after the chirp? if so what was your fix or is it the APU that's fried?
Zach -
Se puede usar la misma pieza en un xbox series s black carbon? Saludos espero su respuesta
Where can I get a shell replacement?
King DK -