Introduction
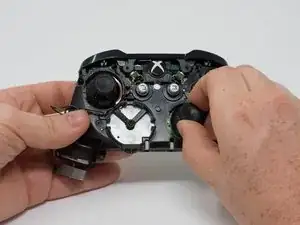
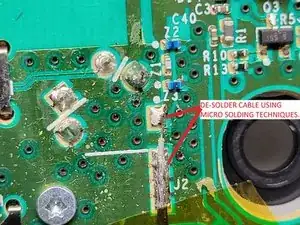
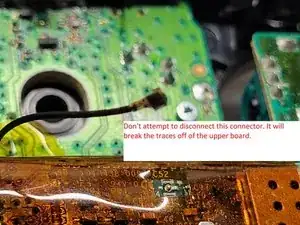
This guide will show you how to access and replace the top motherboard. Soldering is required, so the link to the soldering guide is included to help you.
Tools
Parts
-
-
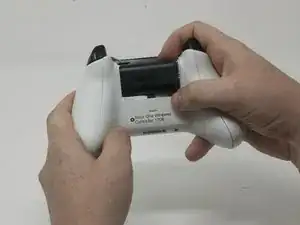
Slide the battery cover toward the top of the controller to remove it.
-
Lift up the batteries or the battery pack from the battery compartment.
-
-
-
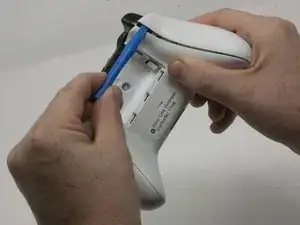
Insert a plastic opening tool into the top seam, and gently work the opening tool to the bottom of the controller.
-
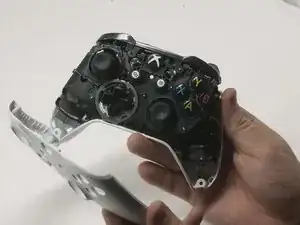
Continue using the opening tool to gently pry the side plate off of the controller.
-
Repeat this process for the second side plate.
-
-
-
Gently peel the battery label or punch a hole in the center of the sticker in the battery compartment to reveal the hidden screw.
-
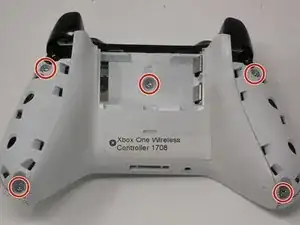
Remove the five 9mm torx-9 security screws from the back of the controller.
-
-
-
Orient the controller so the front plate is facing up.
-
Lift the front cover off of the controller.
-
-
-
Turn the device over and remove the directional pad by gently pulling it away from the controller.
-
-
-
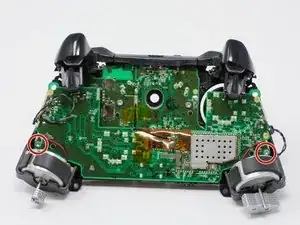
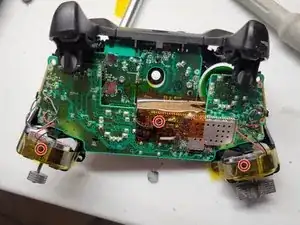
Turn the device over and remove the two 7mm torx-6 screws in the bottom left and right corners.
-
-
-
Firmly grasp the top and bottom motherboards in opposite hands, then gently pull them apart.
-
To reassemble your device, follow these instructions in reverse order.
