Introduction
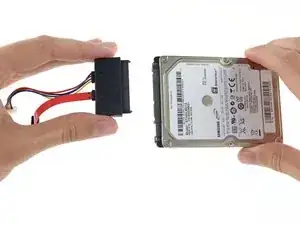
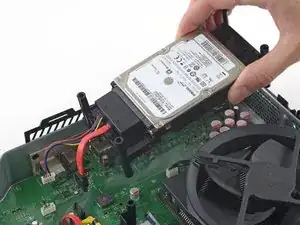
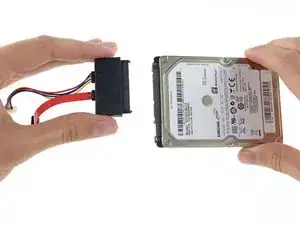
Follow this guide to remove the hard drive from your Xbox One, and follow it in reverse to install a new drive.
Depending on the firmware version of your Xbox One, your console may or may not be able to format the replacement hard drive for you. Older firmwares cannot format the hard drive, while newer firmwares can.
If your Xbox One console is not capable of formatting a replacement hard drive, before you install your replacement drive, you will need to reformat the drive in a computer and install the necessary software, following this technique:
Tools
Parts
-
-
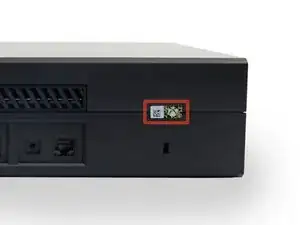
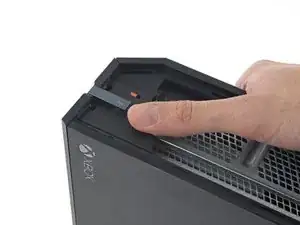
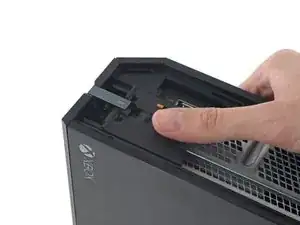
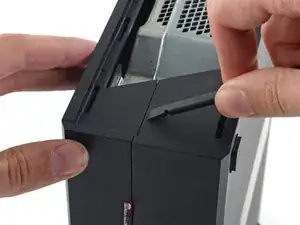
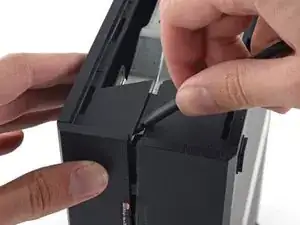
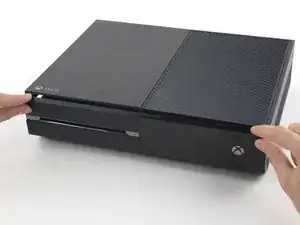
To open your Xbox, you're going to have to cut or peel up this tamper-evident tape. But don't worry—Microsoft can't legally void your warranty, as long as you don't damage anything. Have fun!
-
-
-
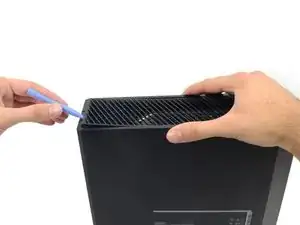
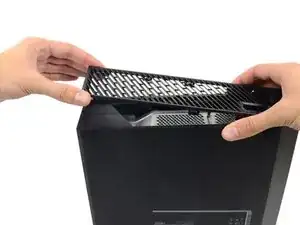
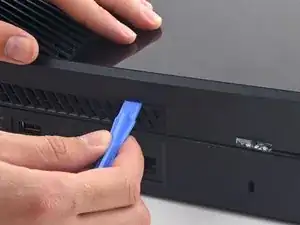
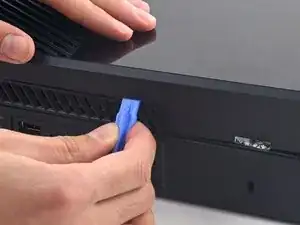
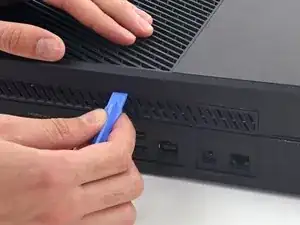
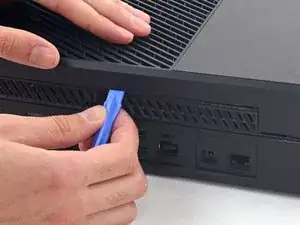
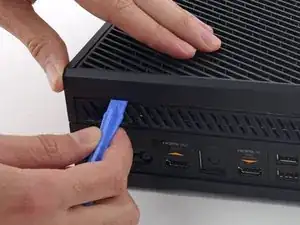
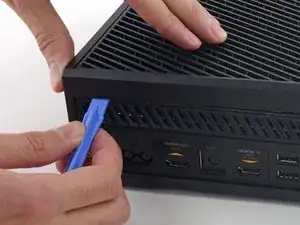
Use a plastic opening tool to pry up and remove the plastic vent that surrounds the side USB port.
-
The vent is fairly flexible, and held in place with weak plastic clips—start prying from the back and peel it out.
-
-
-
Insert the flat end of a spudger between the upper and lower case where they meet at the rear of the side vent opening.
-
-
-
Insert a plastic opening tool between the upper and lower case to separate the clip over the rear vent.
-
-
-
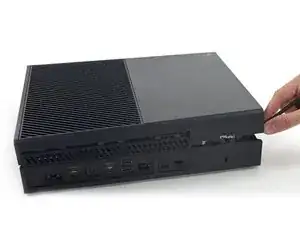
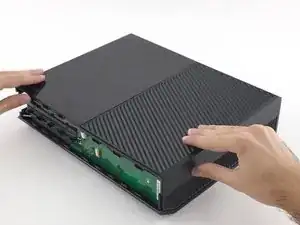
Starting with the spudger you left in the crack, pry the upper case up to free the last few clips.
-
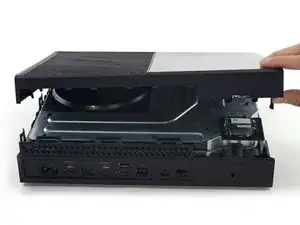
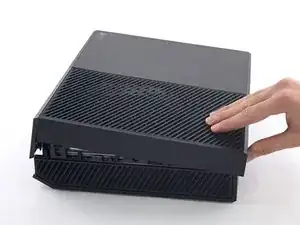
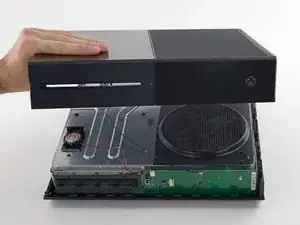
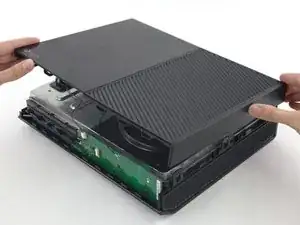
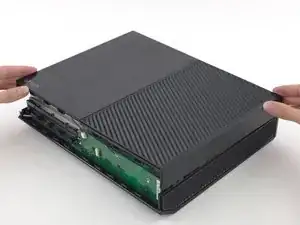
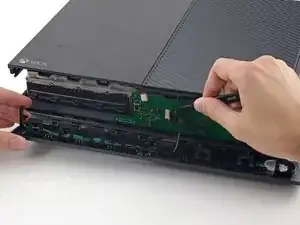
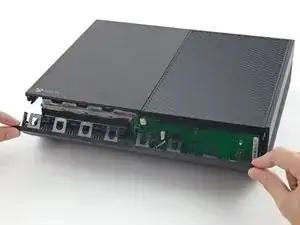
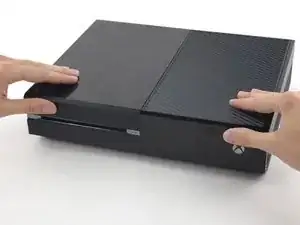
Lift the upper case slightly and shift it to give access to the front panel board.
-
-
-
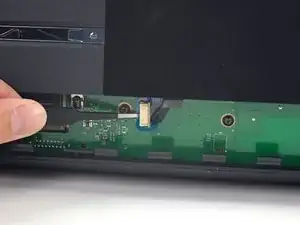
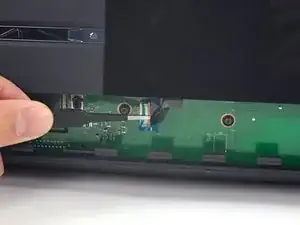
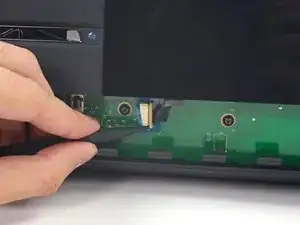
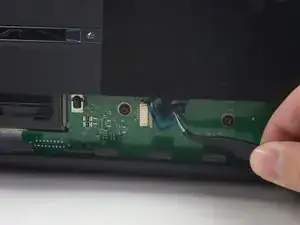
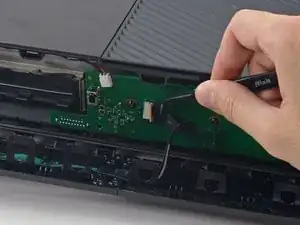
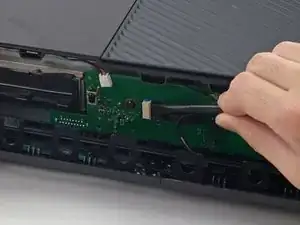
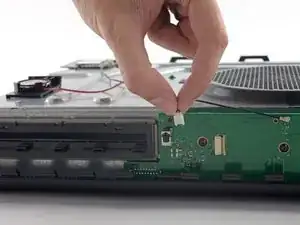
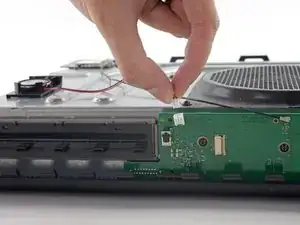
Use tweezers to pull the cable straight out of the connector on the board.
-
Remove the upper case.
-
-
-
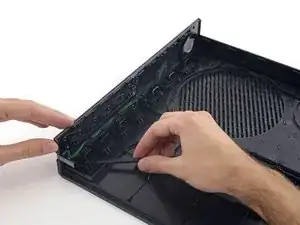
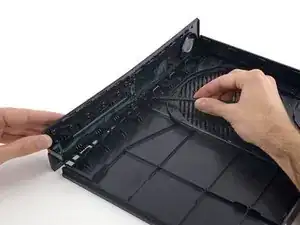
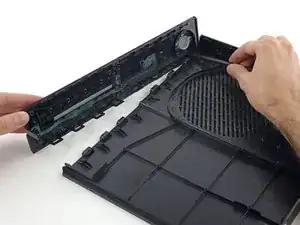
Use the flat end of a spudger to free the clips securing the front panel to the upper case.
-
Remove the front panel from the rest of the upper case.
-
-
-
Replace the top part of the upper case.
-
Line up the clips and press firmly to re-seat them around the perimeter.
-
-
-
Support the front panel near the front of the Xbox.
-
Use tweezers to replace the front button cable in its ZIF socket.
-
Use the flat end of a spudger to push the ZIF lock to the left to secure the cable.
-
-
-
With the front panel at a 45 degree angle, interlock its plastic hooks with those in the lower case.
-
Push the top of the front panel into the Xbox, like closing a mailbox. Press firmly so that the clips securing the front panel to the upper case lock securely.
-
-
-
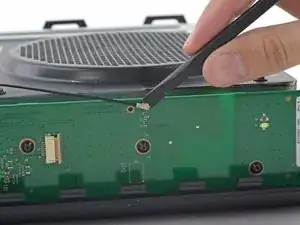
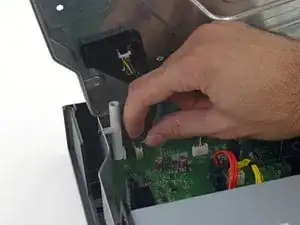
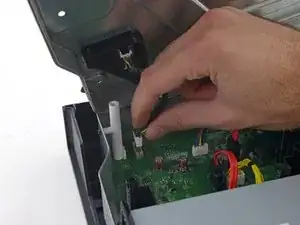
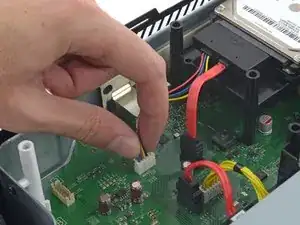
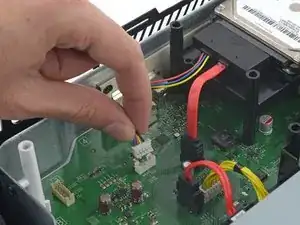
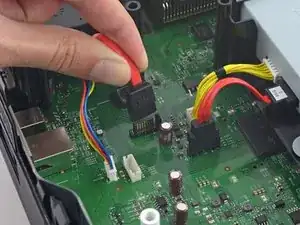
Gently pull up on the speaker cable connector to disconnect it from the front panel board.
-
Use the flat end of a spudger to disconnect the antenna cable from the front panel board.
-
-
-
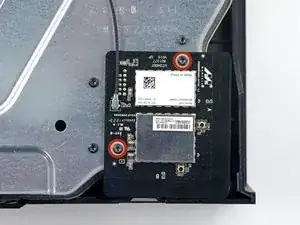
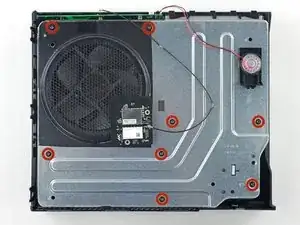
Remove the two 9.5 mm T8 Torx screws from the WI-Fi board.
-
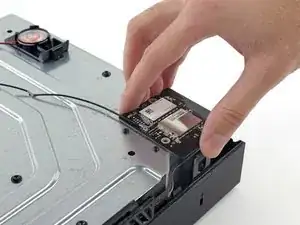
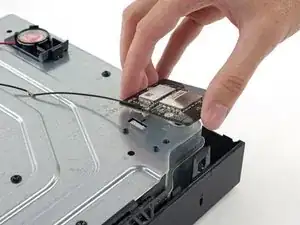
Lift the Wi-Fi board straight up from its socket in the upper metal case.
-
Leaving the Wi-Fi board antenna cable in place, move the Wi-Fi board aside, exposing the screw labeled "C3" that was beneath it.
-
-
-
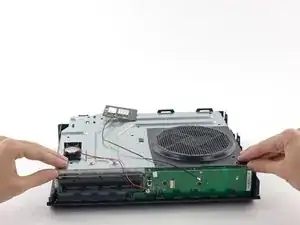
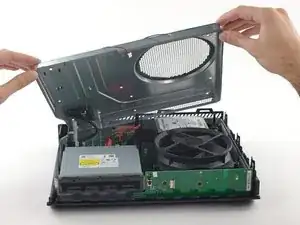
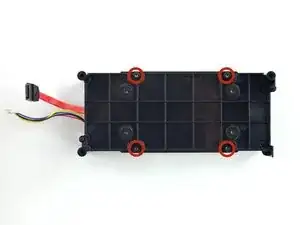
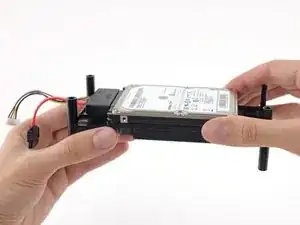
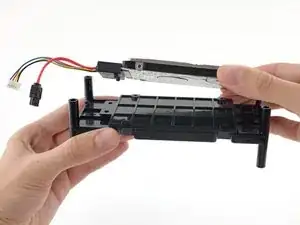
Remove the four 8.5 mm T10 Torx screws securing the hard drive assembly to the hard drive tray.
-
To reassemble your device, follow these instructions in reverse order.
89 comments
I've managed to open my Xbox one, tested the hard drive and it has failed (error scanned and it's 90% bad sectors). I've got a new harddrive for it, but can't find where to get the correct software for it/ how it needs to be formatted. You mention this info at the start of this repair but cant see a link to the software.
If there are no links, would cloning another xbox one harddrive work as a repair?
Ah, Sorted now. I managed to clone another hard drive. This doesn't work right off you still need to apply an update via a pend rive. But once this is done, the hard drive does pick up and work.
What Hard Drive did You Clone? My Hard Drive failed Aswell.
Please see my Xbox One HDD Replacement Wiki to solve your issue (scroll to very bottom): http://jw0914.github.io/Wikis/
JW0914 -
I haven't done this yet but I, like most other people won't want to lose any saved games etc. How do I do an exact copy from the current HDD to the SSD I'm putting in? Thanks!
Hi,
how do you make the copy from HD to SSD?
You'd need to make a WIM of Partition 2 (User Content). I'm not sure about pictures/videos, but I would imagine they'd be redownloaded once you sync your Xbox Live account by logging in, just like everything else (licenses, games, etc.). You'd have to verify that however.
I go over how to create WIMs of the partitions in the Xbox One HDD Replacement wiki I wrote, which can be found on my GitHub (scroll to very bottom): http://jw0914.github.io/Wikis/
JW0914 -
Just use a software like Paragon Partmanager to COPY all sectors (not alla files) with the exact geometric data status.
Just use a software like Paragon Partmanager to COPY all sectors (not alla files) with the exact geometric data status.
Could anyone complete the guide by explaining how to image a drive or any other special actions that need to be taken to get things up and running? (links if needed)
Hans -
Xbox One HDD Replacement wiki (scroll to bottom): http://jw0914.github.io/Wikis/
JW0914 -
In the United States the Magnuson-Moss Warranty Act of 1975 is a Federal Law that states that stickers and clauses are illegal. It says you can open your electronics without voiding the warranty, regardless of what language of that warranty says.
Dustin D'Amour -
Stickers are illegal!?
Brandon -
For anyone concerned, if you apply heat with a blow dryer or heat gun you can carefully remove the sticker without damaging it, making it impossible to know that the sticker was ever removed.
Kelton Stewart -
All the immature comments aside, thank you Dustin for sharing the information.
Wade -
xbox를 열기 위해서 이러한 위조방지 테이프를 자르거나 떼어내야 합니다. 하지만 걱정 마세요. 여러분이 무언가 직접적으로 망가트리지 않는한 ms는 보증을 취소하지 않습니다.
승대/SeungDae 정/Jeong -