Introduction

  1. 3TJCZrq5ELWWAUFV
    3TJCZrq5ELWWAUFV
    BjyGV5CMDIeVhvmj
    • You can remove the side panels with a pry tool.

    • You don't need to remove the rubber. The rubber on this controller was already bad

  2. 1opju56P6EkrT4sb
    • Remove the 5 Torx Security Bit (TR9) screws

    all the T8 screws on my controller have a clear filling in them, WTF?!?!?

    Patrick Henry -

    all my T8 screws have a clear filling in them, WTF?!?!?!

    Patrick Henry -

    I've never seen that, I can't advise much other than scrapping it out with an xacto knife

    EasyAsABC123 -

    My screws have a tiny metal pin in the center. Looks like I need a TR8 bit, not a T8. This might be what you are mistaking for a clear filling.

    Steve McGinn -

    Thanks it might be TR8 i’ll update the guide

    EasyAsABC123 -

    While a TR8 will work, they’re actually TR9 screws on mine (Model 1698, X912908-004).

    Daniel -

    @isbelldl thanks, updated to specify TR9

    EasyAsABC123 -

    TORX TR8 worked form the ifixit kit

    KRISTIAN KALLAWAY -

    My anolog stick is lagging on my elite 1 controller. Can I remove a anolog module from a normal xbox 1 controller and then put into the elite 1 controller would it be compatible. I have all the soldering irons and stuff. It's only that I dont have any money and wanted to no if thay would work . Thanks guy appreciate your time kris

    kriswadd@hotmail.com -

  3. 1LhEeI3qiQhNkbHj
    1LhEeI3qiQhNkbHj
    LeGSVTi1qpxlxOu3
    rXKydWRn5yLpQJQJ
    • Pry the panel next to the 3.5mm port

    • Be careful to not rip the ribbon shown in the next step

  4. kBhSWTEhAPEVD5yA
    kBhSWTEhAPEVD5yA
    ZUcv6TdiGcYZVboE
    • Be careful to not rip the ribbon cable

    • You can pop the connector up to remove the ribbon easily

    • Ribbon Cable

    My connector did not look like this and popping it up broke it

    Amarokstar -

    please post a picture of the connector so we can update this, you also might have a newer revision of the motherboard

    EasyAsABC123 -

    Is there any way to replace that connector bar or maybe an alternative to keeping the contacts down on the ribbon if it’s broken?

    Joe -

    @joe you can try tape, or even hot glue (easy to remove with rubbing alcohol), that might hold it down. I wasn’t able to find the connector but i’m sure if you count the number of pins and measure it you’d be able to locate a replacement connector on something like mouser.

    EasyAsABC123 -

    God i wish or a vid on this

    Brian Patterson -

  5. xYndZmGjfDV2tAWL
    • Remove the 2 Torx (T6) screws

  6. o3HhKPLSRfiY6UWQ
    o3HhKPLSRfiY6UWQ
    XqgEF5JcGjS5tolD
    • Desolder the 4 wires on each side, these control the vibrations and the RT LT

    If you are just replacing the main power board there is no need to desolder at this point. The main power board can be removed with the controller board still in place.

    Malc Foy -

  7. RsDGGXPEn1T4VlXm
    RsDGGXPEn1T4VlXm
    a1P53NN3INNRo4Qr
    • Pull up from the "top" side of the controller on the sister board.

    Hi,

    I would like to know if I could get from you a Motherboard . In case you don' t have it, where could I find one?

    Thank you

    Alejandro Expósito -

    Hi, I have 2 not working controllers (both 1698 and 1708). The 1708 broke the bumper switch, I manage to fix it but as always, postponed. So, can I either swap Xbox One Elite comtroller (1698) into Xbox One (1708) shell/housing or vice versa??

    Or can I mix both motherboard together so I can make one of them working?

    Fitifazrul Rahman -

    It might work…it might damage one of the boards but probably wouldn’t

    EasyAsABC123 -

    I would like to buy a motherboard, can you please stock some up?

    davi_t -

    I don’t work for ifixit, I don’t know if they see comments on a private made guide.

    EasyAsABC123 -

    I decided to toss all this stuff in the trash at this point as I am not going to spend +$50 on equipment and replacement parts to fix a $60 controller. But thanks for the educational manual all the same.

    KRISTIAN KALLAWAY -

Conclusion

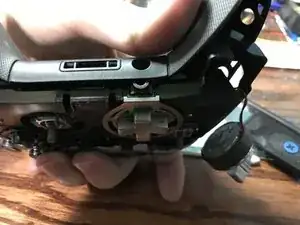
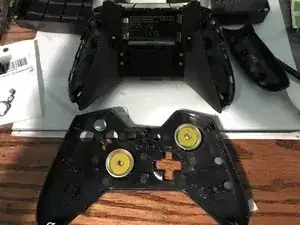
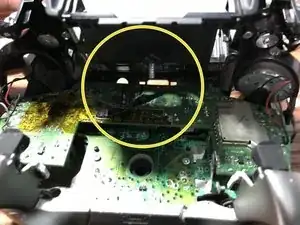
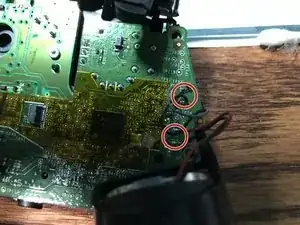
To reassemble your device, follow these instructions in reverse order.

EasyAsABC123

Member since: 22/01/10

2428 Reputation

One comment

50 minutes? half of that tops

glenn.fowell -