
Introduction
Your controller analog stick may undergo wear and tear over time. You will notice movement on the screen with no user input, such as your character's position or aim steadily changing. Use this guide to replace your analog sensor and prevent unwanted movement.
Parts
-
-
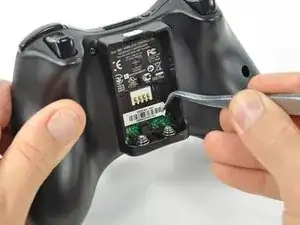
Depress the battery release button on the top of the controller.
-
Remove the battery holder from the controller.
-
-
-
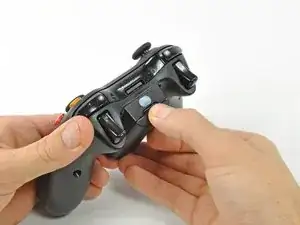
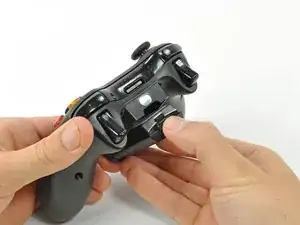
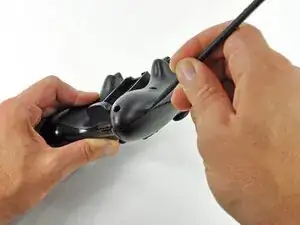
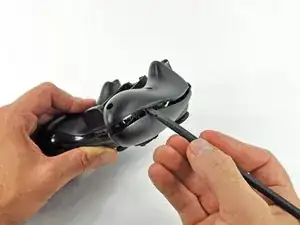
Insert a spudger between the front and rear cases, near the headphone jack.
-
Rotate the spudger toward the front of the controller to pry the two cases apart.
-
-
-
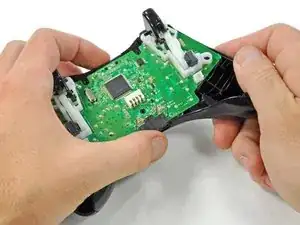
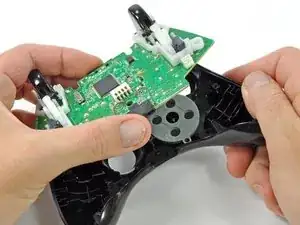
Grasp the controller by the battery compartment and the headphone jack.
-
Lift the battery compartment away from the headphone jack, separating the rear case from the front case and logic board.
-
-
-
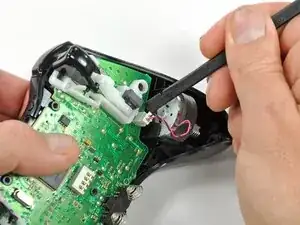
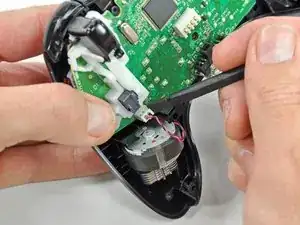
Use the flat end of a spudger to remove the vibration motor cable, moving it upward from its socket on the logic board.
-
Lift the vibration motor out of the front case.
-
-
-
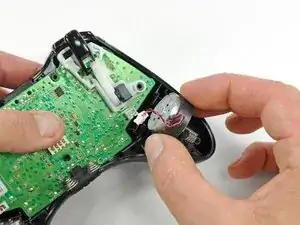
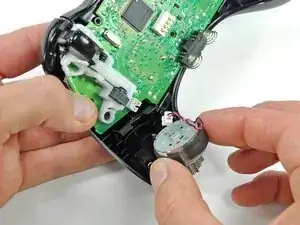
Remove the vibration motor from the other side of the controller using the same method previously described.
-
-
-
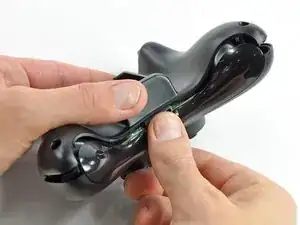
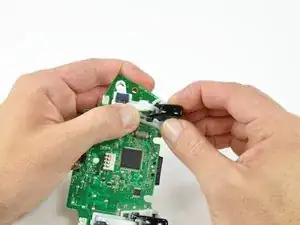
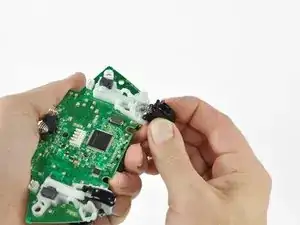
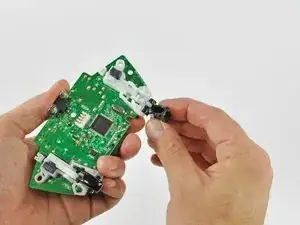
Using your thumb and forefinger, push the left trigger toward the right side of the controller. Simultaneously push the trigger control arm in the opposite direction.
-
Push the trigger arm downward.
-
-
-
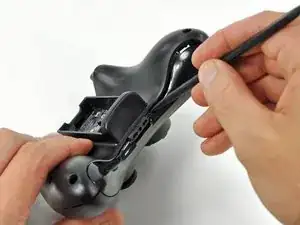
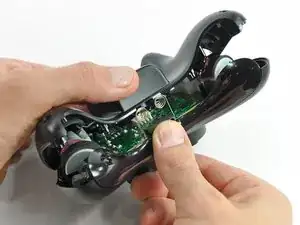
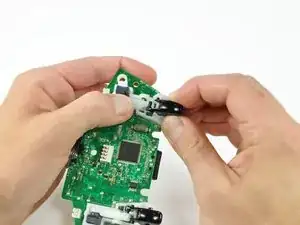
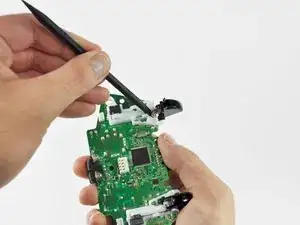
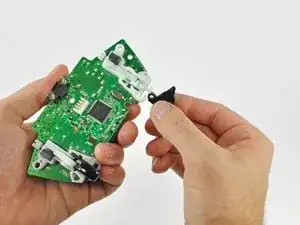
Insert the edge of a spudger in between the trigger and the trigger assembly near the left edge. Pry the housing away from the catch on the trigger.
-
Using the previously described technique, pry the housing on the right edge away from the trigger.
-
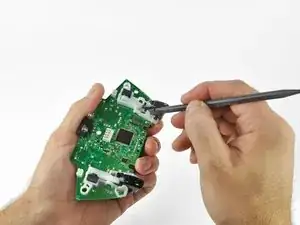
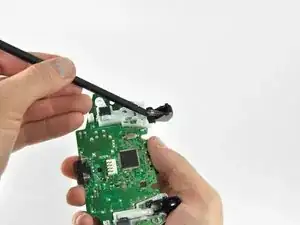
Rotate the trigger away from the logic board, past its housing.
-
-
-
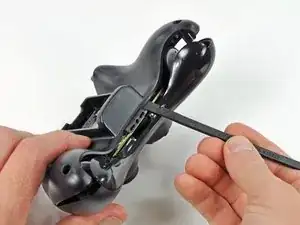
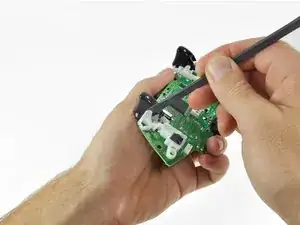
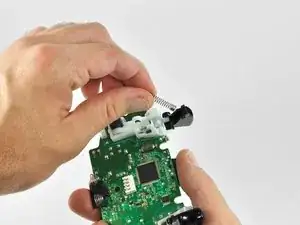
Using a spudger, pry the trigger spring off its peg on the trigger housing.
-
Pull the trigger spring out of the trigger.
-
-
-
Slide the trigger toward the right side of the logic board, and rotate it clockwise.
-
Remove the right trigger from the logic board.
-
-
-
Optional: It is easier to remove both, so as to avoid burning or melting the plastic while working.
-
-
-
Hold part in place and make a quick solder to hold it up in place.
-
Now solder all joints and follow in reverse.
-


To reassemble your device, follow these instructions in reverse order.

One comment
this guide will be finished as soon as i have time.
_Z_ -