Introduction
Use this guide to remove the gray plastic top vent from your Xbox 360.
Tools
-
-
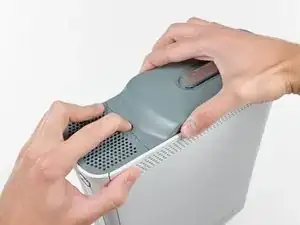
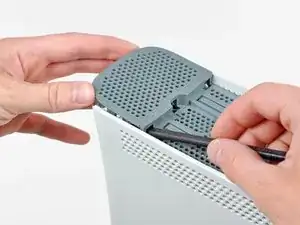
Grasp the hard drive assembly and press the release button while lifting its front edge.
-
Remove the hard drive assembly from the top vent.
-
-
-
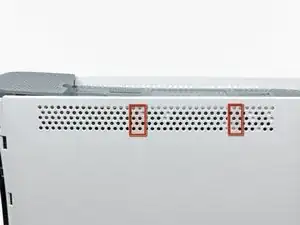
The top vent is secured to the console via clips. The first two clips are located underneath the top vent closest to the faceplate, as shown in the pictures.
-
-
-
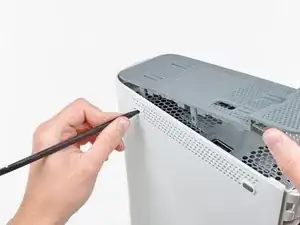
Insert the flat end of a spudger into the small gaps previously mentioned to release the clips.
-
-
-
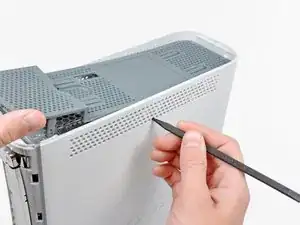
To release the clips, work from the middle of the top vent.
-
While slightly lifting the front edge of the top vent, use the tip of a spudger to push the clips closest to the center of the top vent towards the inside of the console.
-
-
-
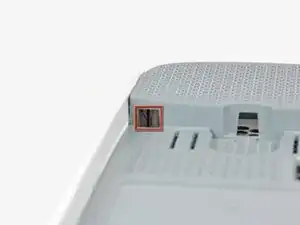
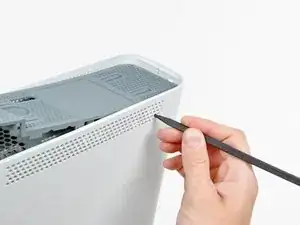
Use the tip of your spudger to release the clip on the top vent nearest the back of the Xbox's upper case.
-
-
-
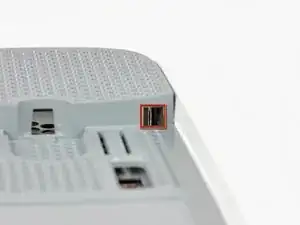
Use the tip of your spudger to release the clip on the top vent nearest the back of the Xbox.
-
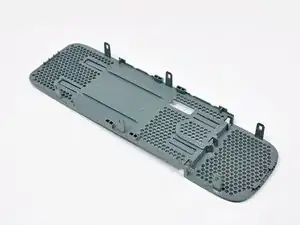
Remove the top vent from the 360.
-


To reassemble your device, follow these instructions in reverse order.

One comment
where could I buy a replacement for the top vent? thanks
WARNING: Just replacing the drive will not make it work correctly. Microsoft has married the drives to the motherboard. Hence, in order to get full operation out of the drive you'll have to perform more steps not listed here. Search in the FAQ on this specific topic for more details. Otherwise, before buying a new drive, try cleaning the inside of the old one and/or replace the belt involved in opening and closing the drive door.
- Good Luck
Eric -
Thanks..helped!
joseph zulu -
bress the button and lift with the same hand! i thought mine was stuck because of this pic!!!
Maths with Luigi -