
Introduction
This guide will show you how to replace the top panel on your Xbox 360 S.
Tools
Parts
-
-
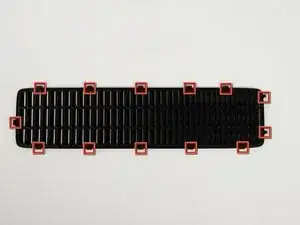
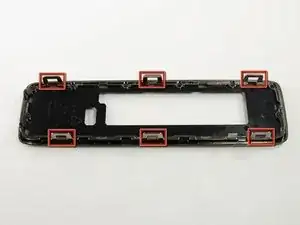
In the following steps, you will remove the top vent, secured to the top panel by the thirteen clips shown.
-
-
-
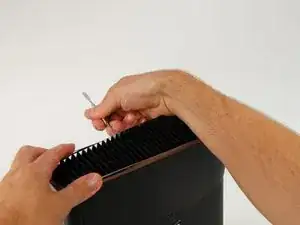
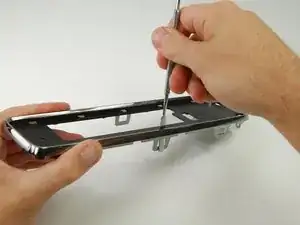
Orient the console so that the words "XBOX 360" on the sides are right-side up, and the faceplate is facing to the left.
-
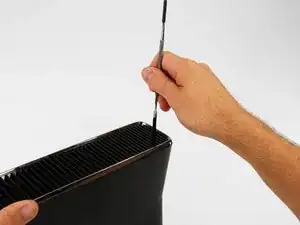
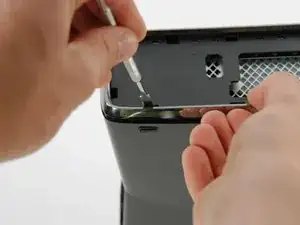
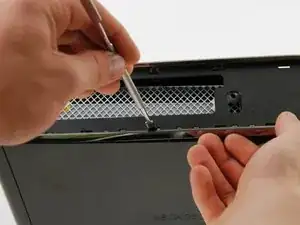
Insert a metal spudger between the top vent and the top bezel near the rear of the Xbox.
-
Rotate the spudger away from the console, prying the edge of the fan vent up until the two plastic clips come free.
-
-
-
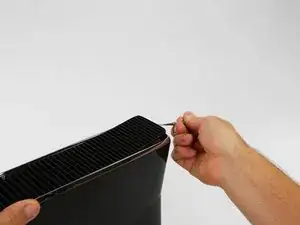
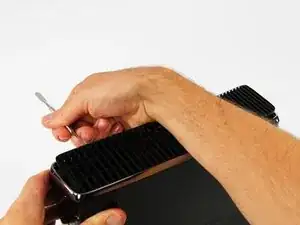
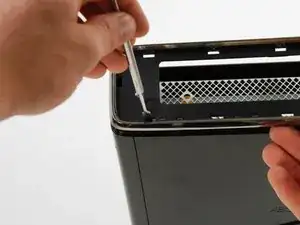
Insert a metal spudger between the fan vent and top bezel along the left side of the console.
-
In the same manner described above, begin prying the left side of the top vent away from the top bezel.
-
Continue prying along the left side of the device, freeing all the clips on that side.
-
-
-
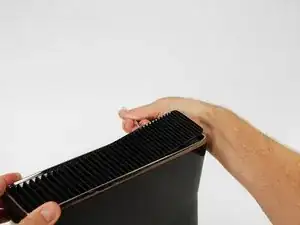
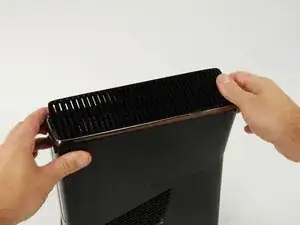
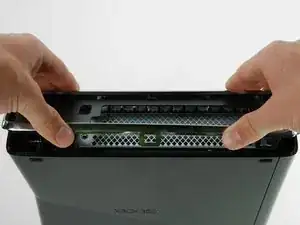
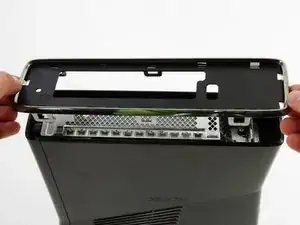
Lift the fan vent up from the freed left side to disengage the clips along the right side.
-
Remove the entire fan vent.
-
-
-
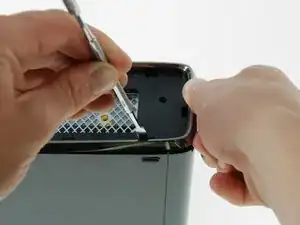
Insert a metal spudger through the front-most slit on the left edge of the top bezel and between the bottom edge of the clip and the left case, as described above.
-
Simultaneously rotate the spudger away from the console and pull up on the top bezel to free the clip.
-
-
-
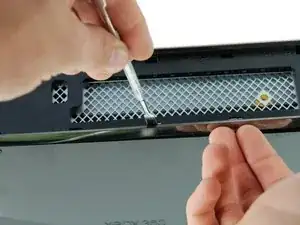
Using the same method described above, free the two remaining clips along the left edge of the top bezel.
-
-
-
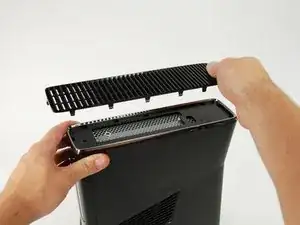
Grab the entire top panel with your hands, lift up the entire left edge high enough to rest the separated clips on top of the left case.
-
-
-
Rotate the console so that the rear of the Xbox 360 S is facing to the right, and the right case is facing you.
-
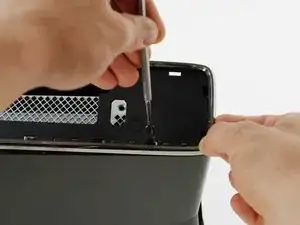
Insert a metal spudger through the rear-most slit on the right edge of the top bezel and between the bottom edge of the clip and the right case.
-
While lifting up on the top bezel with your fingers, rotate the spudger away from the console to free the clip.
-
-
-
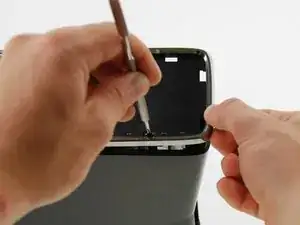
In the same manner as described in the previous steps, release the middle and front clips along the right edge of the top panel.
-

To reassemble your device, follow these instructions in reverse order.

The motherboard and the disc drive's PCB (circuit board) are paired. If the drive's PCB is fine, which it most likely is, then all you need to do is swap out the PCB on the new drive with your old one before installing it. No motherboard replacement required.
Only in the unlikely case that the drive's PCB is fried will you require a full drive and motherboard replacement.
SirStephenH -