Introduction
This guide can be used for repair/refurbishing purposes
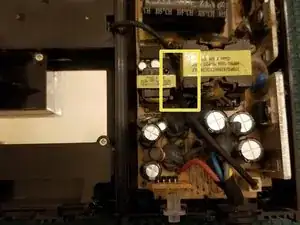
DO NOT work on the power supply while it is plugged in or while the white/orange indicator light is on. High voltage capacitors, while charged, can seriously injure or kill you. Exercise caution during this repair.
Tools
-
-
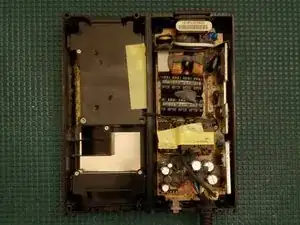
Remove the top shell, flip it over, and place next to lower shell
-
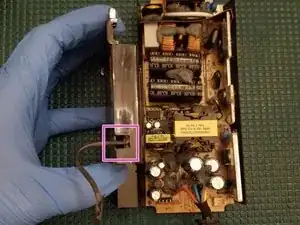
Using a craft knife, carefully cut through the epoxy to get the cable free. Work slowly and carefully. The thick substance and awkward angles make this a slightly tedious process
-
-
-
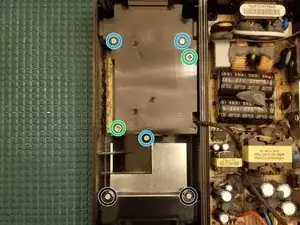
Remove PH2 screws
-
Remove PH1 screws
-
Removal unnecessary
-
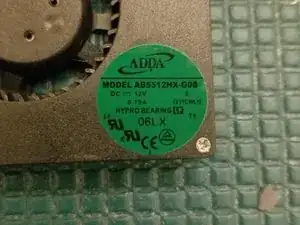
Disconnect cooling fan plug
-
Pull wire through
-
-
-
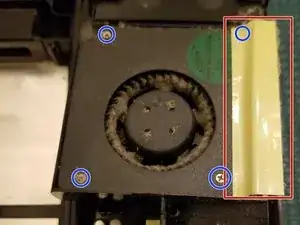
Remove tape in order to remove fan from its housing unit. This also uncovers a hidden screw.
-
Remove 4 PH0 screws
-
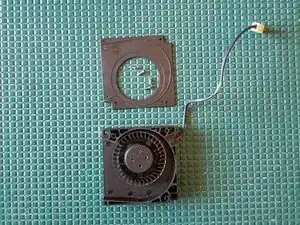
Remove fan upper housing plate
-
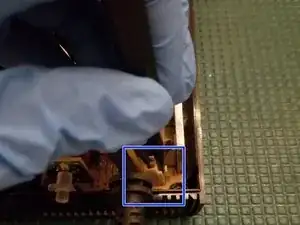
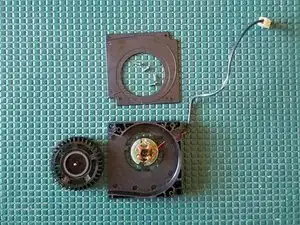
Gently lift the fan up and over the post
-
-
-
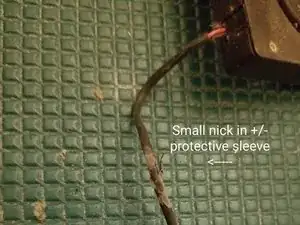
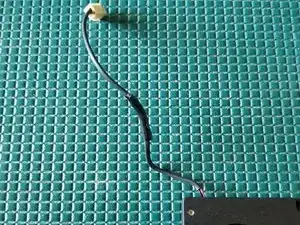
The fans +/- wires are covered by a thin protective sleeve.
-
Apply some electrical or kaptom tape to patch it if necessary.
-
-
-
Remove PCB from lower shell and place face down
-
To quickly and safely remove I suggest using ChipQuik on the 2 single sided through holes. Alternatively you can use solder wick
-
To reassemble your device, follow these instructions in reverse order.
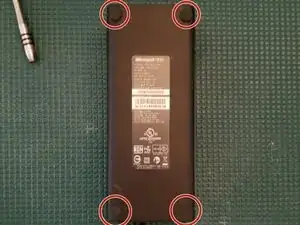
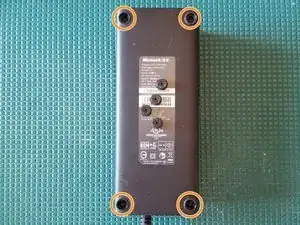
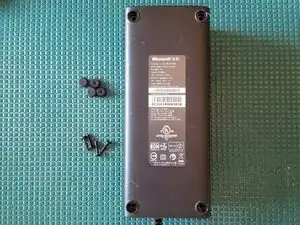
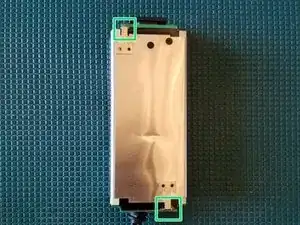
Do yourself a favor for the stupid rubber boots that prefer to rip instead of come out of the holes. Pierce them in the center with a sharp pick, and then lift the whole thing out from the inside... they're about 1/4" deep. The rubber will kinda do the "self-healing" thing (like cutting mats) and close the hole after removing the pick.
Daniel -