Introduction
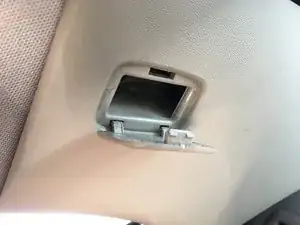
In this guide we will disassemble a flickering/non-working third brake light on a 2nd gen (2010-2018) Volvo S60 and repair it. To be able to remove the part you need to remove door gaskets, partially remove C pillar trim covers, and pull the headliner down little bit. The brake light slides out. In my repair the only problem was a broken solder joint on the LED strip circuitry. A very simple repair.
The official disassembly instructions request removing the B and C pillar trim covers, however I was able to complete the job by only partially removing C pillar trim covers. Official Volvo disassembly instructions are provided at the end of the guide as PDF documents.
Tools
-
-
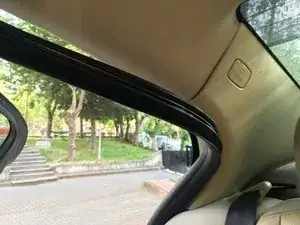
Open the rear doors. Pull the rubber door gaskets down and release them partially.
-
Do the same on the other side, too.
-
-
-
Using a T25 torx screwdriver remove the screw inside the hole.
-
Pry the trim panel away, you don't need to remove it completely.
-
Do the same for the other side panel, too.
-
-
-
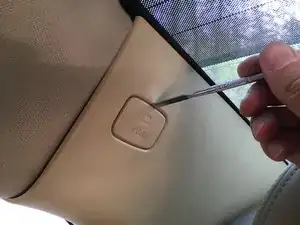
Use a flat blade screwdriver and pry open the handle screw cover.
-
Use an 8mm socket driver to remove both screws.
-
Do the same for the other side, too.
-
-
-
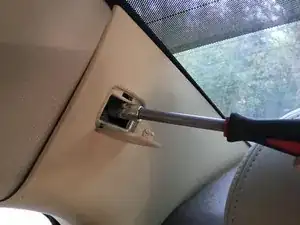
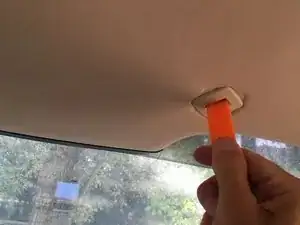
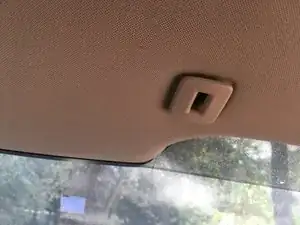
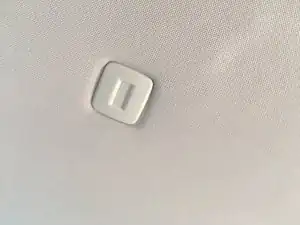
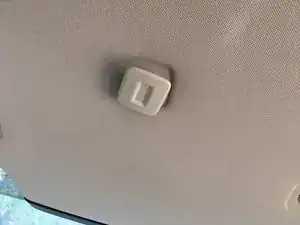
Using a flat trim removal tool, rotate the left headliner retaining plastic dowel 90 degrees clockwise and pull it out.
-
Do the same for the other side, too.
-
-
-
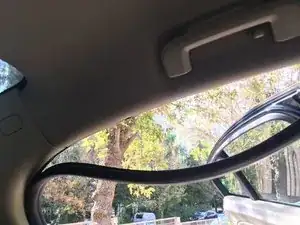
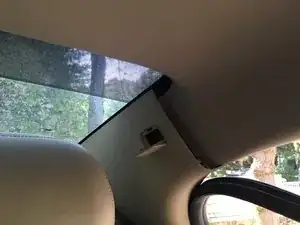
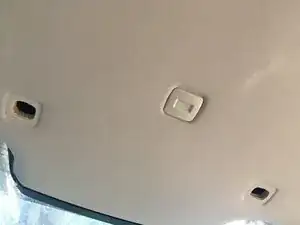
Gently pull the headliner down, try not deforming it. Pry open slightly.
-
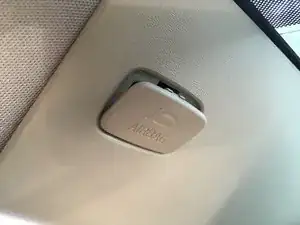
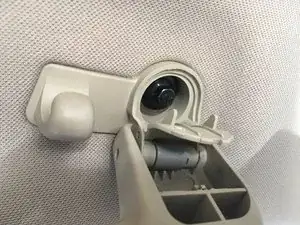
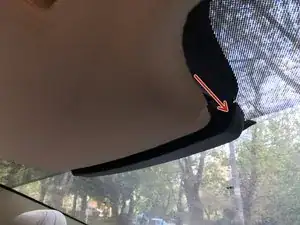
Gently pull the brake light assembly out and rotate it in place counter-clockwise to access the cable plug.
-
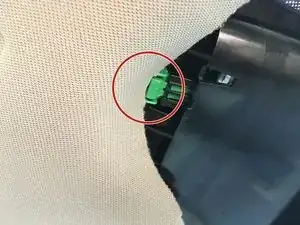
Press the marked tab on the green plastic cable plug and remove it.
-
Don't forget, the most difficult part during this operation will be reconnecting this plug.
-
The cable is very short and it is better reconnect it with someone helping you.
-
-
-
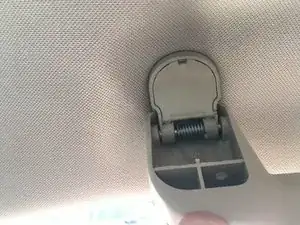
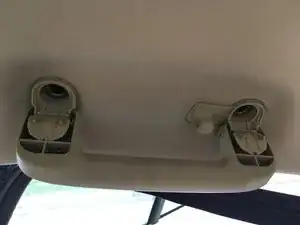
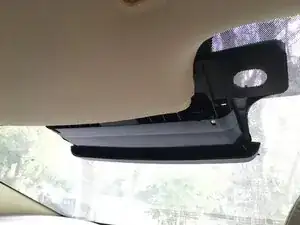
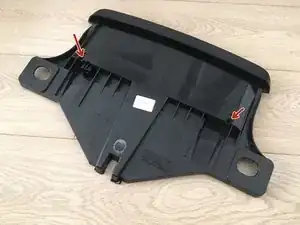
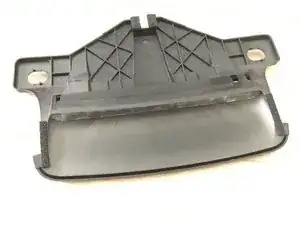
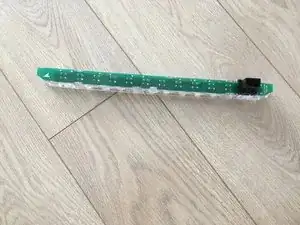
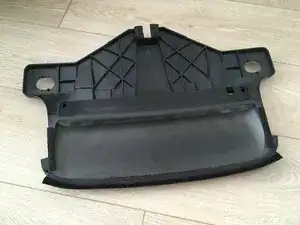
Start working on the brake light assembly.
-
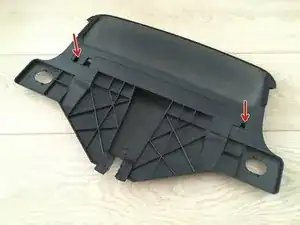
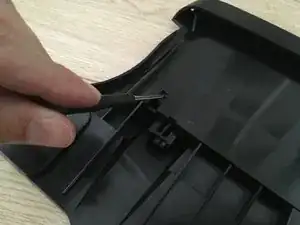
Using a small flat-blade screwdriver push the tabs to release the LED strip circuitry.
-
-
-
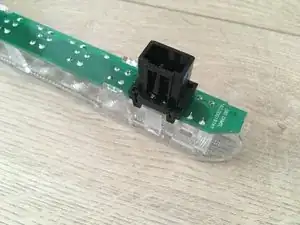
Push with fingers from the other side and the plug connector.
-
Prying the long edges of the plastic apart helps, too.
-
-
-
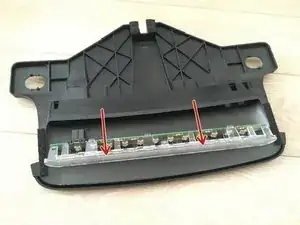
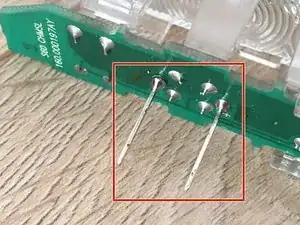
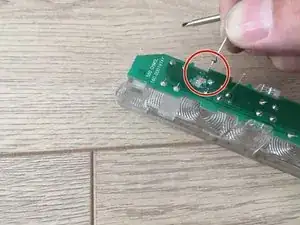
Here the ground stud had a broken solder joint.
-
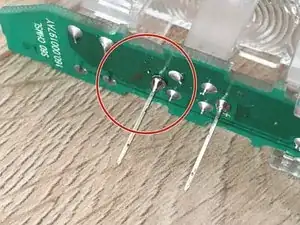
Scratch the surrounding ground plane to increase soldering area and apply flux.
-
Solder the stud back properly.
-
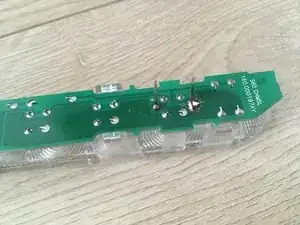
While you are here, apply flux and fresh solder on the other stud, too.
-
-
-
The rubber light shield does not stay put, so use a strong flexible adhesive to glue it back.
-


To reassemble your device, follow these instructions in reverse order.