Introduction
Since batteries are often the first component to fail due to charging cycles and age, this guide is crucial for extending the life of the device. This guide will demonstrate how to safely remove and replace the battery in the Ultimate Ears Wonderboom 3.
Before using this guide, it is important to note that this repair may affect the speaker's ability to be waterproof. Make sure the speaker is powered off.
Tools
-
-
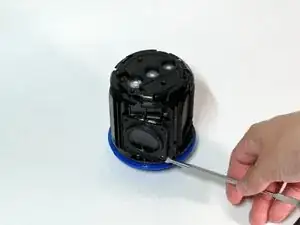
To unclip the top of the speaker from the body, insert the metal spudger to the left of the speaker's center. To find the correct position, make sure the pointed end of the spudger is inserted entirely.
-
While in this position, press down and into the speaker to unclip the top. You should feel and hear and audible click.
-
Repeat this on all four sides of the speaker. The speaker's top will snap off when you press down on it, so make sure you hold onto the top so it does not fly off.
-
-
-
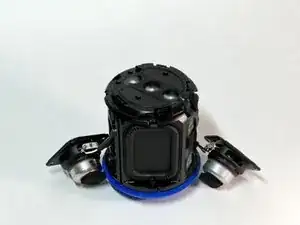
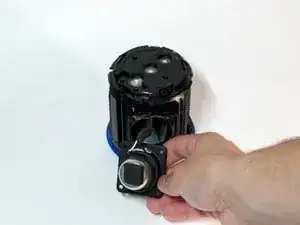
Take the top off of the speaker to reveal the inside of the speaker.
-
Carefully set the top cover to the side and make sure the clear plastic button tabs stay intact.
-
-
-
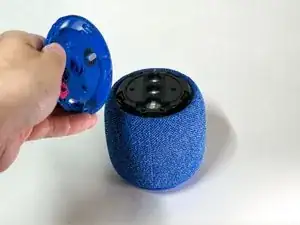
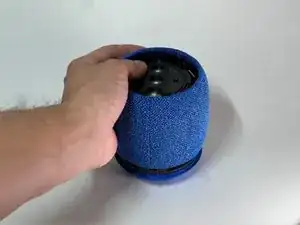
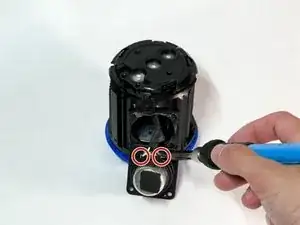
Take the mesh covering off of the speaker by pressing on the center of the speaker and pulling the mesh upwards.
-
-
-
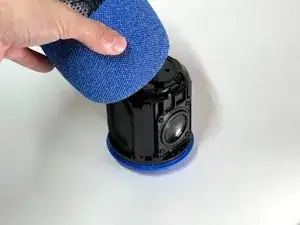
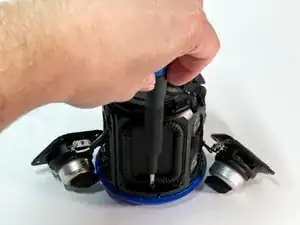
Using the metal spudger, slowly wedge it behind the speaker.
-
Slowly and gently push the spudger forward to dislodge waterproofing adhesive that holds the speaker in place.
-
-
-
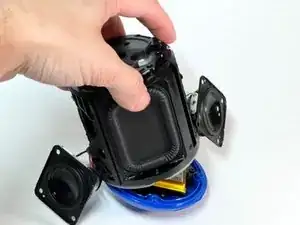
Pull the speaker driver forward to dislodge it from the speaker.
-
Next, turn the speaker driver to where the wires are facing upwards.
-
-
-
Using the soldering iron, desolder the white and black wires (the 2 connections) at the top of the speaker driver.
-
-
-
Remove the main center of the speaker, exposing the bottom and the battery.
-
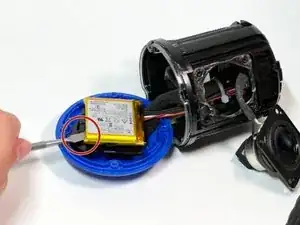
Carefully place the metal spudger under the battery. Being slow yet forceful, push the spudger under the battery and force upwards. This will pry the waterproof adhesive, affecting its ability to be waterproof in the future.
-
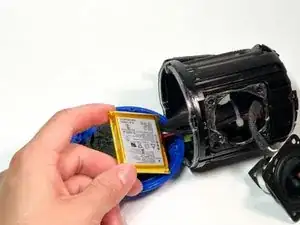
Remove the battery from the adhesive and set it aside.
-
-
-
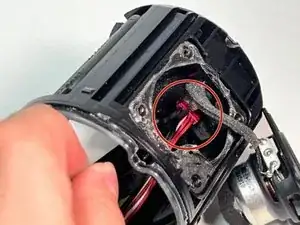
Using the iFixit Large Needle Nose Pliers, remove the red wire connecter that is attached to the battery.
-
Pull the battery out of the device
-


To reassemble your device, follow these instructions in reverse order.

2 comments
What's the purpose of desoldering in step 7?
Great - except the unit I'm looking at to replace the battery has 4 clips rather than screws holding the base on - and they won't release! Anyone have a suggestion? Is the base perhaps also hot-glued in place?