
Introduction
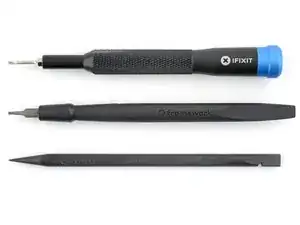
Prereq for removing the touchpad after removing the spacers.
-
-
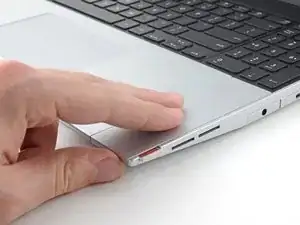
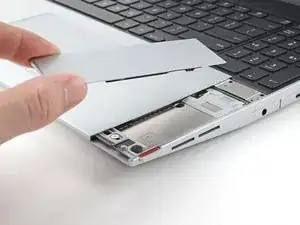
Use your fingers to slide the touchpad spacer toward the bottom edge of the laptop and unclip it.
-
Lift the touchpad spacer off the laptop and remove it.
-
-
-
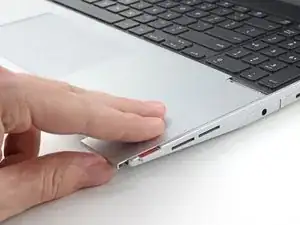
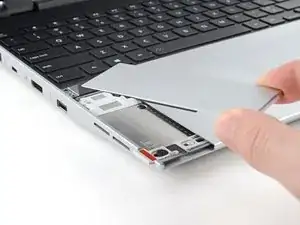
Use your fingers to slide the touchpad toward the bottom edge of the laptop and disconnect it.
-
Lift the touchpad and remove it.
-
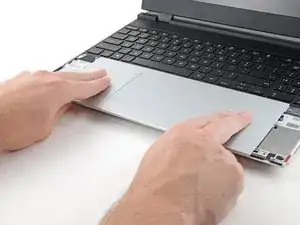
Place the touchpad flat on its cutout so its clips are properly aligned.
-
Press the touchpad down and slide it into place so it lines up evenly with the bottom edge of the laptop.
-


Conclusion
To reassemble your device, follow these instructions in reverse order.

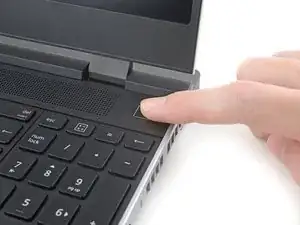
Step 1 is not really necessary, it is up to you. The keyboard, trackpad, etc, can be hot-swapped, meaning you can remove them at any time when the laptop is off OR on. The keyboard and the macropad/numpad/spacers/LED matrixes all lose power anyways when the trackpad is slid out of its resting spot. Turning off the power or doing a restart may help if some software of yours isn't happy with you swapping your keyboard on the fly.
ChazIsBuns -