Introduction

Removing the speaker will require back plate removal and battery removal, both of which have replacement guides for. The speaker is easily located within the device and requires minimal tools.

  1. exJIsFjyHnLXmEyx
    exJIsFjyHnLXmEyx
    UjjhXBCKh4LcqNqB
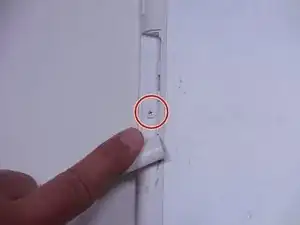
    • With the device face down, slide the charging port cover off on the left side of device.

  2. pECUAnSiY6yvrbUp
    pECUAnSiY6yvrbUp
    NaxqlBiYnLSRhXoF
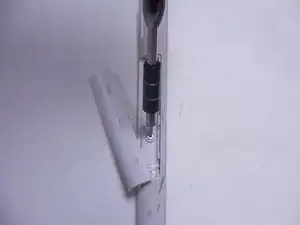
    • Remove the 2.9 mm screw from the charging port using a Phillips #000 screwdriver.

  3. EuHFjCvmknYK1hnD
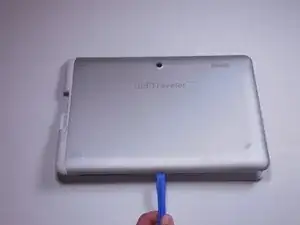
    • To pry the back plate off, use the plastic opening tool between the back plate and front plate; start at the headphone jack.

    • Make sure the lip of the plastic opening tool is face up.

  4. nUOfKLtFKjEJmPiF
    nUOfKLtFKjEJmPiF
    TWh16HhX1IJkdwkt
    • Move around the device with the plastic opening tool, pushing down to release the back plate from clips.

    • You will hear popping sounds when you work around the device.

  5. dNVi4NAqRYk6u1eQ
    dNVi4NAqRYk6u1eQ
    rQwXMbfPySTuCabf
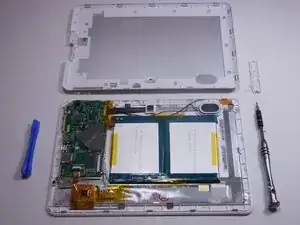
    • Once you’ve moved around the whole device with the plastic opening tool, the back plate will completely release from the rest of the device.

  6. 2MGUGUfJiPdxZSBD
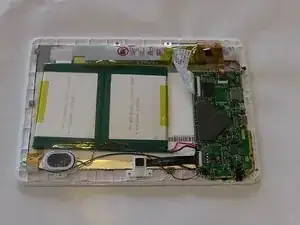
    • The battery rests flat on the inside surface of the tablet. It is a rectangular shape and has blue and yellow tape.

  7. PtMDgwNXBMGSsmiT
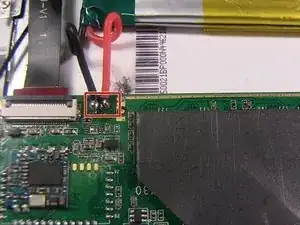
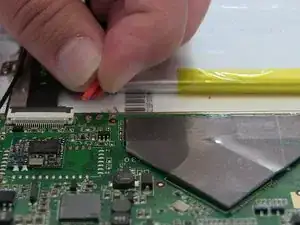
    • Two wires, one red and one black, which run from the motherboard to the battery, need to be desoldered from the motherboard.

    • Review how to solder here.

  8. apXIOilOrEkYSf5m
    apXIOilOrEkYSf5m
    I5mCkR1ekDAHRnVC
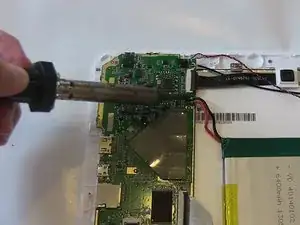
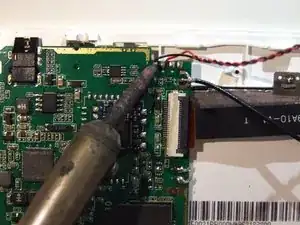
    • Work the soldering gun on the red wire where it is connected to the motherboard. It should release from the motherboard.

    • Work the soldering gun on the black wire where it is connected to the motherboard. It will release from the motherboard.

  9. Rb6FnNRI1WTiUR6P
    Rb6FnNRI1WTiUR6P
    xXiv6FCgl6EVxraU
    jSNSE5xCMQvFZcqu
    • Once both wires have been desoldered, remove the battery from the device.

  10. LpNj3DQXcCFMVyxa
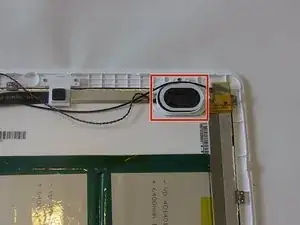
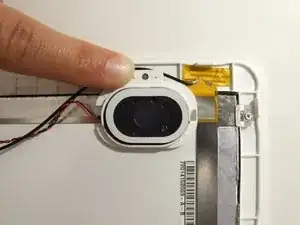
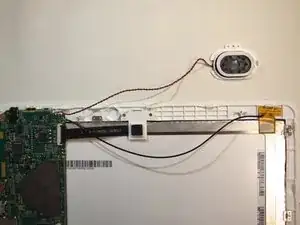
    • With the face of the device down, locate the speaker in the upper right corner.

    • Make sure the battery has been removed.

  11. QlBEd4ElEi3xdJTI
    QlBEd4ElEi3xdJTI
    QSr4RHhejbKr2DXe
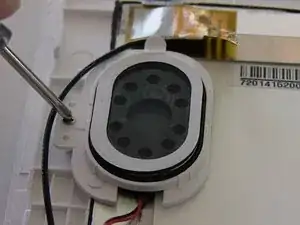
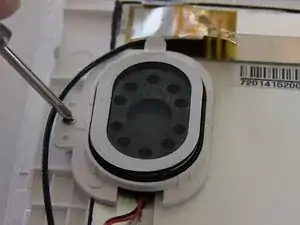
    • Remove the 3.9 mm screw holding the speaker in place using a Phillips #000 screwdriver.

  12. 3OpfEeZM2E5YNXbP
    3OpfEeZM2E5YNXbP
    cCoY1xR1wroPUWPW
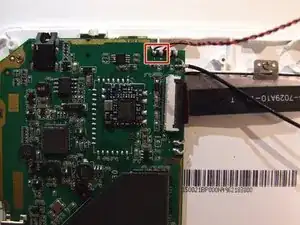
    • The speaker will be connected to two wires; one black and one red. Both run to the motherboard.

    • The wires will need to be soldered off the motherboard.

    • Locate where both wires are soldered to the motherboard.

    • Review How to Solder Here

  13. nSftRAcaUKw5udwo
    nSftRAcaUKw5udwo
    KJTSVeqsJ3SChMW3
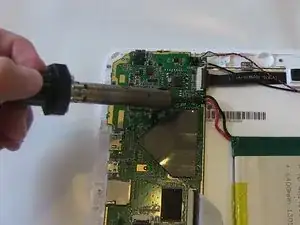
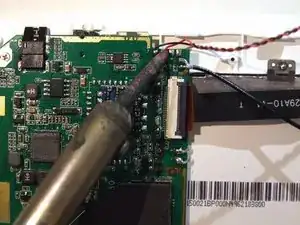
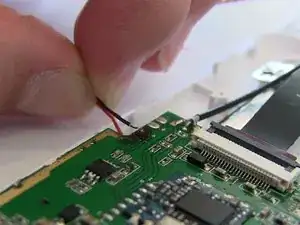
    • Work the iron where the red wire is soldered.

    • The wire will release from the motherboard.

  14. tjWFOEUjnCHghPpG
    tjWFOEUjnCHghPpG
    r2HUwGQlHOJgQMAd
    62lwxnDPOTtWFtQw
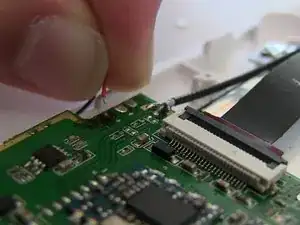
    • Work the iron where the black wire is soldered.

    • The black wire will release from the motherboard.

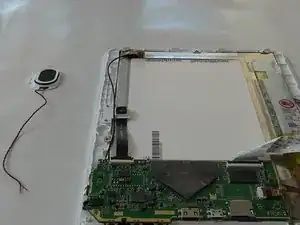
    • After both wires have been soldered off, the speaker will release from the device.

Conclusion

To reassemble your device, follow these instructions in reverse order.
Krista

Member since: 11/03/15

131 Reputation

0 comments