Introduction
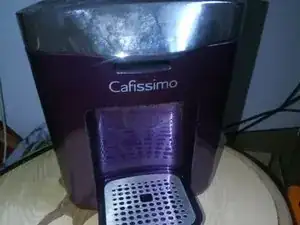
Instructions for disassembling the Tchibo Cafissimo with tips on descaling, wiring and the thermal fuse.
Tools
-
-
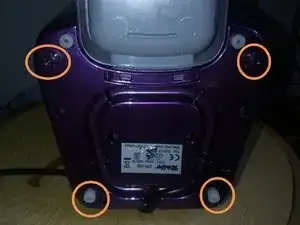
Remove 4 Torx screws. Two are hidden under the rubber feet.
-
Remove the water tank. Turn the unit upside down and pull the interior upwards. Follow the power cord while doing so.
-
Put the machine back upside down with the flap facing upwards, fill the water tank and insert it.
-
Plug in the machine. CAUTION! Do not touch anything inside. Heat up the machine by turning the switch until it engages. When the machine is hot and glowing continuously, press the start button.
-
Observe all hoses to see if the water moves. If the water moves, but no water flows into the top of the capsule container, the boiler is calcified and therefore clogged. The water then runs back to the tank through the pressure relief valve.
-
-
-
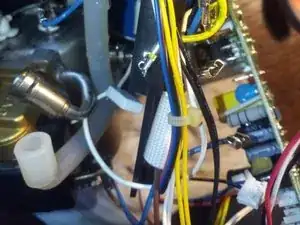
Green arrow: Water pump
-
Orange arrow: thermo switch and thermal fuse for the boiler
-
Purple arrow: Flowmeter to measure the flow rate
-
Directly at the boiler hangs also the solenoid valve. On the picture only the brass piece is still to be recognized
-
-
-
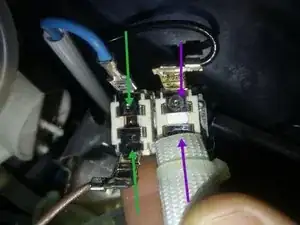
Green arrows: Thermal fuse
-
Purple arrows:Thermostat
-
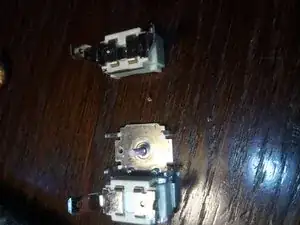
This double switch can be easily unclicked from the boiler. If the green thermo fuse has tripped (fuse) it must be replaced. Can happen if the thermo switch is defective or there is no water in the boiler. I have not found a replacement on the net.
-
Use a multimeter to check. Currentless!!!!!
-
You can see the fusible pin on the disassembled switch. When the switch gets too hot the pin melts together a bit. This causes the two contact surfaces to no longer touch.
-
-
-
If the normal descaling procedure according to the instructions for use has not been sufficient to obtain a flow, the boiler must be removed.
-
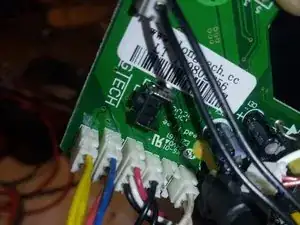
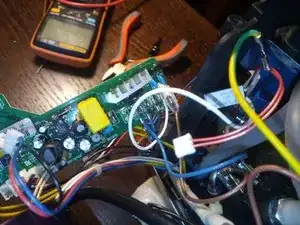
It is best to disconnect the cables for the boiler (yellow L, blue N 1) and the valve (blue N2, brown V). Take photos.
-
Disconnect the small plugs: double yellow, black/red/blue, black/white/red, double black, double red, double white also as needed. Do not pull on the cable but on the plug.
-
-
-
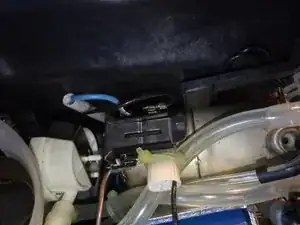
The boiler is fixed with two Torx. The two hoses are fastened with clips. These can be pulled off with pliers. CAUTION!!! The boiler may be under pressure if there is calcification at the lower connection. Grasp the clamp with pliers, place a rag over it and pull it off.
-
When all cables and hoses are off and the two screws have been removed, the boiler can be taken out of the housing.
-
Use a syringe to fill the lower opening with descaler. If the descaling was successful, the descaler drips out through the bent tube at the other end. Since the opening is very small, it is a bit tricky to fill in the descaler.
-
Then rinse everything well and reassemble. Treat the sealing rings on the boiler hoses with silicone grease. Then they slip in more easily.
-
Work through the steps in reverse order to reassemble your device.
