Introduction
If you need to replace the cooling fan in the TMY V08, the replacement process can be found in this guide. You may need this guide if the projector turns off unexpectedly while watching things for long periods of time, or makes a loud humming noise. If you have any of these issues, first reference to our Troubleshooting guide
Before beginning the replacement, make sure the TMY V08 is on a solid surface. Also make sure the TMY V08 is away from non-hardwood flooring and carpets. This will reduce the risk if static electric shocks that may damage the circuit or other components.
Tools
-
-
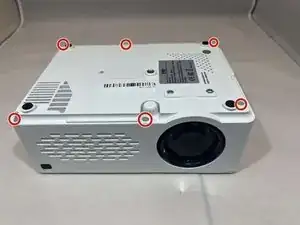
Turn the projector upside-down.
-
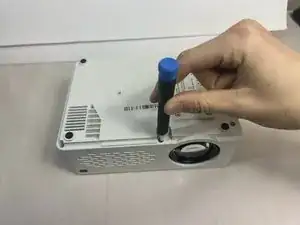
Remove the six 10.8 mm screws from the bottom of the projector using a Phillips #1 screwdriver.
-
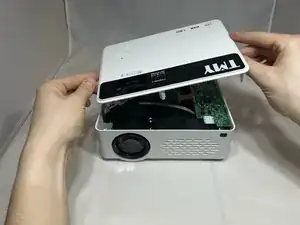
Turn the projector back over and lift the top casing panel off the projector.
-
-
-
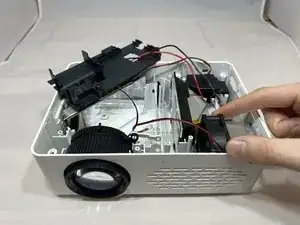
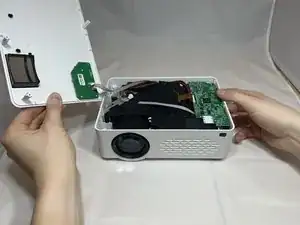
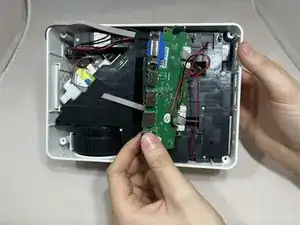
Pinch and pull the bundled cable connector from the top panel.
-
Remove the top panel from the projector.
-
-
-
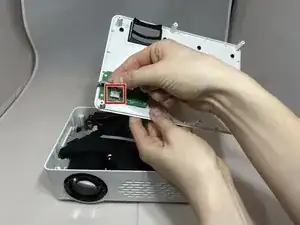
Remove the four 6.4 mm screws from the motherboard using a Phillips #1 screwdriver.
-
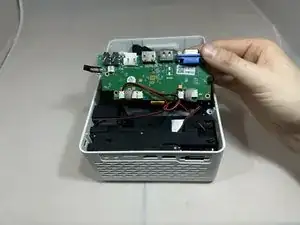
Pull back the motherboard to expose the connectors underneath.
-
-
-
Rotate the projector counterclockwise 90 degrees.
-
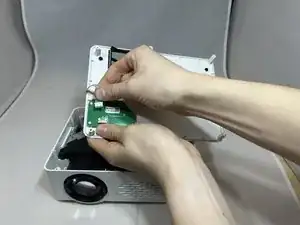
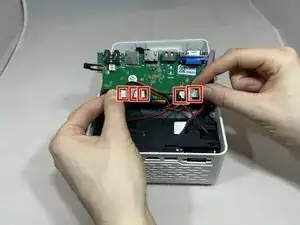
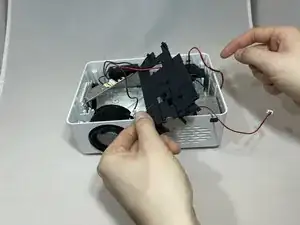
Disconnect the three bundled cable connectors and the two power cable connectors from the motherboard.
-
-
-
Rotate the projector counter clockwise with the front facing you.
-
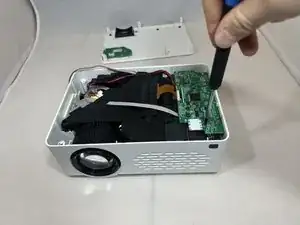
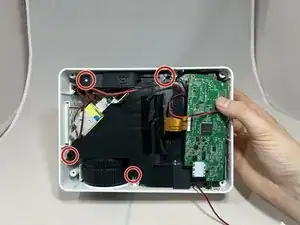
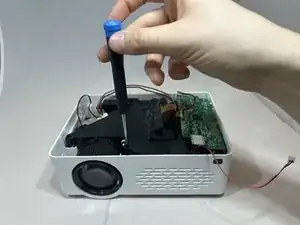
Remove the four 7.3 mm screws from the black cover to the left of the motherboard using a Phillips #1 screwdriver.
-
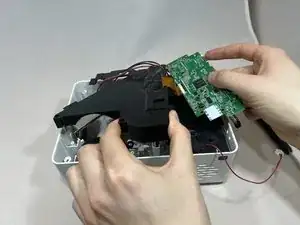
Remove the motherboard and black cover at the same time, being careful not to pull on the gold ribbon.
-
-
-
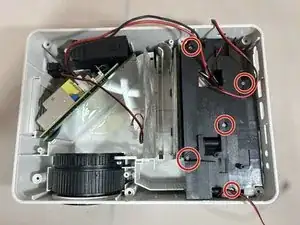
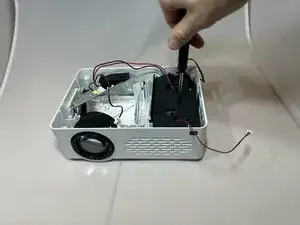
Remove the five 7.3 mm screws from the black cover using a Phillips #1 screwdriver.
-
Take off the right black cover, exposing the fan.
-


To reassemble your device, follow these instructions in reverse order.
