
Introduction
This disassembly and replacing the touchscreen specifically for TCL 20 XE; but it's a similar procedure for the TCL 20 SE, TCL 30 SE, and TCL 30 XE.
Note: only the case back, battery, and the top component cover need to be removed to replace the screen. However, since heat is applied, removing the boards is recommended.
-
-
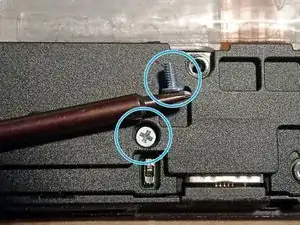
"Silver" screws are a coarser thread.
-
"Blue" screws are a finer thread, and usually have blue threadlock on them. (But some don't, and sometimes the threadlock wears off.)
-
The smallest screw is holding the top board in place (under the top component cover).
-
Tools: a small Phillips (plus-sign) screwdriver, various thin, non-metallic pry tools and picks, a container for holding the screws and parts, screen glue.
-
-
-
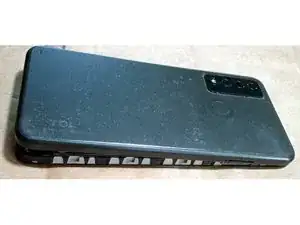
Loosen the cover from the front.
-
Start on the side with the SIM card slot. Insert a slim tool in about the center.
-
Slide the tool toward the bottom of the phone.
-
Use a pick slipped in the crack to carefully turn the corner to the bottom of the phone.
-
Keep going across the bottom and up the other side, using a combination of pick and tool.
-
-
-
The 1/8" audio port gets in the way, so when it gets to this point, wriggle the case away from the top of the phone.
-
-
-
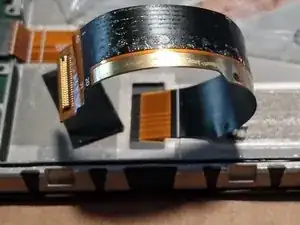
Once the cover is removed, peel off the black tape.
-
Flip up the small latch
-
Detach the cable.
-
-
-
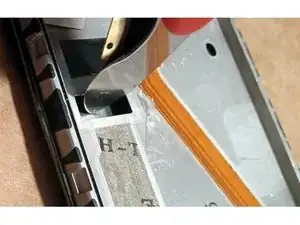
Pry off the top component cover. The cover has tiny tabs wedged under the lower edge and left side, so pry from the top or right side to get it started.
-
-
-
(optional) Detach case cable.
-
Remove yellow cover sticker.
-
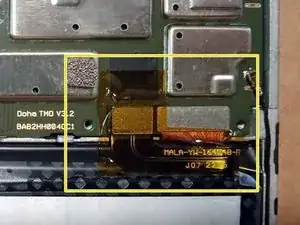
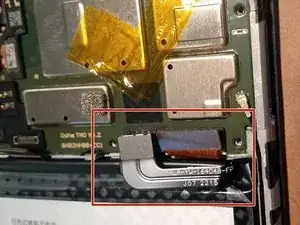
Detach battery cable and screen cable.
-
-
-
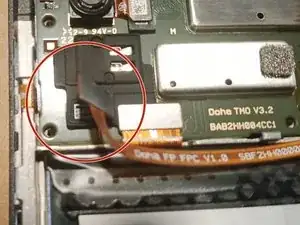
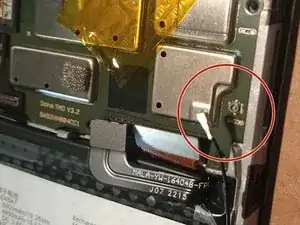
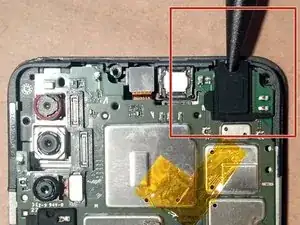
Detach antenna cable.
-
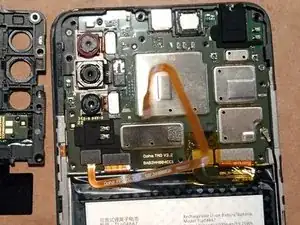
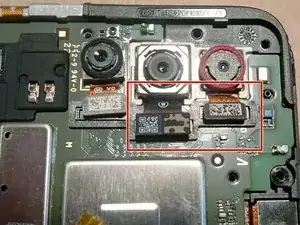
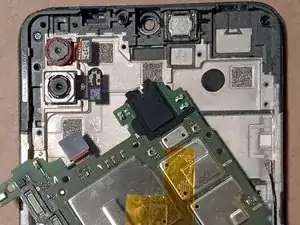
Detach the top two camera cables. (The third camera is on top of the board and does not need to be removed. The picture does show the cable detached, but that's unnecessary.)
-
-
-
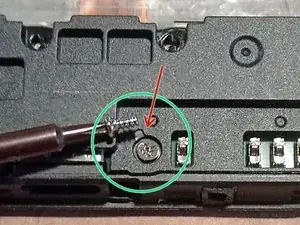
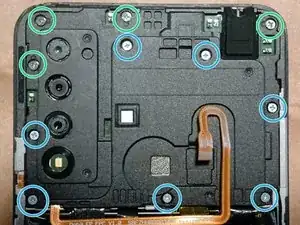
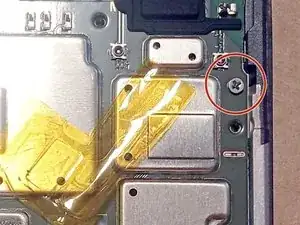
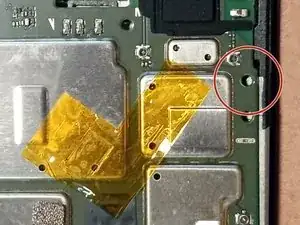
Remove the small screw that holds the top board to the frame. It's on the left side near the top.
-
-
-
There are 5 blue screws and 3 silver screws. Remove them.
-
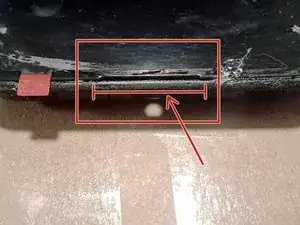
There are two tiny tab slots. Pry up at those two points to remove the component cover.
-
-
-
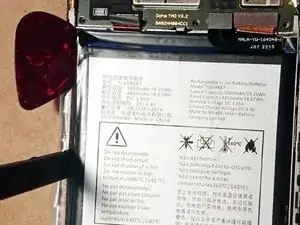
Wedge the first tool under the battery, but do not try to pry it up any more than that.
-
Wedge a second pick or pry tool a little farther down the battery. Pry only slightly and let it sit for a while.
-
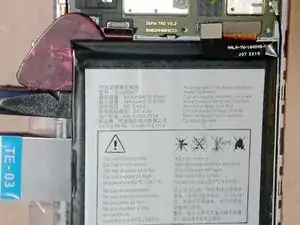
Use a third pick or pry tool to add more lift force.
-
The battery will slowly release from the double-sided tape. At some point, it should pop most of the way free, and can be pulled up the rest of the way.
-
-
-
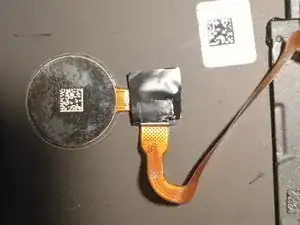
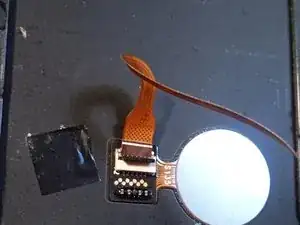
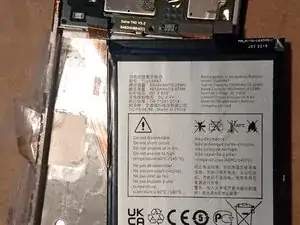
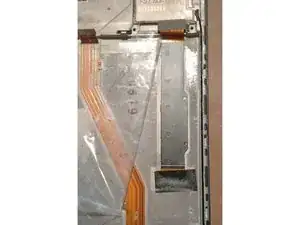
Remove any double-sided tape covering the cable.
-
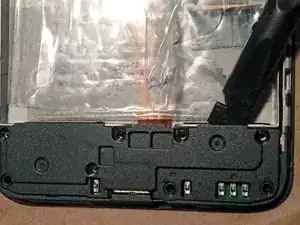
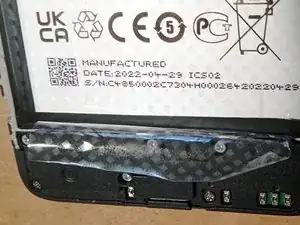
Remove the black tape covering the cable feed hole.
-
The cable is stuck to the case with a thin glue, but it is easy to peel up the cable.
-
-
-
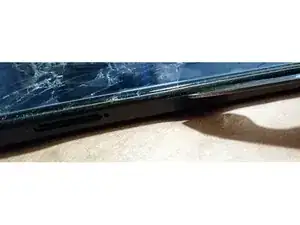
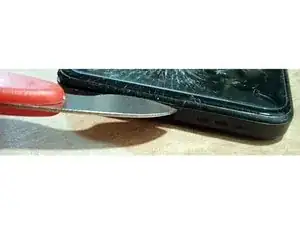
Heat the edges of the screen. Try not to heat the sides of the phone.
-
After the screen is heated, flip the phone over so the screen is down.
-
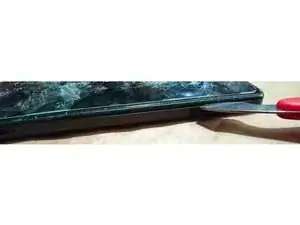
Push the screen from the hole where the cable goes through. It should some free fairly easily; if not, heat the screen edges and try to push it again.
-
-
-
Remove excess glue from edges after removing the screen.
-
Using B-7000 glue, put a thin line around the rim of the case.
-
It may look messy, but let the glue dry completely before cleaning up.
-
Press for at least 15 minutes.
-
Put a piece of cardboard on top and bottom of the phone case, and put a fairly heavy object on it. I used a toolbox that weighed 15lbs, and that seemed to work.
-
-
-
Feed the screen cable through the hole.
-
Gently press the screen into place.
-
It may look messy, but let the glue dry completely before cleaning up.
-
Press for at least 15 minutes.
-
Put a piece of cardboard on top and bottom of the phone case, and put a fairly heavy object on it. I used a toolbox that weighed 15lbs, and that seemed to work.
-
Remove any leaked glue. Tip: Use a pink eraser to help remove the excess glue.
-
-
-
Reverse the steps to reassemble the phone.
-
If it works, attach the component covers and close it up.
-
If it doesn't work, check carefully to see if all the cables are attached correctly.
-


To reassemble your device, follow these instructions in reverse order.