Introduction
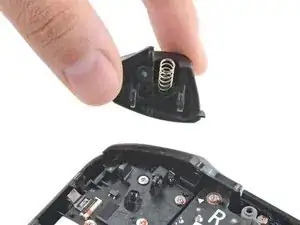
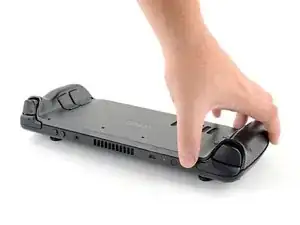
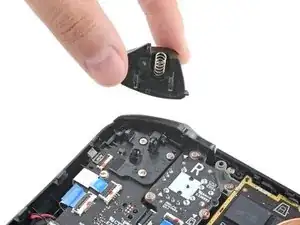
Use this guide to replace the right trigger assembly (R2) on your Steam Deck LCD. Although nearly identical, the procedure for the left trigger (L2) can be found here.
Remember: follow general electrostatic discharge (ESD) safety procedures while repairing your device.
Replacement triggers require calibration to work as expected. Read about how to do that here.
Tools
Parts
-
-
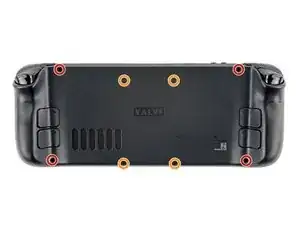
Use a Phillips driver to remove the eight screws securing the back cover:
-
Four coarse thread 9.5 mm-long screws
-
Four fine thread 5.8 mm-long screws
-
-
-
Insert an opening pick into the thin gap between the back cover and the front shell, along the edge of the right grip.
-
Pry up on the back cover to release it from the locking clips.
-
-
-
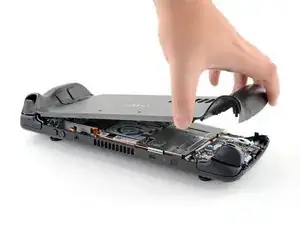
Grip the back cover at the opening you just created and pull it up and away from the device to unclip the long edges.
-
Remove the back cover.
-
-
-
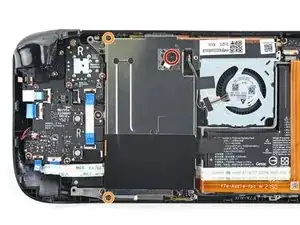
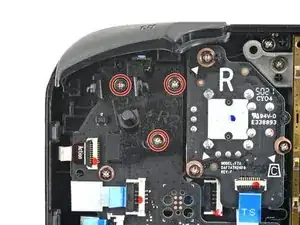
Use a Phillips driver to remove the three screws securing the board shield:
-
One 3.4 mm screw
-
Two 3.7 mm screws
-
-
-
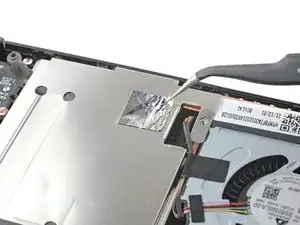
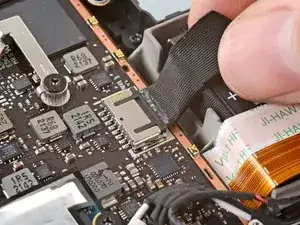
Grip the battery cable by its pull tab and pull it directly away from the motherboard to disconnect it.
-
-
-
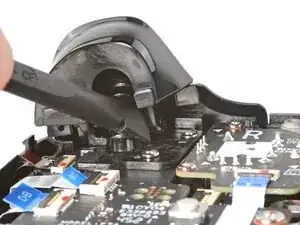
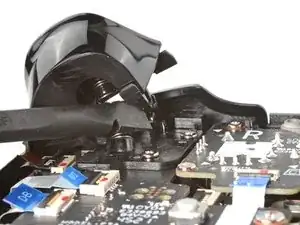
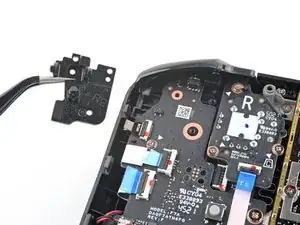
Place the flat end of a spudger onto the inside edge of the trigger's right clip.
-
Pivot the trigger clip out, away, and up from the peg to unlatch it.
-
To reassemble your device, follow these instructions in reverse order.
Take your e-waste to an R2 or e-Stewards certified recycler.
Repair didn’t go as planned? Try some basic troubleshooting, or ask our Steam Deck answers community for help.
5 comments
The shield doesn't need to be removed for this repair. The trigger is difficult to replace. Start with the outer peg first, leftside, and then position the right-side above the peg. Apply pressure to get it over the leg, then continue pressure to get it on the peg. A little tricky, and don't forget to attach the spring first.
My transistor on the left daughterboard is missing. I would like to buy a new transistor and solder it myself. Could you please provide me with the specifications of the transistor or give me a link to purchase one? The L2 button is not working because of it. It has the code "303" on it, you can see it in the images above
