Introduction
Use this guide to replace the D-pad (directional pad) button and its membrane in your Steam Deck LCD.
Remember: follow general electrostatic discharge (ESD) safety procedures while repairing your device.
Note: Valve started shipping Steam Decks with refreshed internal designs in early 2023. Your Steam Deck may look different than the one depicted in the photos, but the procedure is the same. Remove the back cover to check what version you have. An original Steam Deck will have a metallic motherboard shield and a fan with square sides, as seen here. A refreshed Steam Deck will have a black motherboard shield and a fan with curved sides, as seen here.
-
-
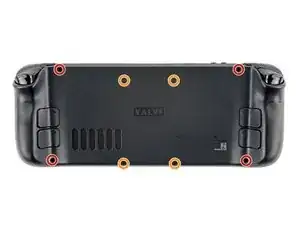
Use a Phillips driver to remove the eight screws securing the back cover:
-
Four coarse thread 9.5 mm-long screws
-
Four fine thread 5.8 mm-long screws
-
-
-
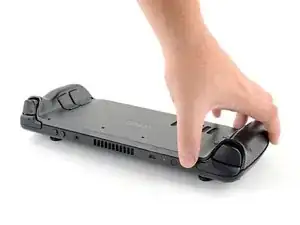
Insert an opening pick into the thin gap between the back cover and the front shell, along the edge of the right grip.
-
Pry up on the back cover to release it from the locking clips.
-
-
-
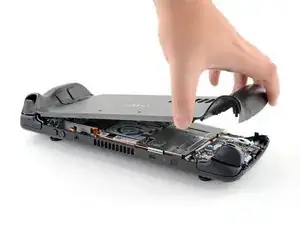
Grip the back cover at the opening you just created and pull it up and away from the device to unclip the long edges.
-
Remove the back cover.
-
-
-
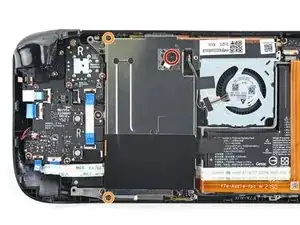
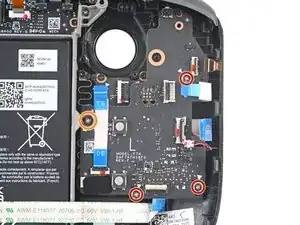
Use a Phillips driver to remove the three screws securing the board shield:
-
One 3.4 mm screw
-
Two 3.7 mm screws
-
-
-
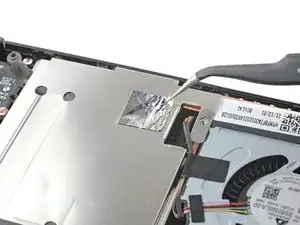
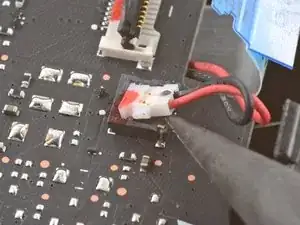
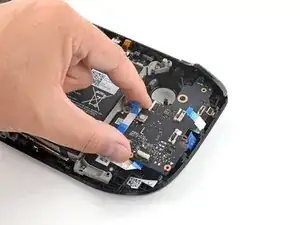
Grip the battery cable by its pull tab and pull it directly away from the motherboard to disconnect it.
-
-
-
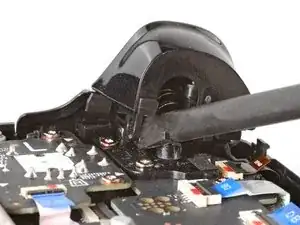
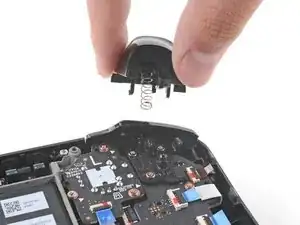
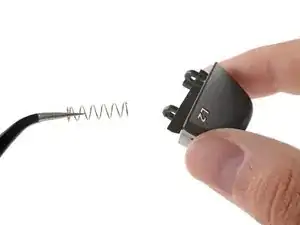
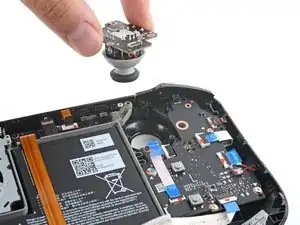
Place the flat end of a spudger onto the inside edge of the trigger's left clip.
-
Pivot the trigger clip out, away, and up from the peg to unlatch it.
-
-
-
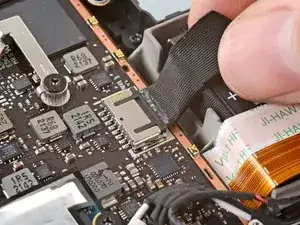
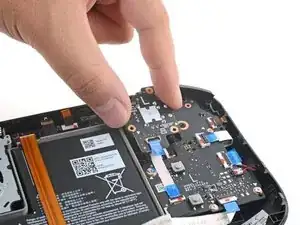
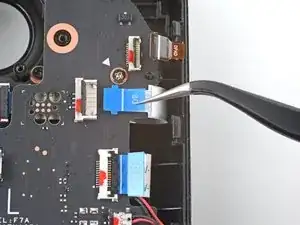
Use the pointed end of a spudger to lift up the small locking flap on the thumbstick cable's ZIF connector.
-
Use a pair of tweezers to slide the cable out of its connector.
-
-
-
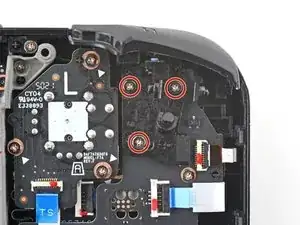
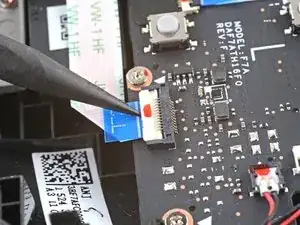
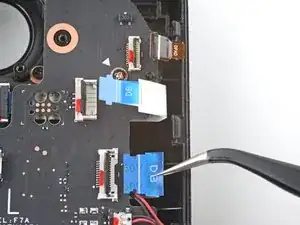
Use the pointed end of a spudger to lift up the small locking flap on the button board interconnect cable's ZIF connector.
-
Use a pair of tweezers to slide the cable out of its connector.
-
-
-
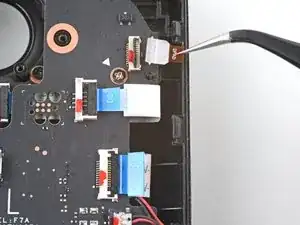
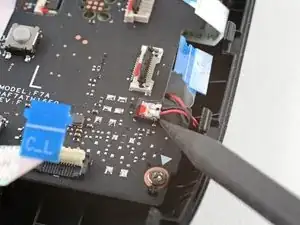
If any connectors are covered with tape, use a pair of tweezers to remove it.
-
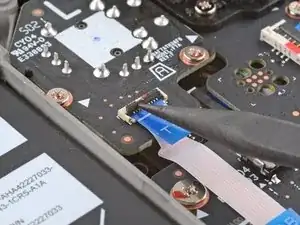
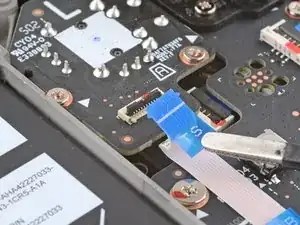
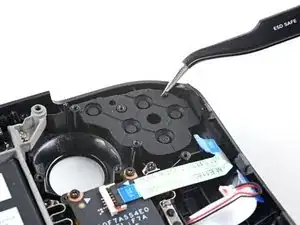
Use the pointed end of a spudger to lift up the small locking flaps on the rest of the button board ZIF connectors. Use a pair of tweezers to slide the cables out of their connectors:
-
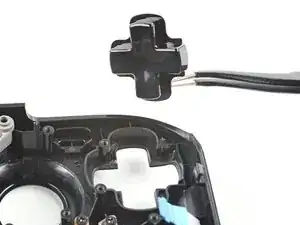
Disconnect the D-pad cable.
-
Disconnect the touchpad board cable.
-
Disconnect the touchpad cable.
-
-
-
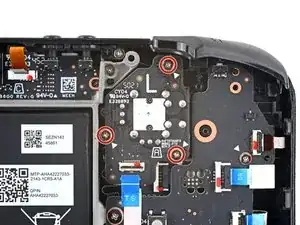
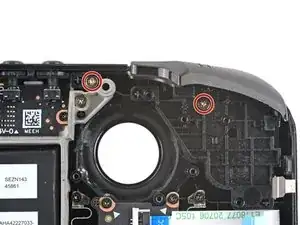
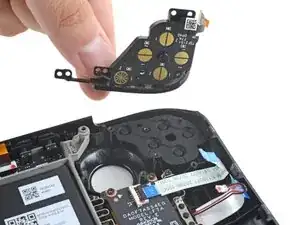
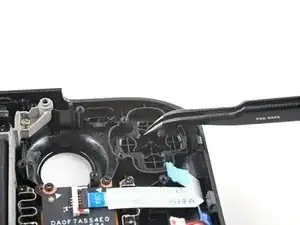
Use a Phillips driver to disconnect the four screws securing the left button board:
-
Three 5.2 mm screws
-
One 3.9 mm screw
-


To reassemble your device, follow these instructions in reverse order.
Take your e-waste to an R2 or e-Stewards certified recycler.
Repair didn’t go as planned? Try some basic troubleshooting, or ask our Steam Deck answers community for help.

One comment
Do they sell the Steam Deck's Dpad itself? Not the rubber membrane.