Introduction

This guide covers the Sony Xperia XZ Premium front camera removal. This process involves unscrewing two screws and removing part of the frame to reach the camera.

  1. mXu6gXpdLS1HVYHd
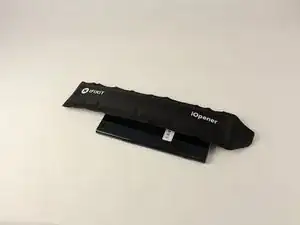
    • Place a heated iOpener on the back panel of the phone to melt the adhesive inside.

    • The iOpener or your desired heat source can be very hot and can heat up the phone, so make sure you do not burn yourself.

    • Follow this guide for directions on using the iOpener.

    Is it okay to use a hair dryer instead of iOpener?

    091 03718 -

  2. 6V33MI2yjuuONn4A
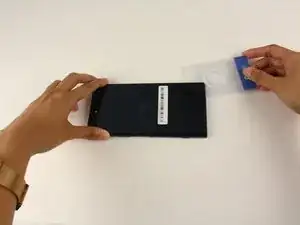
    • Slide a thin plastic card under the back panel and around the perimeter of the phone to remove the adhesive.

  3. CZI13V3HNF1r1lHy
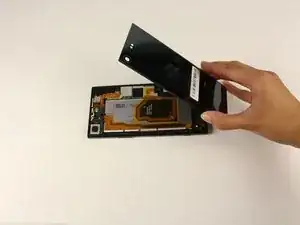
    • Take hold of the back panel with your fingers and remove.

  4. Wu2UdQTikBaBEgV5
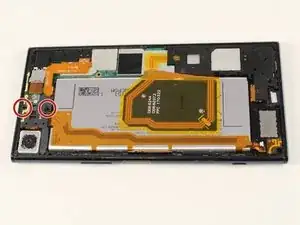
    • Remove the two bottom left 3.9 mm Phillips #000 screws.

  5. NplrLuWvFwuAR3HJ
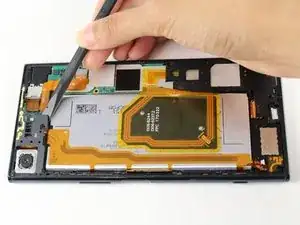
    • Insert the spudger under the bottom left frame and lift, try to lift vertically to wedge it out.

  6. v22xu1j4M5QqAGh6
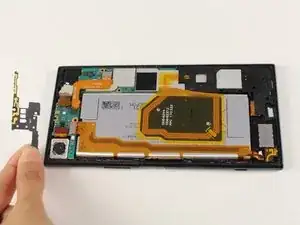
    • Grab hold of the bottom left frame and lift out carefully.

  7. Def6wRJZ2G1UADFQ
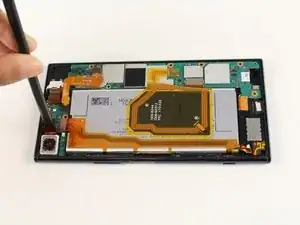
    • Insert a spudger under the tab above the camera and lift to disconnect it.

  8. Ks3SS1FXmy3Dk25P
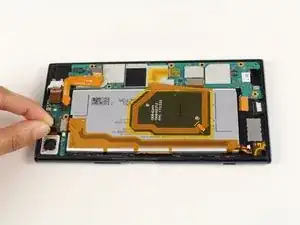
    • Grab hold of the tab with your fingers.

  9. ckZhjnnqva5QcUOV
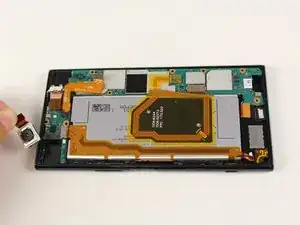
    • Lift the camera from the phone by the tab.

Conclusion

To reassemble your device, follow these instructions in reverse order.

Gelene Amog

Member since: 18/04/18

1189 Reputation

One comment

The name of this tutorial is incorrect.

Gavin -