Introduction

This guide covers the Sony Xperia XZ Premium frame removal.

  1. mXu6gXpdLS1HVYHd
    • Place a heated iOpener on the back panel of the phone to melt the adhesive inside.

    • The iOpener or your desired heat source can be very hot and can heat up the phone, so make sure you do not burn yourself.

    • Follow this guide for directions on using the iOpener.

    Is it okay to use a hair dryer instead of iOpener?

    091 03718 -

  2. 6V33MI2yjuuONn4A
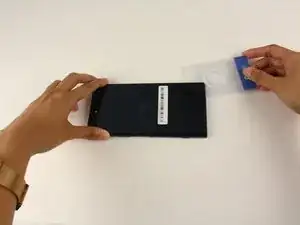
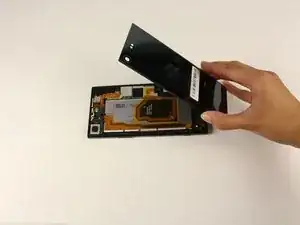
    • Slide a thin plastic card under the back panel and around the perimeter of the phone to remove the adhesive.

  3. CZI13V3HNF1r1lHy
    • Take hold of the back panel with your fingers and remove.

  4. iQNc23EFYCCXfJMv
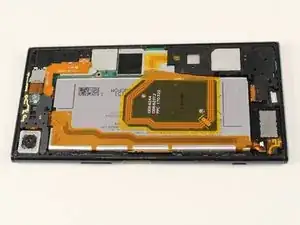
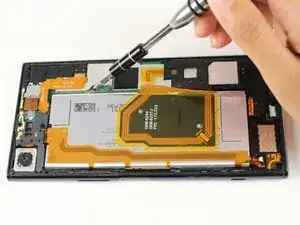
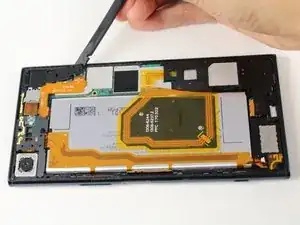
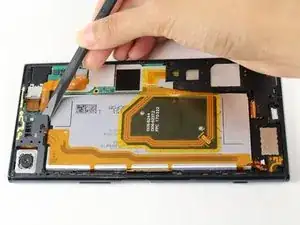
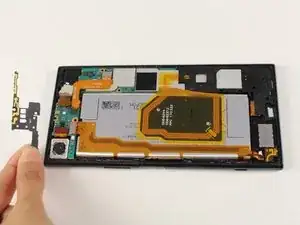
    • Orient the phone horizontally with the front screen facing down and the camera on the bottom left corner.

  5. DZbphsbZJZwZPSbs
    DZbphsbZJZwZPSbs
    QuxofNZDZONRe1DG
    • Remove nine 3.9mm Phillips #000 screws.

    • Make sure to turn carefully in the counter-clockwise direction or you may wear out the thread and shape of the screws. You will not be able to remove the screws once they are damaged!

    • When unscrewing, remember "Left Loosey, Righty Tighty!"

  6. JImwco2oPw5D4DHm
    • Place the spudger under the top left corner frame piece and lift to loosen.

  7. nMGanZnaA52Ii5cI
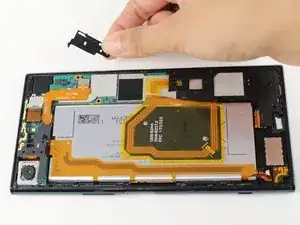
    • Grab hold of the top left frame piece with your fingers and gently wiggle and lift to remove.

  8. rkVft32wGu2rPIWp
    • Place the spudger under the bottom left frame piece and lift to loosen it.

  9. qFMLFl1FUeOHnvdm
    • Grab hold of bottom left frame piece with your fingers and lift gently.

    • When dislodging the left frame piece, carefully wiggle the piece while lifting it vertically to prevent any damage to the wedges on the frame. This applies for all of the other frame pieces you will remove after this step!

  10. wPPF3HlyScOjpGhX
    • Place the spudger under the top right frame piece and lift to loosen it.

    このとき、バイブレーターのカバーと、バイブレーターのコネクタに注意します。無理矢理引きちぎらないようにしてください。

    satore -

    上部右側フレームの下には、バイブレータがあります。バイブレータとマザーボードをつなぐコネクタはなぜか上部右上フレームに接着されています(接着されていなくてもよい気がします)。

    上部右側フレームを持ち上げる際には、そっとコネクタを外した方が安全です。

    https://youtu.be/JmN7pZdgJDU?t=133

    バイブレーターのカバーは、シリコン製です。外れやすいので見失わないようにしてください。

    satore -

  11. MngVYYeifA1GNSEn
    • Grab hold of the top right frame piece with your fingers and lift.

Conclusion

To reassemble your device, follow these instructions in reverse order.

Gelene Amog

Member since: 18/04/18

1189 Reputation

0 comments