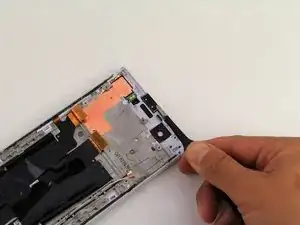
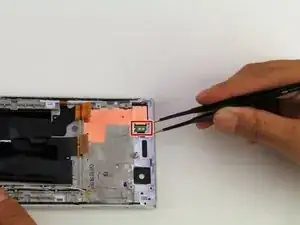
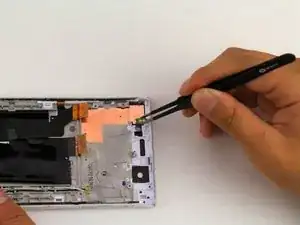
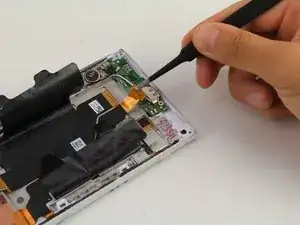
Introduction

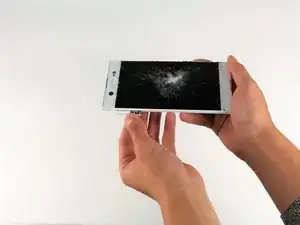
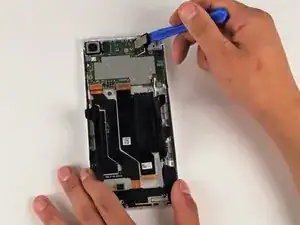
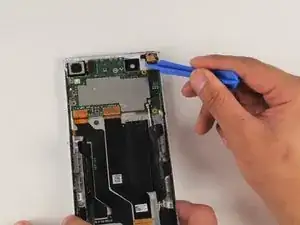
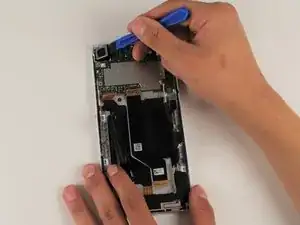
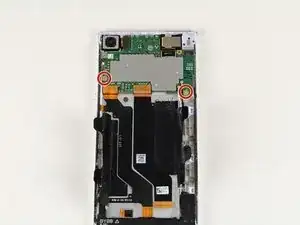
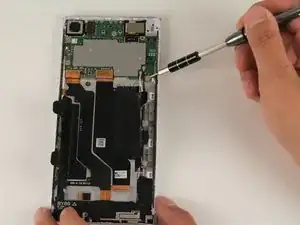
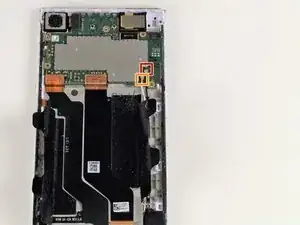
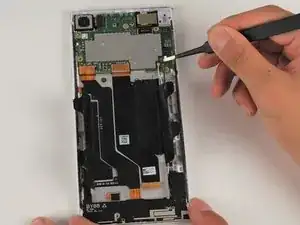
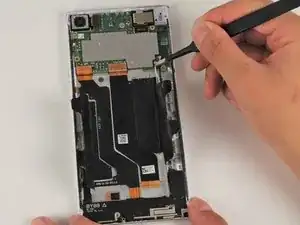
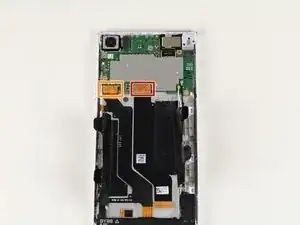
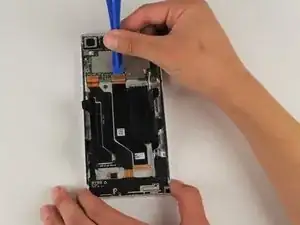
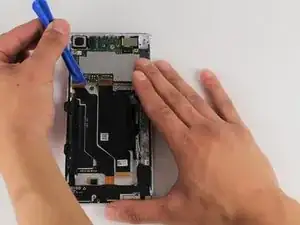
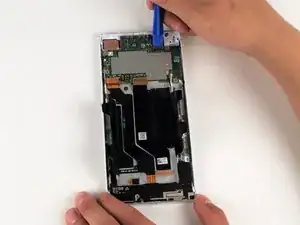
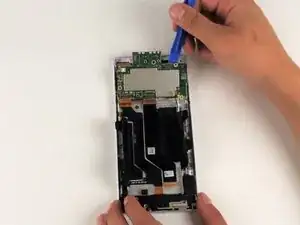
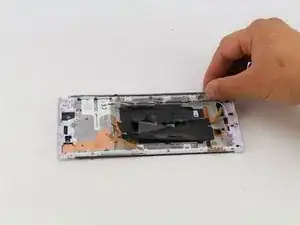
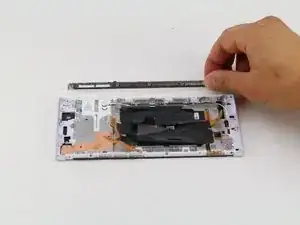
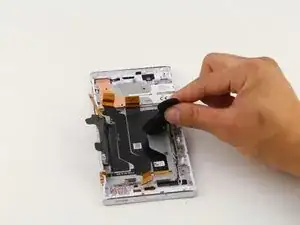
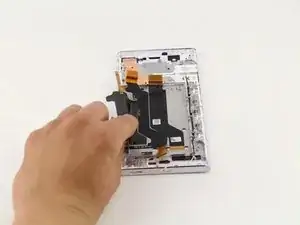
This guide will show you how to replace the LCD display touchscreen digitizer for your Sony Xperia XA1 Ultra if the display is cracked or unresponsive. A heat gun or hairdryer is needed to open the back panel, which can become hot and potentially damage the phone. In addition, a T5 screwdriver is needed to remove screws, while tweezers and a spudger are needed to remove different components of the phone.

  1. TNOCKQRjsismJAur
    TNOCKQRjsismJAur
    KHjIGfHLpkXUtCME
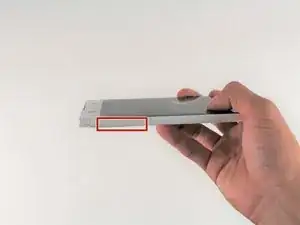
    • Wedge your finger under the bottom ridge of the SD card insert.

    • Pull outwards with your fingers to remove the SD card from the left side of device.

    How do you remove it? (Seems obvious but write for any audience, and say how to do things instead of just what to do)

    Kyle Ladtkow -

  2. ryJAIJUHscWkPGYQ
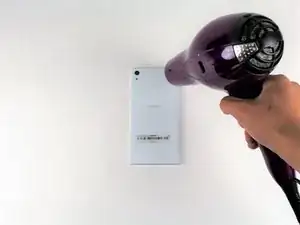
    • Use a hair dryer to heat each corner of the phone.

    • Alternate heating each corner for a minute to loosen the adhesive binding the back cover to the phone.

    • Don't heat one area for too long; the phone may get damaged from overheating.

    Consider saying “loosen” instead of “soften” so that steps 2 and 3 use the same terms. Somebody may not know that heating the glue will loosen it, and so they will be confused reading “once the adhesive is loosened” in step 3.

    Kyle Ladtkow -

  3. DGOhTBh2EenRDDff
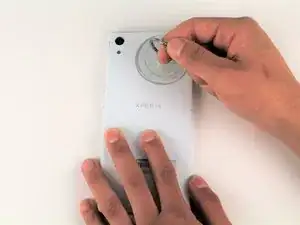
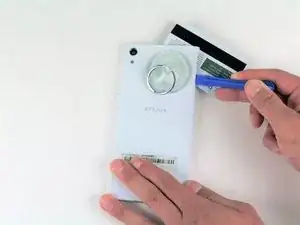
    • Press a suction cup on a heated corner of the device.

    • Hold the phone down and gently lift the suction cup to create a small gap.

    • You may hear crunching or popping sounds when you lift up the back cover.

    sure that there is adhesive tape on backcover?

    where should it tape on at the device inside?

    looks more like only plugged together`?

    Alexander H -

  4. FODQEhCkSsrSmi4a
    • Insert your iFixit Opening Tool in the small gap between your phone and the back cover.

    • Lift up on the iFixit Opening Tool and insert your plastic card in the small gap between your phone and the back cover.

    Period missing for first point.

    Kyle Ladtkow -

  5. Wh3uglejNEpDjhfH
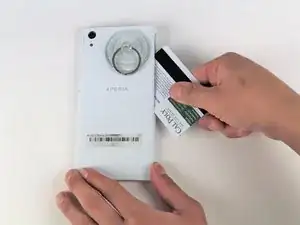
    • Slide your plastic card along the side of your phone to loosen the adhesive.

    • Move the card along the sides of the phone to lift all of the corners.

    Can you clarify what should be repeated in this step?

    Tiffany Dang -

  6. gs1wMw1GfHP2o1ZI
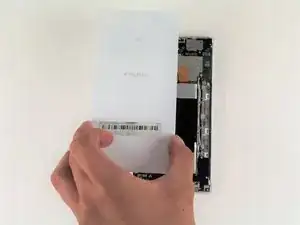
    • Lift up the back cover by lifting up the sides of the phone with your hand.

    • Apply a new strip of adhesive for reassembly.

  7. QHOsosNPHrnPNY3Y
    QHOsosNPHrnPNY3Y
    4DUjgVvJOTBbOfwc
    vaKgjDfVnXXfkUN3
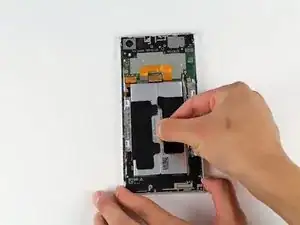
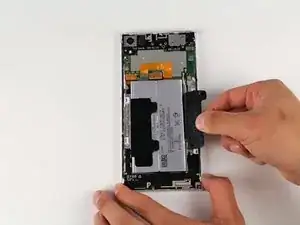
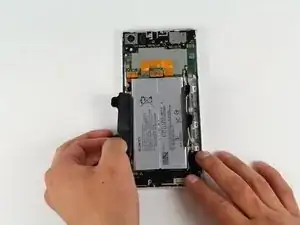
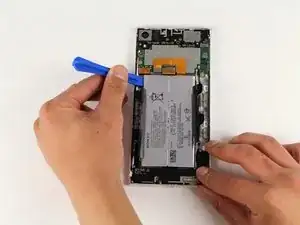
    • Peel off the two pieces of black tape covering the battery with your hands.

  8. QtTZfaQtwNXEOfQN
    QtTZfaQtwNXEOfQN
    Ru5mJWOuo2umUgrV
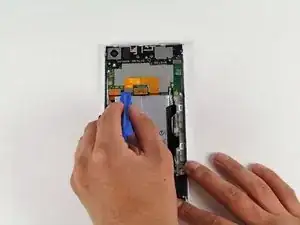
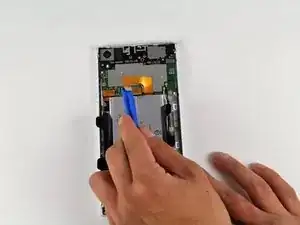
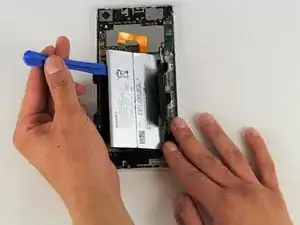
    • Use the iFixit Opening Tool to remove the flexible orange strip which connects the battery to the motherboard.

    Grammar, consider rewording. “Use the iFixit Opening Tool to remove the flexible orange strip which is connected to the battery from the motherboard” or “Use the iFixit Opening Tool to remove the flexible orange strip which connects the battery to the motherboard” or another alternative depending on your intended meaning.

    Kyle Ladtkow -

    exelente, a melhor aula de celular que eu vi.

    wmestrecamaleao -

  9. fk2ccJWy5vQm3JkZ
    fk2ccJWy5vQm3JkZ
    vUS1lZJDQRFZxH3q
    eeG3qmEhU4VRsLDd
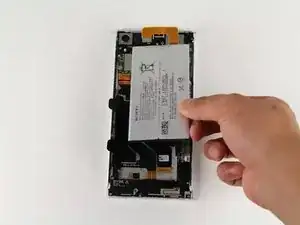
    • Wedge the iFixit Opening Tool underneath the battery.

    • Remove the battery by pulling up on the iFixit Opening Tool.

  10. JD1NROFbwHmqFfdr
    JD1NROFbwHmqFfdr
    fHYk2oR615MDV3Z3
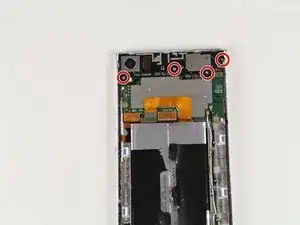
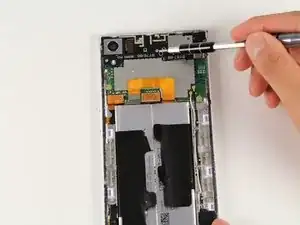
    • Remove the four 4mm T5 screws on the top of the black panel securing the antenna module to the device.

    Clarify where the screws are

    Tiffany Dang -

    That is not the antenna module !!!

    ptbgn -

  11. QGomEVCHCAUnR2FI
    QGomEVCHCAUnR2FI
    GU6fT1GicUSWJGEK
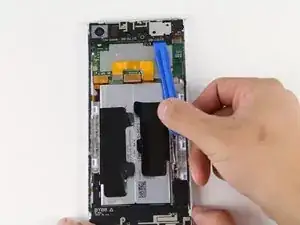
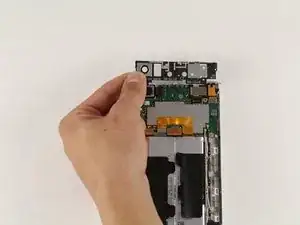
    • Insert your iFixit Opening Tool underneath the antenna module.

    • Lift up gently with the iFixit Opening Tool to remove the antenna module.

    • The antenna module may be difficult to remove.

    Maybe add a caution that the module is hard to take off

    Tiffany Dang -

    Could use better explanation on how to take off

    Tiffany Dang -

    “to take off piece” change to take off the piece? Or even be specific, “pull with your hands to remove the module.”

    Kyle Ladtkow -

    also the picture makes it look as if you flip the antenna board over but it needs to be pulled up from the phone as if you bend it over it will break

    Andrew Bromfield -

  12. BndYPXtEQuYePGil
    BndYPXtEQuYePGil
    lJutmyTHTACmsj2Y
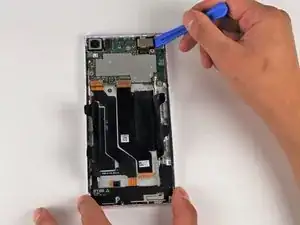
    • Insert your iFixit Opening Tool underneath the front camera and gently lift up.

    • Remove the front camera by lifting the front camera up with your hands.

    The second part of this NEEDS an action shot

    Tiffany Dang -

  13. MVaOkIvHXQWu4aYZ
    MVaOkIvHXQWu4aYZ
    4JrSwOqnkfZ5IPmi
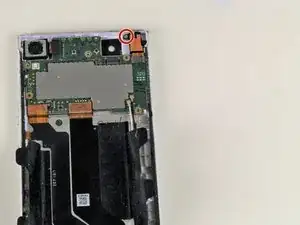
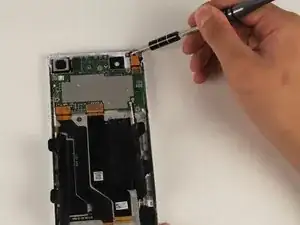
    • Remove the 4mm T5 screw connecting the headphone jack to the panel.

  14. RrDU2fQfIlPkbpqs
    RrDU2fQfIlPkbpqs
    oglUdHTAxCPEooUt
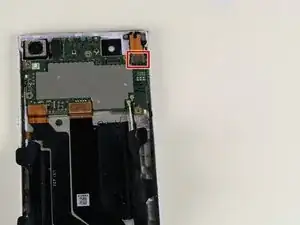
    • Use your iFixit Opening Tool to lift and disconnect the headphone jack connector piece.

    • The small black piece connected to the headphone jack that is holding the single screw in place has broken off in the device shown.

    “use your iFixIt Opening Tool to lift (the) head phone jack…”

    Tiffany Dang -

  15. FZT2GVu1oaPyf1Vm
    FZT2GVu1oaPyf1Vm
    WBW2oHOSjZAuKYud
    • Insert your iFixit Opening Tool between the back camera and the motherboard and gently lift up.

    • Lift up with the iFixit Opening Tool until the back camera is removed from the device.

  16. LEyJeR2GoppYLltR
    LEyJeR2GoppYLltR
    UbTXjtDdv1OsHgbk
    • Remove the two 4mm T5 screws connecting the motherboard to the device.

    Only the bottom two screws for this part need to be removed; the top two were removed with the antenna module

    Tiffany Dang -

  17. GDf3HlN64Q3G6Ylr
    GDf3HlN64Q3G6Ylr
    r2TwWa2ZbtJxRHr6
    bnhsuL44MYxvLXyn
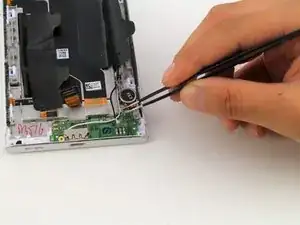
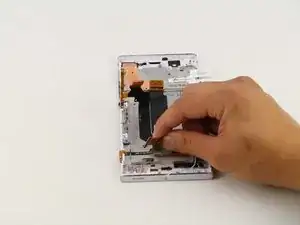
    • Use your flat head tweezers to remove the black wire connected to the motherboard.

    • Use your flat head tweezers to remove the white wire connected to the motherboard.

    • There are only two wires connected to the motherboard.

    The text should locate the wires better

    Tiffany Dang -

  18. HU1VYhBDDHNvAfmG
    HU1VYhBDDHNvAfmG
    jTskrwCmOvGFBno2
    WDPM426jdYupYvom
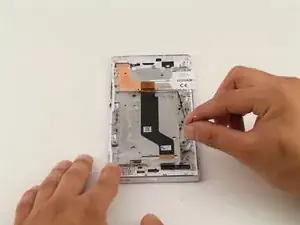
    • Use your iFixit Opening Tool to remove the main flex (the middle orange tab) from the motherboard.

    • Use your iFixit Opening Tool to remove the power button flex (the left orange tab) from the motherboard.

    The text should be able to locate the flexes on their own

    Tiffany Dang -

  19. f1CqiHKaRKfjO2HL
    f1CqiHKaRKfjO2HL
    rwjUwRlCAqS3jNdp
    • Wedge your iFixit opening tool under the motherboard.

    • Lift up with your iFixit Opening Tool to lift the motherboard from the device.

  20. ABiI2blLdWeRCIp2
    ABiI2blLdWeRCIp2
    WeKjBWVGrXjHRW6Y
    • Wedge your flathead tweezers under the earpiece.

    • Lift up with your flat head tweezers to remove the earpiece from the device.

  21. gkqTYXBQbVyQjjPQ
    gkqTYXBQbVyQjjPQ
    euOXQJpEtqiUFmwf
    • Wedge your flathead tweezers under the flashlight module.

    • Lift up with your flat head tweezers to remove the flashlight module from your device.

    where are the steps and pictures to remove the five screws from the plastic module on the bottom of the phone covering the charging port PCB board

    Andrew Bromfield -

  22. 4AsRym4VDjS2IOlx
    • Grab the power flex from the charging port PCB board with your flathead tweezers.

    • Lift up with your flathead tweezers to remove the power flex from the charging port PCB board.

  23. c4TmjlQtXbULdMQU
    c4TmjlQtXbULdMQU
    RRAqS5kTAZakucUO
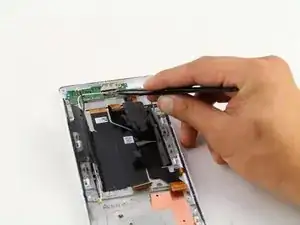
    • Grab the vibration motor connected to the charging port PCB board with your flathead tweezers.

    • Lift up with your flathead tweezers to remove the vibration motor.

  24. L3el46K3CjSYUuHI
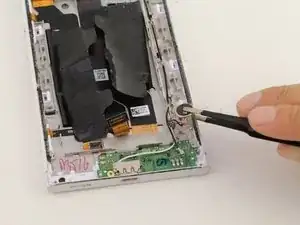
    • Grab the black wire connected to the charging port PCB board with your flathead tweezers.

    • Pull up on the black wire with your flathead tweezers to disconnect the black wire from the charging port PCB board.

  25. eKmAXojWprgiAFIe
    • Grab the white wire connected to the charging port PCB board using your flathead tweezers.

    • Pull up on the white wire with your flathead tweezers to disconnect the white wire from the charging port PCB board.

  26. 6pDWLJdkEOgh4d64
    6pDWLJdkEOgh4d64
    jnv3Tuk2gvxGCvoO
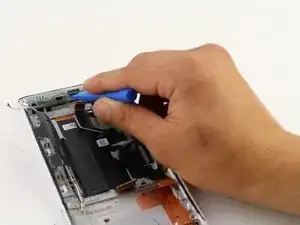
    • Wedge your iFixit Opening Tool under the charging port PCB board.

    • Pull up with your iFixit Opening Tool to remove the charging port PCB board.

  27. vclwOBXwGNUVqtNv
    vclwOBXwGNUVqtNv
    NcyQtQi3MVsIIfxD
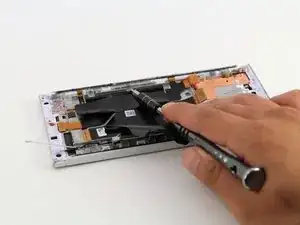
    • Remove the five 4mm T5 screws connecting the side panel to the power button flex cable.

  28. UrWDkdapAmpZZ12o
    UrWDkdapAmpZZ12o
    6p2CPj5HcPEiBiEO
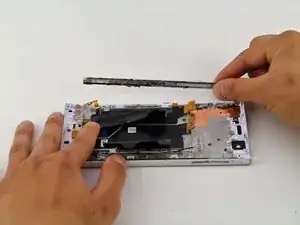
    • Use your hands to grab the side panel of the device.

    • Pull your hands away from the device to remove the side panel.

  29. mCaKS4EqnHG2fRwT
    mCaKS4EqnHG2fRwT
    mIqqwNpOv1t6bd51
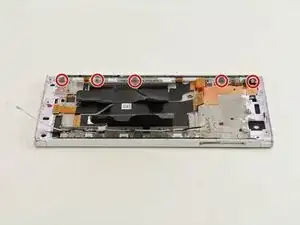
    • Remove the five 4mm T5 screws connecting the SD card side panel to the device.

  30. EaRGAZLSxSZgqUrU
    EaRGAZLSxSZgqUrU
    3itYadDcdKqwRLZP
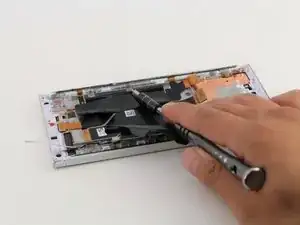
    • Remove the SD card side panel from the device by grabbing the SD card side panel with your hands and sliding the SD card side panel away from the device.

  31. GSZtSiHKTQFZSUqS
    GSZtSiHKTQFZSUqS
    6pPS6LpQA1FkwjMu
    • Grab the two pieces of black tape holding down the battery with your hands.

    • Lift up with your hands to remove the two black pieces of tape that hold down the battery.

  32. uSDcXwkdQgnrHFSr
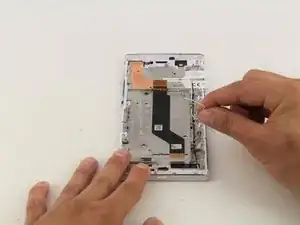
    • Peel off the power button flex with your hands.

  33. kKIoAiyEFLJJwIlS
    kKIoAiyEFLJJwIlS
    DxobXeQ6lccKVqB2
    • Remove the white wire from the device using your hands.

  34. EQSiNXCVYCHmr2QP
    • Remove the black wire from the device using your hands.

  35. yED2wnitPh2MhVvd
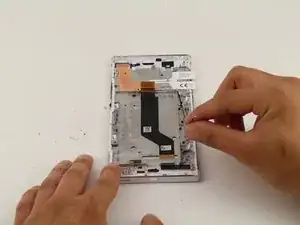
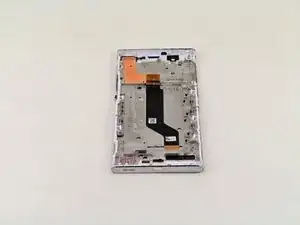
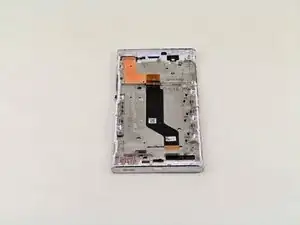
    • The LCD Display Touch Screen Digitizer should be the only part left.

Conclusion

To reassemble your device, follow these instructions in reverse order.

Jacob Jung

Member since: 18/04/18

1429 Reputation

2 comments

Thanks for the help! Any chance you know where to get the side panels/bars? searched everywhere and cant find them

Taken Out -

Any chance one can replace the outta glass only? touch feature still works :(
Musa Zwane -