
Introduction
This guide is to show what components need to be removed in order to replace the dual SIM slot. If the phone is not reading the SIM cards in the slot, it may need to be replaced after checking the connections. The SIM card slot is essential for having cellular connection. If one slot fails, the whole dual SIM slot must be replaced.
-
-
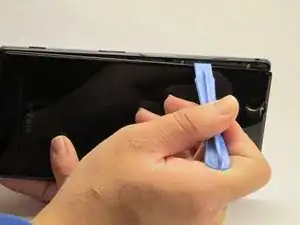
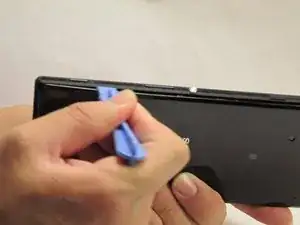
Once the part of the back cover has been opened up. Slide the spudger to pry completely detach the cover from the phone.
-
-
-
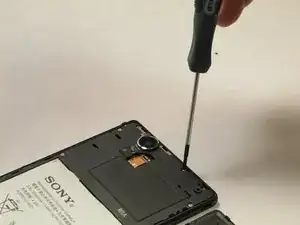
Using the Phillips #00 Precision screwdriver, take out 8 silver screws (3.15mm) and 5 gold screws (3.9mm) for a total of all the screws attached to the flat plate. 3 of the gold screws are located at the top of the phone and the other 2 screws are located at the bottom of the phone.
-
-
-
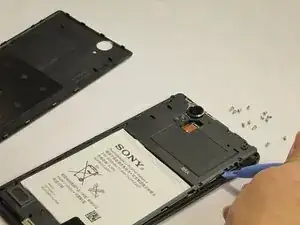
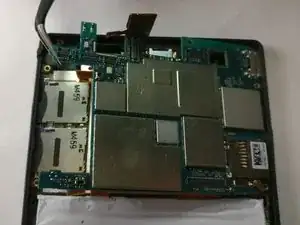
To remove the internal cover, use the plastic spudger tool and pry the cover from the phone as shown in the picture.
-
-
-
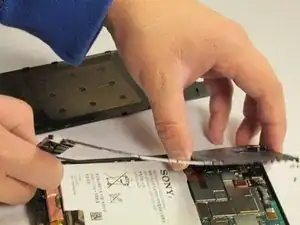
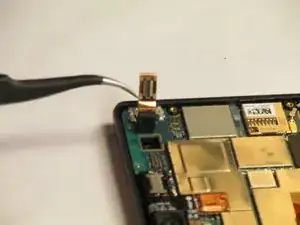
To take out the back facing camera, flip open the flap labelled ‘film’ to reveal the chip that connects to the motherboard.
-
-
-
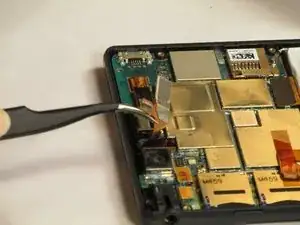
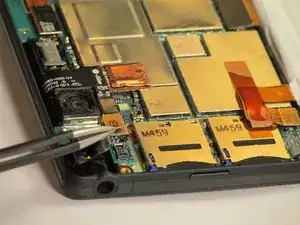
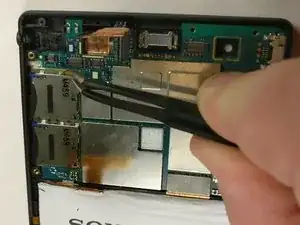
Using the tweezer, carefully pry open the chip for the front facing camera as shown. Then using the tweezer, carefully remove the front facing camera component.
-
-
-
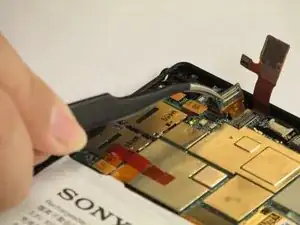
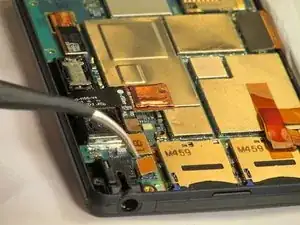
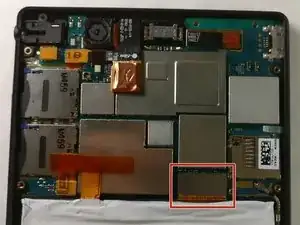
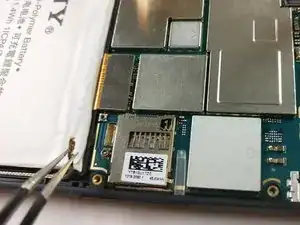
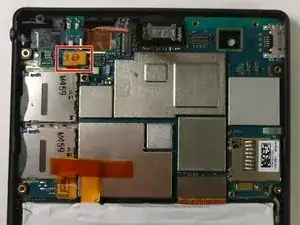
Using tweezer, locate the audio jack as shown and pull out the chip connected to the motherboard.
-
To reassemble your device, follow these instructions in reverse order.
One comment
Clear video and tutorial!
But why make the process too long where in fact you can do it fast and simple by directly pulling out the dual sim card reader/slot off the board right after removing the mid-frame cover (after Step 4), and thereafter put in the replacement part?
The 16 steps can be done in just 5 or 6 steps.
Might as well re-title this to: Partial Disassembly of Xperia T2 Ulta Dual.