
Introduction
This guide will show you the steps to take to reach the motherboard and remove it for replacement. If you are having trouble with the speaker turning on, or issues with the speaker charging, this is the guide you'll want to follow. Before you do this, make sure to refer to the troubleshooting guide for this device.
The majority of repair time will be spent attempting to open the device, as it is sealed shut by adhesive. Once open, the repair is straightforward.
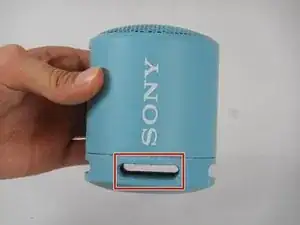
Keep in mind that opening the speaker will nullify the IP67 (waterproof and dustproof) rating, and may cause slight external damage when attempting to open.
-
-
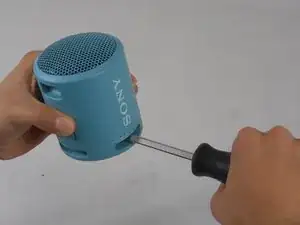
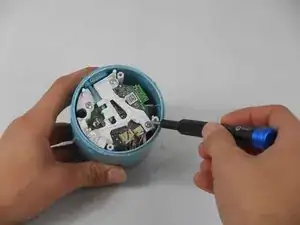
To get the bottom part of the speaker off, take a long and sturdy screwdriver and put it through the holes at the bottom of the speaker.
-
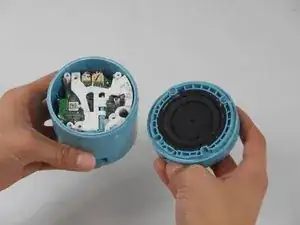
When you have the screwdriver through the holes, you'll want to push down very firmly. Rotate between the holes and repeat this process until the bottom piece pops off.
-
-
-
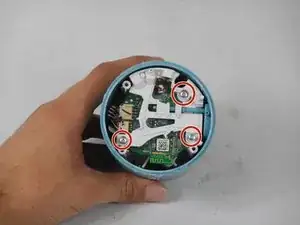
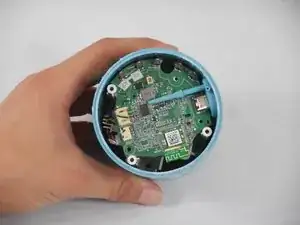
You should see three 11 mm screws once the bottom of the device is off. Use a #1 Phillips screwdriver to remove these screws.
-
-
-
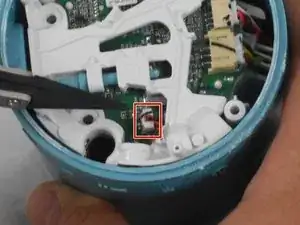
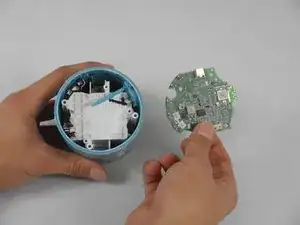
Place one end of the ifixit opening tool underneath the white bracket that sits above the motherboard, so that it latches onto the bottom side of the bracket.
-
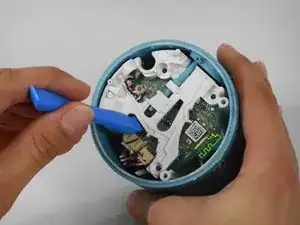
With the opposite end of the tool, apply a gentle but firm downward motion to slowly pry the bracket from its position.
-

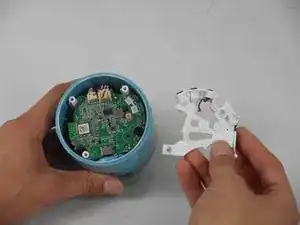

To reassemble your device, follow these instructions in reverse order.

One comment
this was fuggin useless