Introduction

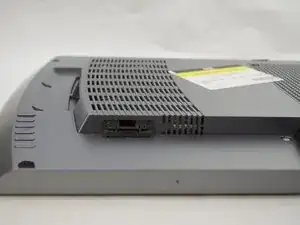
This repair may be needed if your device functions properly, but the indicator lights do not work.

  1. xUAZwThsa3CdKJbS
    xUAZwThsa3CdKJbS
    CWjjtvtUpkPIViPF
    • Remove the base by pushing in the button and sliding out the unit.

    Como se consigue la base de unidad sola??

    no encuentro en ninguna parte, de casualidad tu sabras?

    DYLAN DGUEZ -

  2. kiIuJGkEjnCyR2wB
    kiIuJGkEjnCyR2wB
    rR6unemnZRKqcbSE
    aUePqMZSRNoh24fh
    • Remove USB port cover from back plate with a metal spudger.

    • This will prevent the cover from falling under the back plate once it is removed.

  3. ahhbK2je1VT2AkHK
    ahhbK2je1VT2AkHK
    mI4JxSLUERcQUJx2
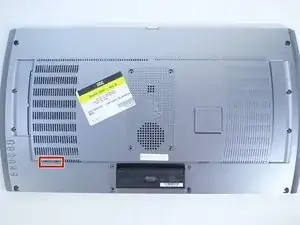
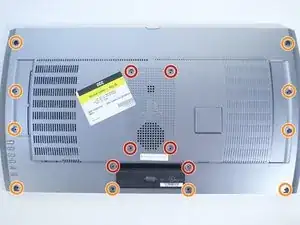
    • With the Phillips #02 screwdriver, remove the six 6 mm length x 6 mm head screws from the back plate.

    • With the Phillips #02 screwdriver, remove the ten 6 mm length x 8 mm head screws from the back plate.

    • These screws have different threads and need to be kept separate.

  4. TjbQbXbNNhvAyi4P
    TjbQbXbNNhvAyi4P
    uSNjJJZ1tWhSJv36
    tjp62hEYlljkl6d1
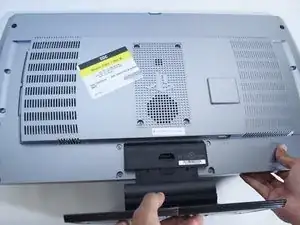
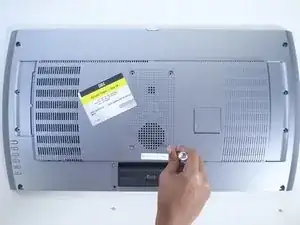
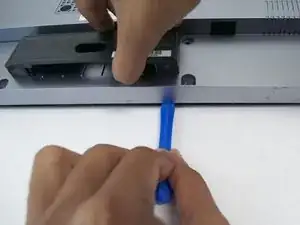
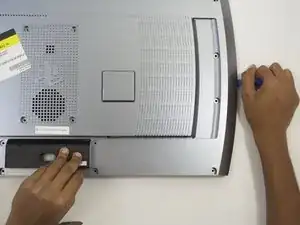
    • Remove back plate with a plastic opening tool by slowing prying around the entire plate.

    • Be gentle to avoid breaking the plastic clips which hold the plate.

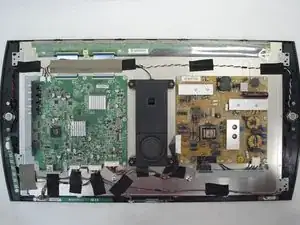
    • Once separated the plate easily lifts off.

  5. spuRY6GsmCCB6WPh
    spuRY6GsmCCB6WPh
    IfWZm6xLLMVeFiiT
    xy2Kv5mRsMUUxaXu
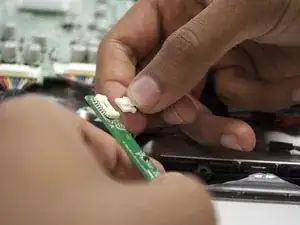
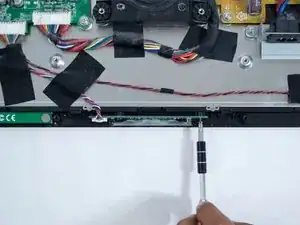
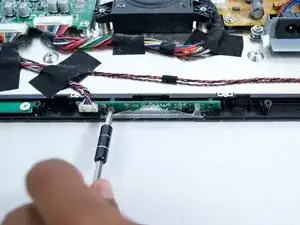
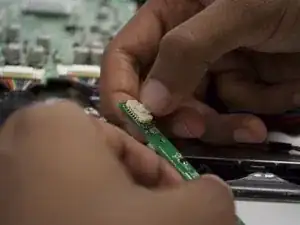
    • With the Phillips #02 screwdriver, remove the two 5mm length x 5mm head screws located on the left and right side of the light bar board.

  6. iPgVrbpUWUUs3re1
    iPgVrbpUWUUs3re1
    RNEZQDKJc2mOuAMA
    • Remove the light bar by depressing the tab on the white data connector.

Conclusion

To reassemble your device, follow these instructions in reverse order.

Kyle Franck

Member since: 01/10/15

257 Reputation

0 comments