Introduction
The following instruction is designed to help you replace the Sony DVP-SR200P power supply circuit board and power cord. Extreme caution must be used while handling the motherboard and other fragile internal components to prevent damage. Furthermore, there's a chance of electric shock, so you need to be extra cautious. You may confidently do this installation with moderate difficulty if you carefully follow our comprehensive instructions.
In order to ensure that the power supply circuit board and power cable replacement goes smoothly and successfully, this guide attempts to give you a clear and concise set of instructions. Throughout the procedure, be mindful of the exposed motherboard's fragility and handle it with extreme caution. Let's get started on revitalizing your Sony DVP-SR200P with a new power supply system, following our step-by-step instructions for a hassle-free experience.
Tools
-
-
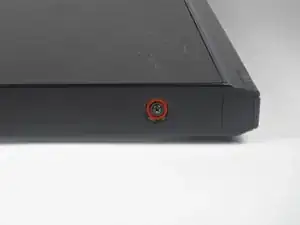
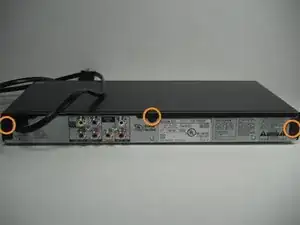
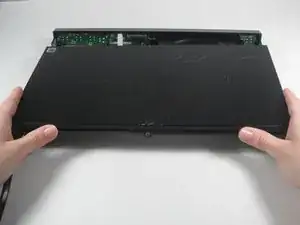
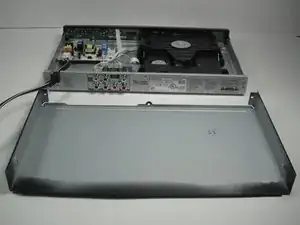
Remove the five #1 Phillips screws (black, 3/16") attaching the cover to the DVD player.
-
One 3/16" screw on the right side of the DVD player.
-
One 3/16" screw on the left side of the DVD player (directly opposite of other screw).
-
Three 3/16" screws on the back of the DVD player.
-
-
-
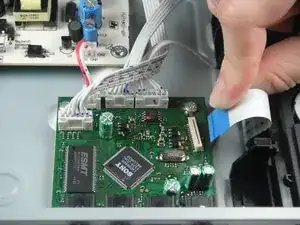
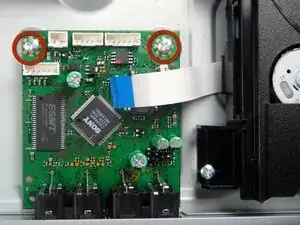
Unscrew the two #1 Phillips screws (silver, 3/16") located on the two edge corners of the processing board.
-
-
-
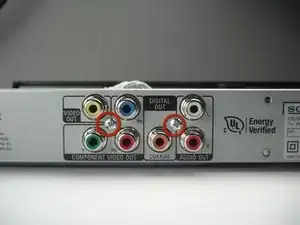
Orient the DVD player so that you are facing the video and audio jacks.
-
Unscrew the two #1 Phillips screws (silver, 3/16") located on the outside of the DVD player
-
-
-
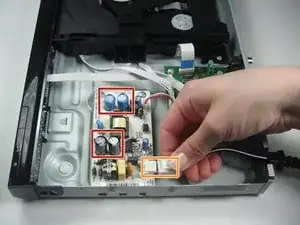
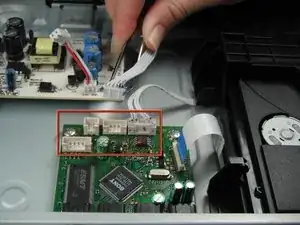
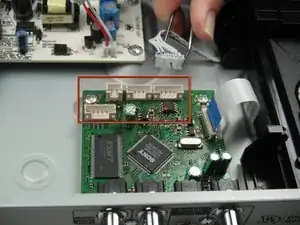
Unhook the power supply connector from the power supply board by pressing down on the small latch.
-
-
-
Orient the DVD player so the back of the DVD player is opposite of you.
-
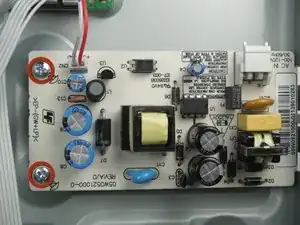
Unscrew the two silver 4.8 mm Phillips #1 screws that attach the power supply circuit board to the bottom of the DVD player.
-
To reassemble your device, follow these instructions in reverse order.
2 comments
my sony home theater showing push power protector how to resolve it.
Service center said that we need to change motherboard. plz help me out if you can
